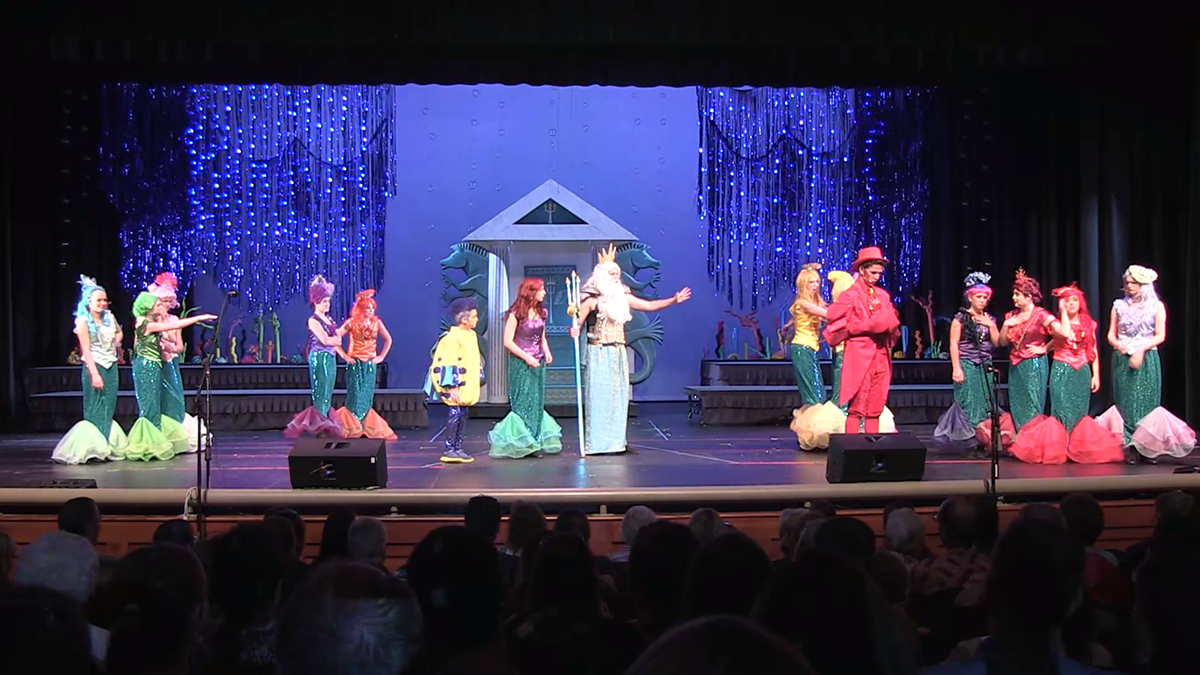
During the summer of 2017, Cedar City Children’s Musical Theater staged a production of Disney’s “The Little Mermaid.” If you think about it, the story is basically a tug of war between King Triton and Ursula the sea witch, with Ariel playing the part of the rope.
Since my daughter was playing the Little Mermaid herself, and my son was playing King Triton, I volunteered to create a double-sided set piece that would serve as “seats of power” for both Triton and Ursula, with one throne on each side.

The Little Mermaid Thrones: Design Concept
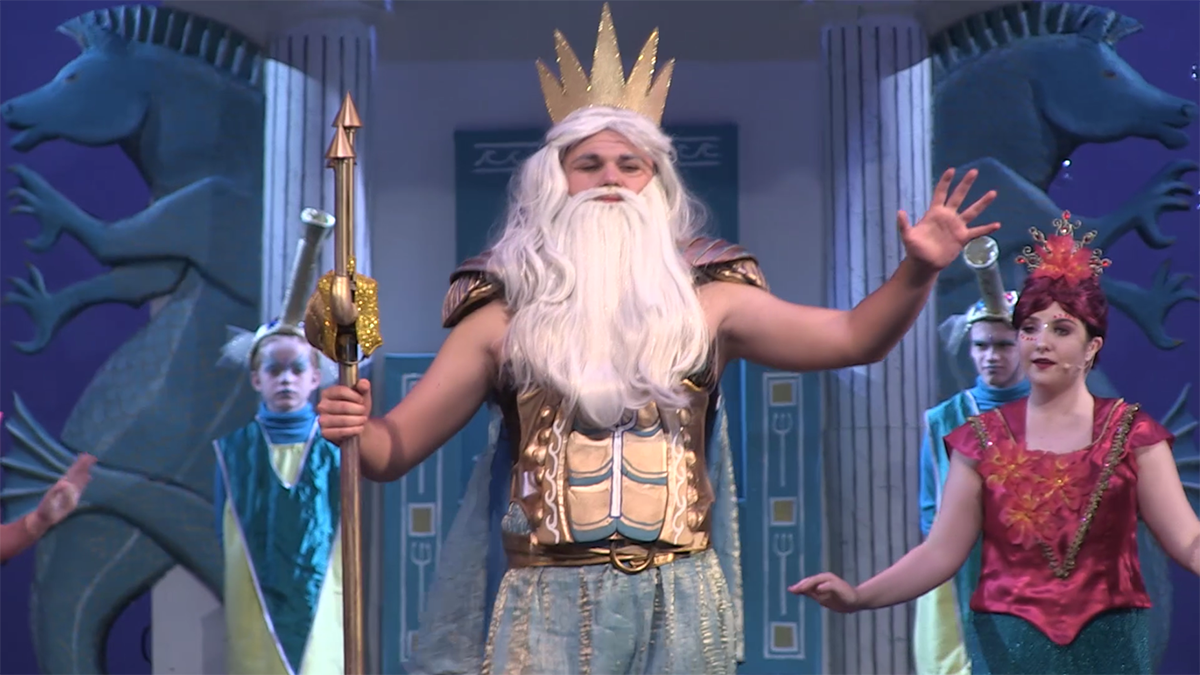
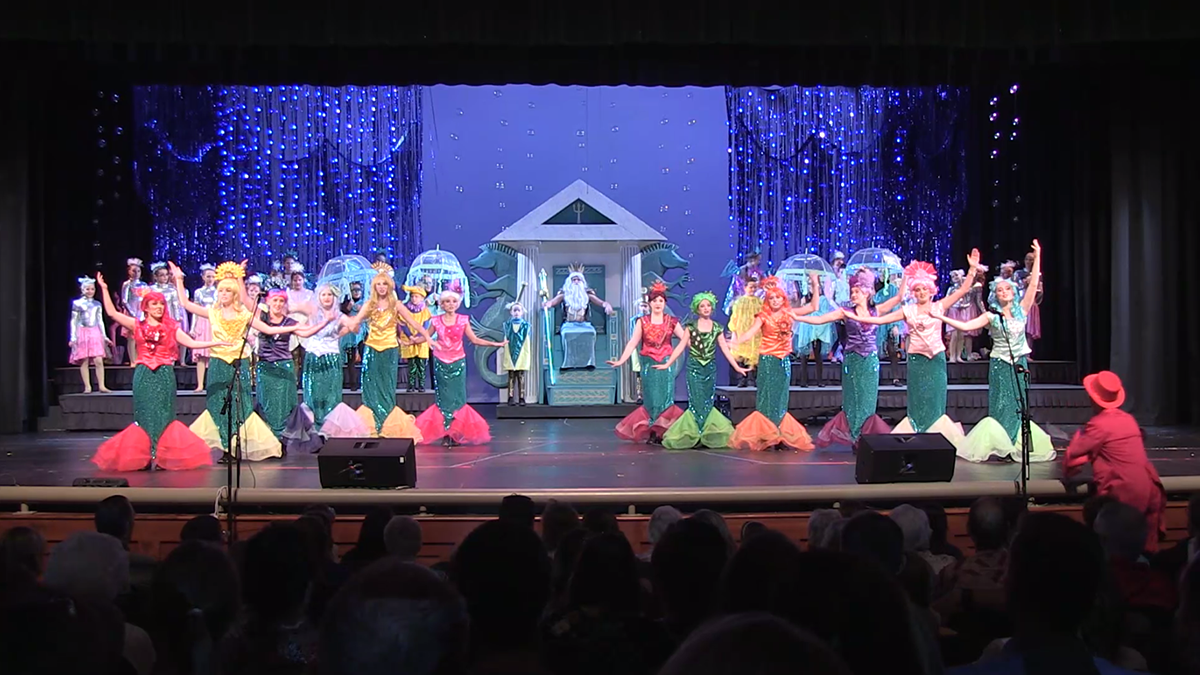
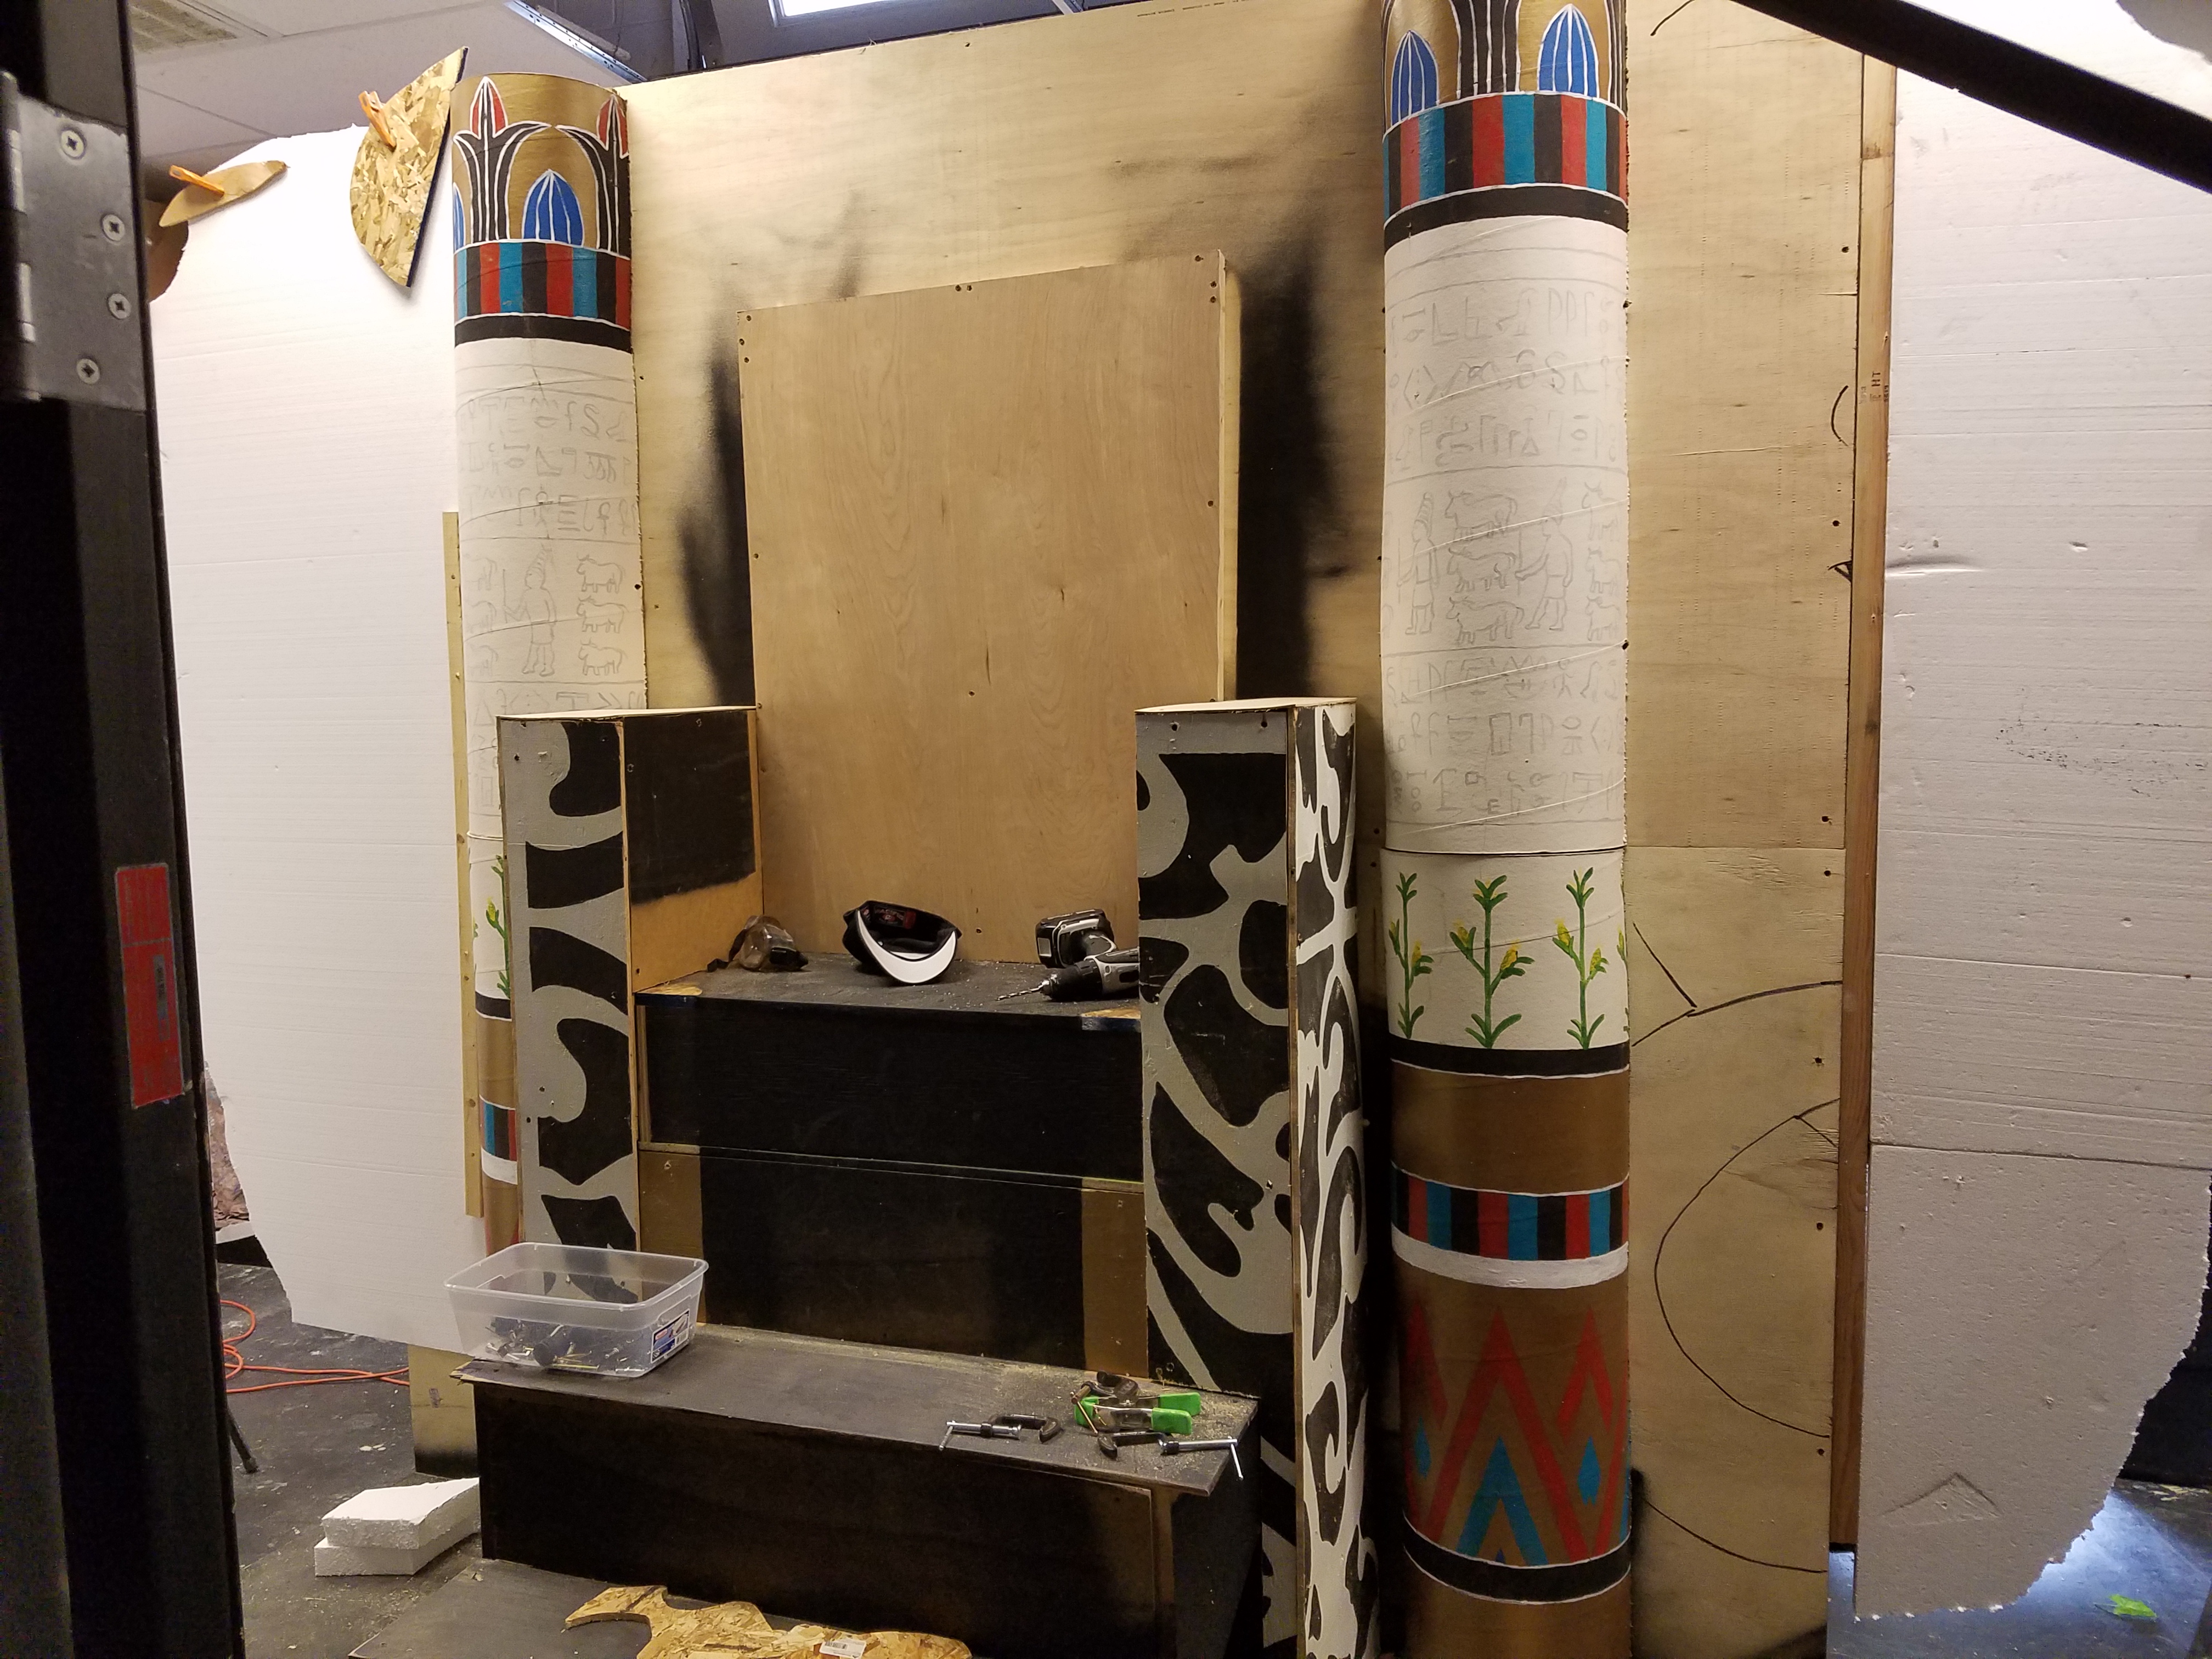
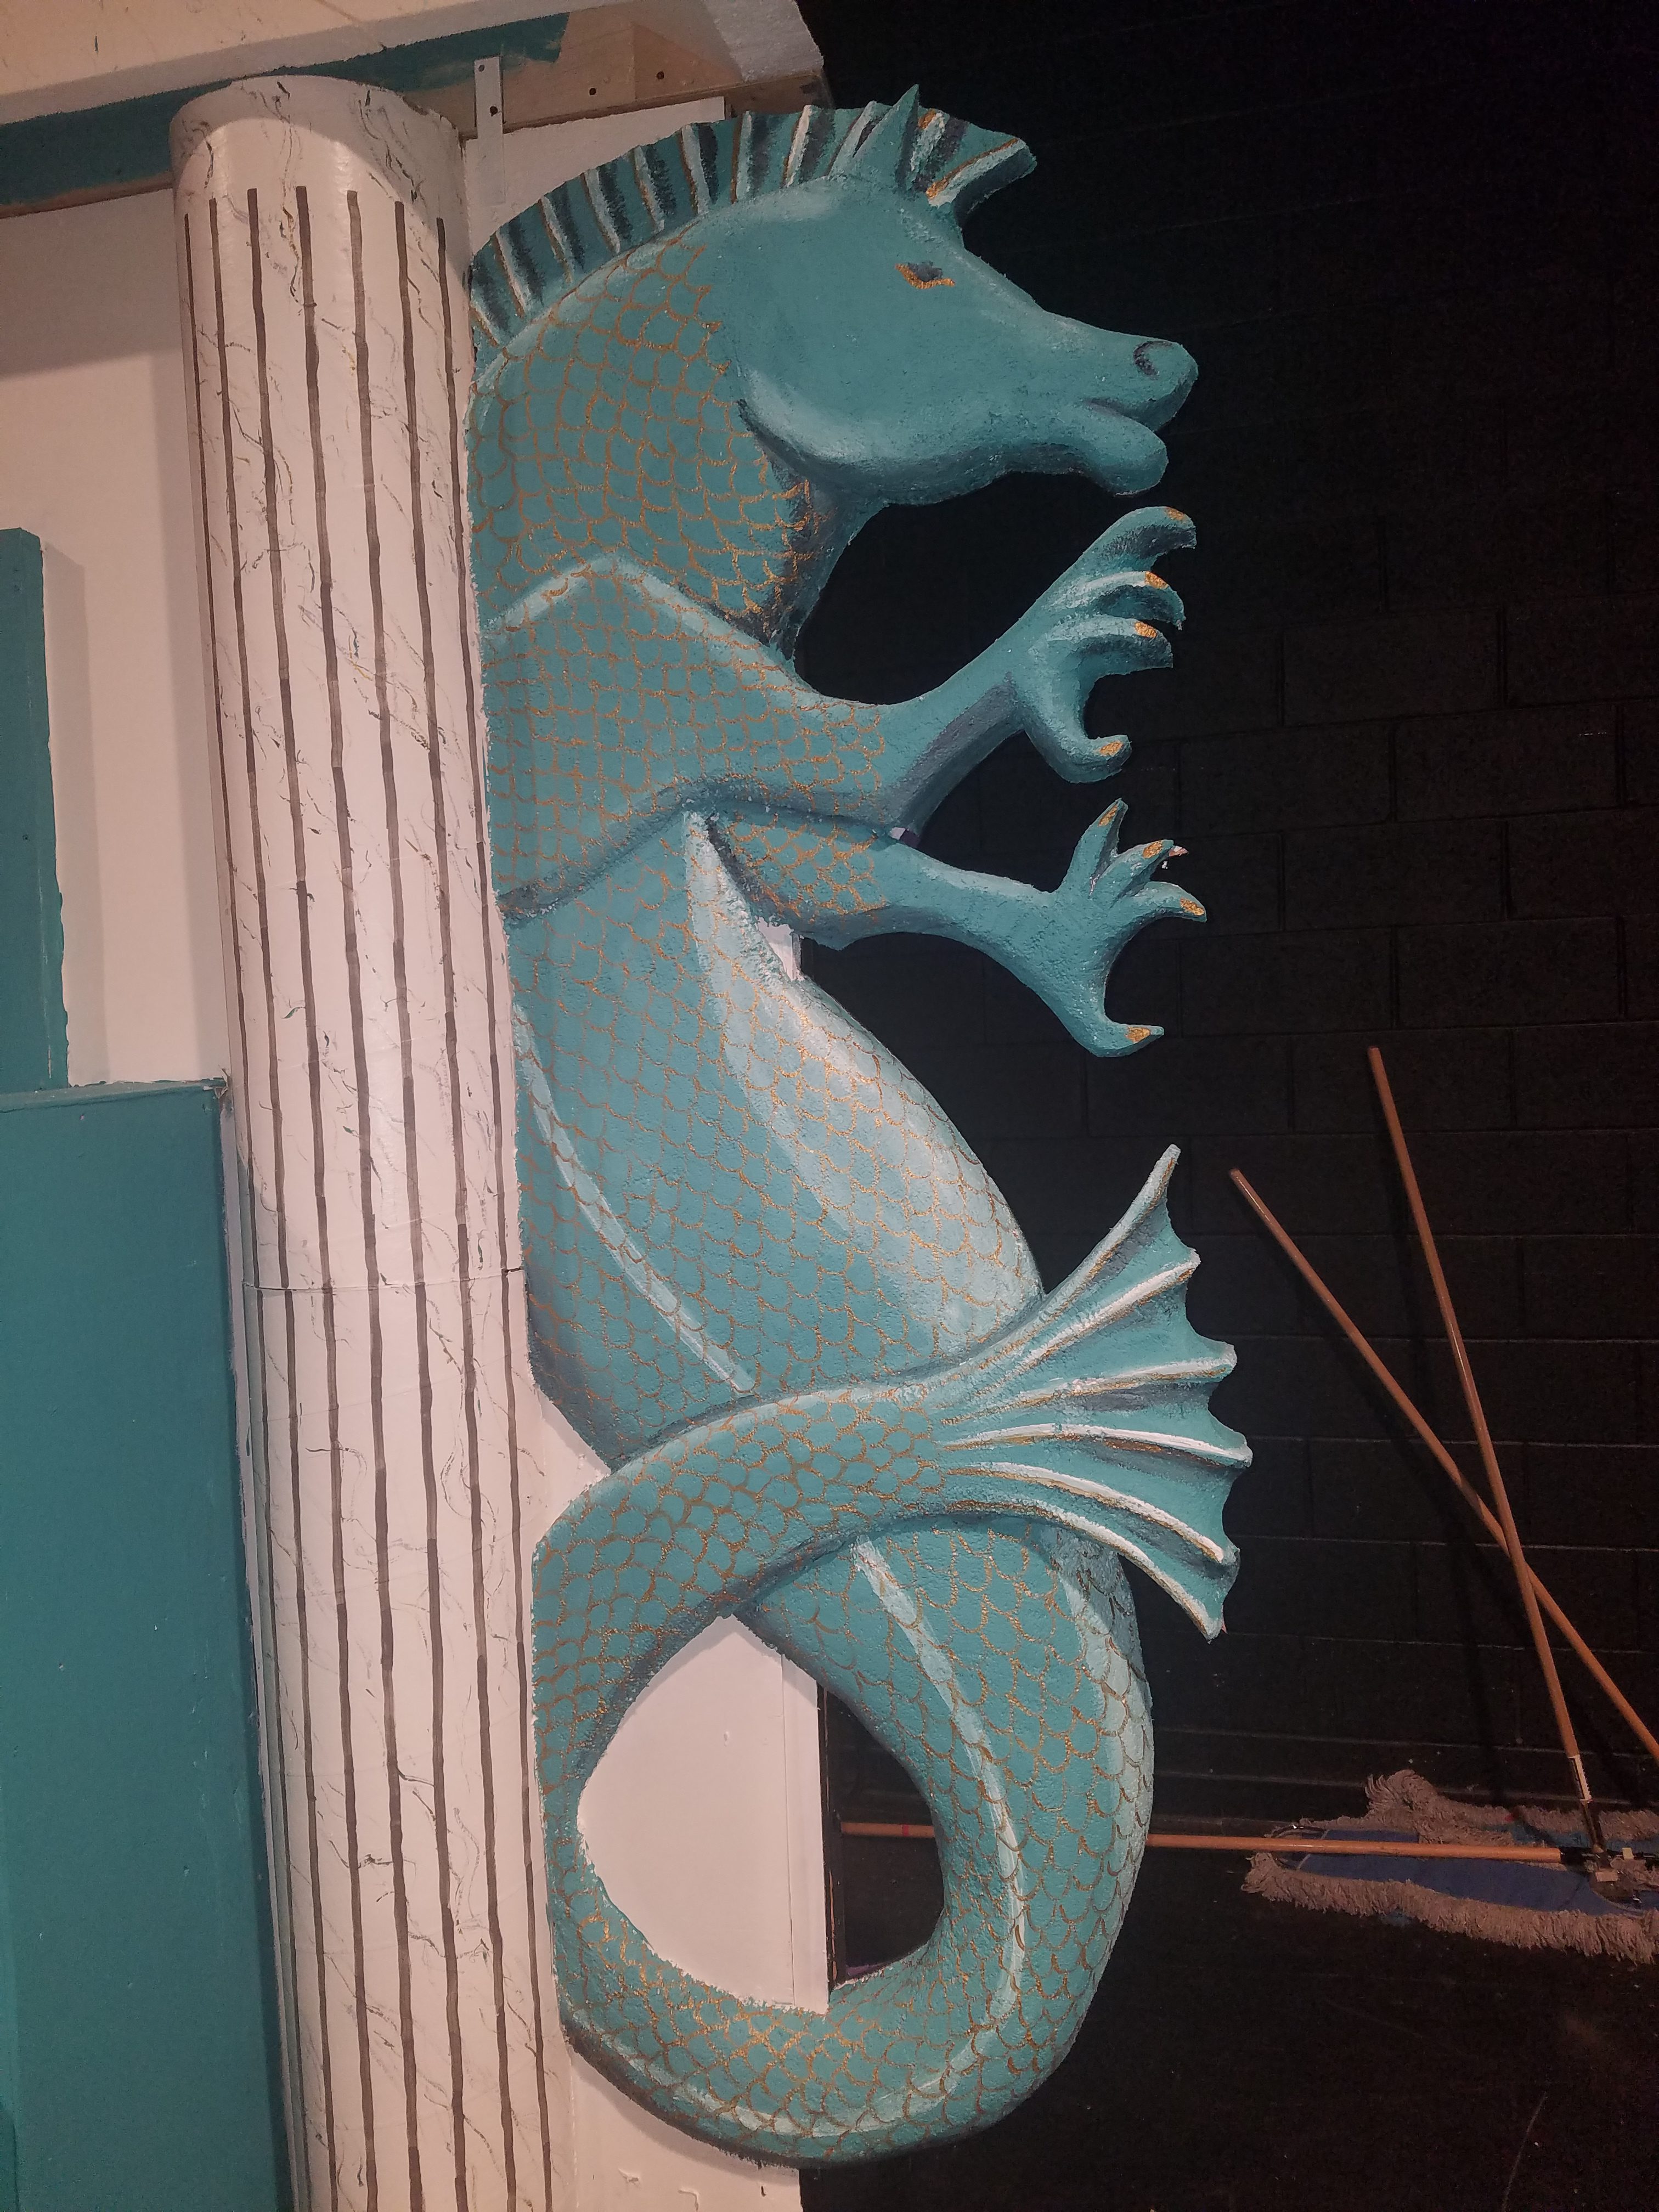
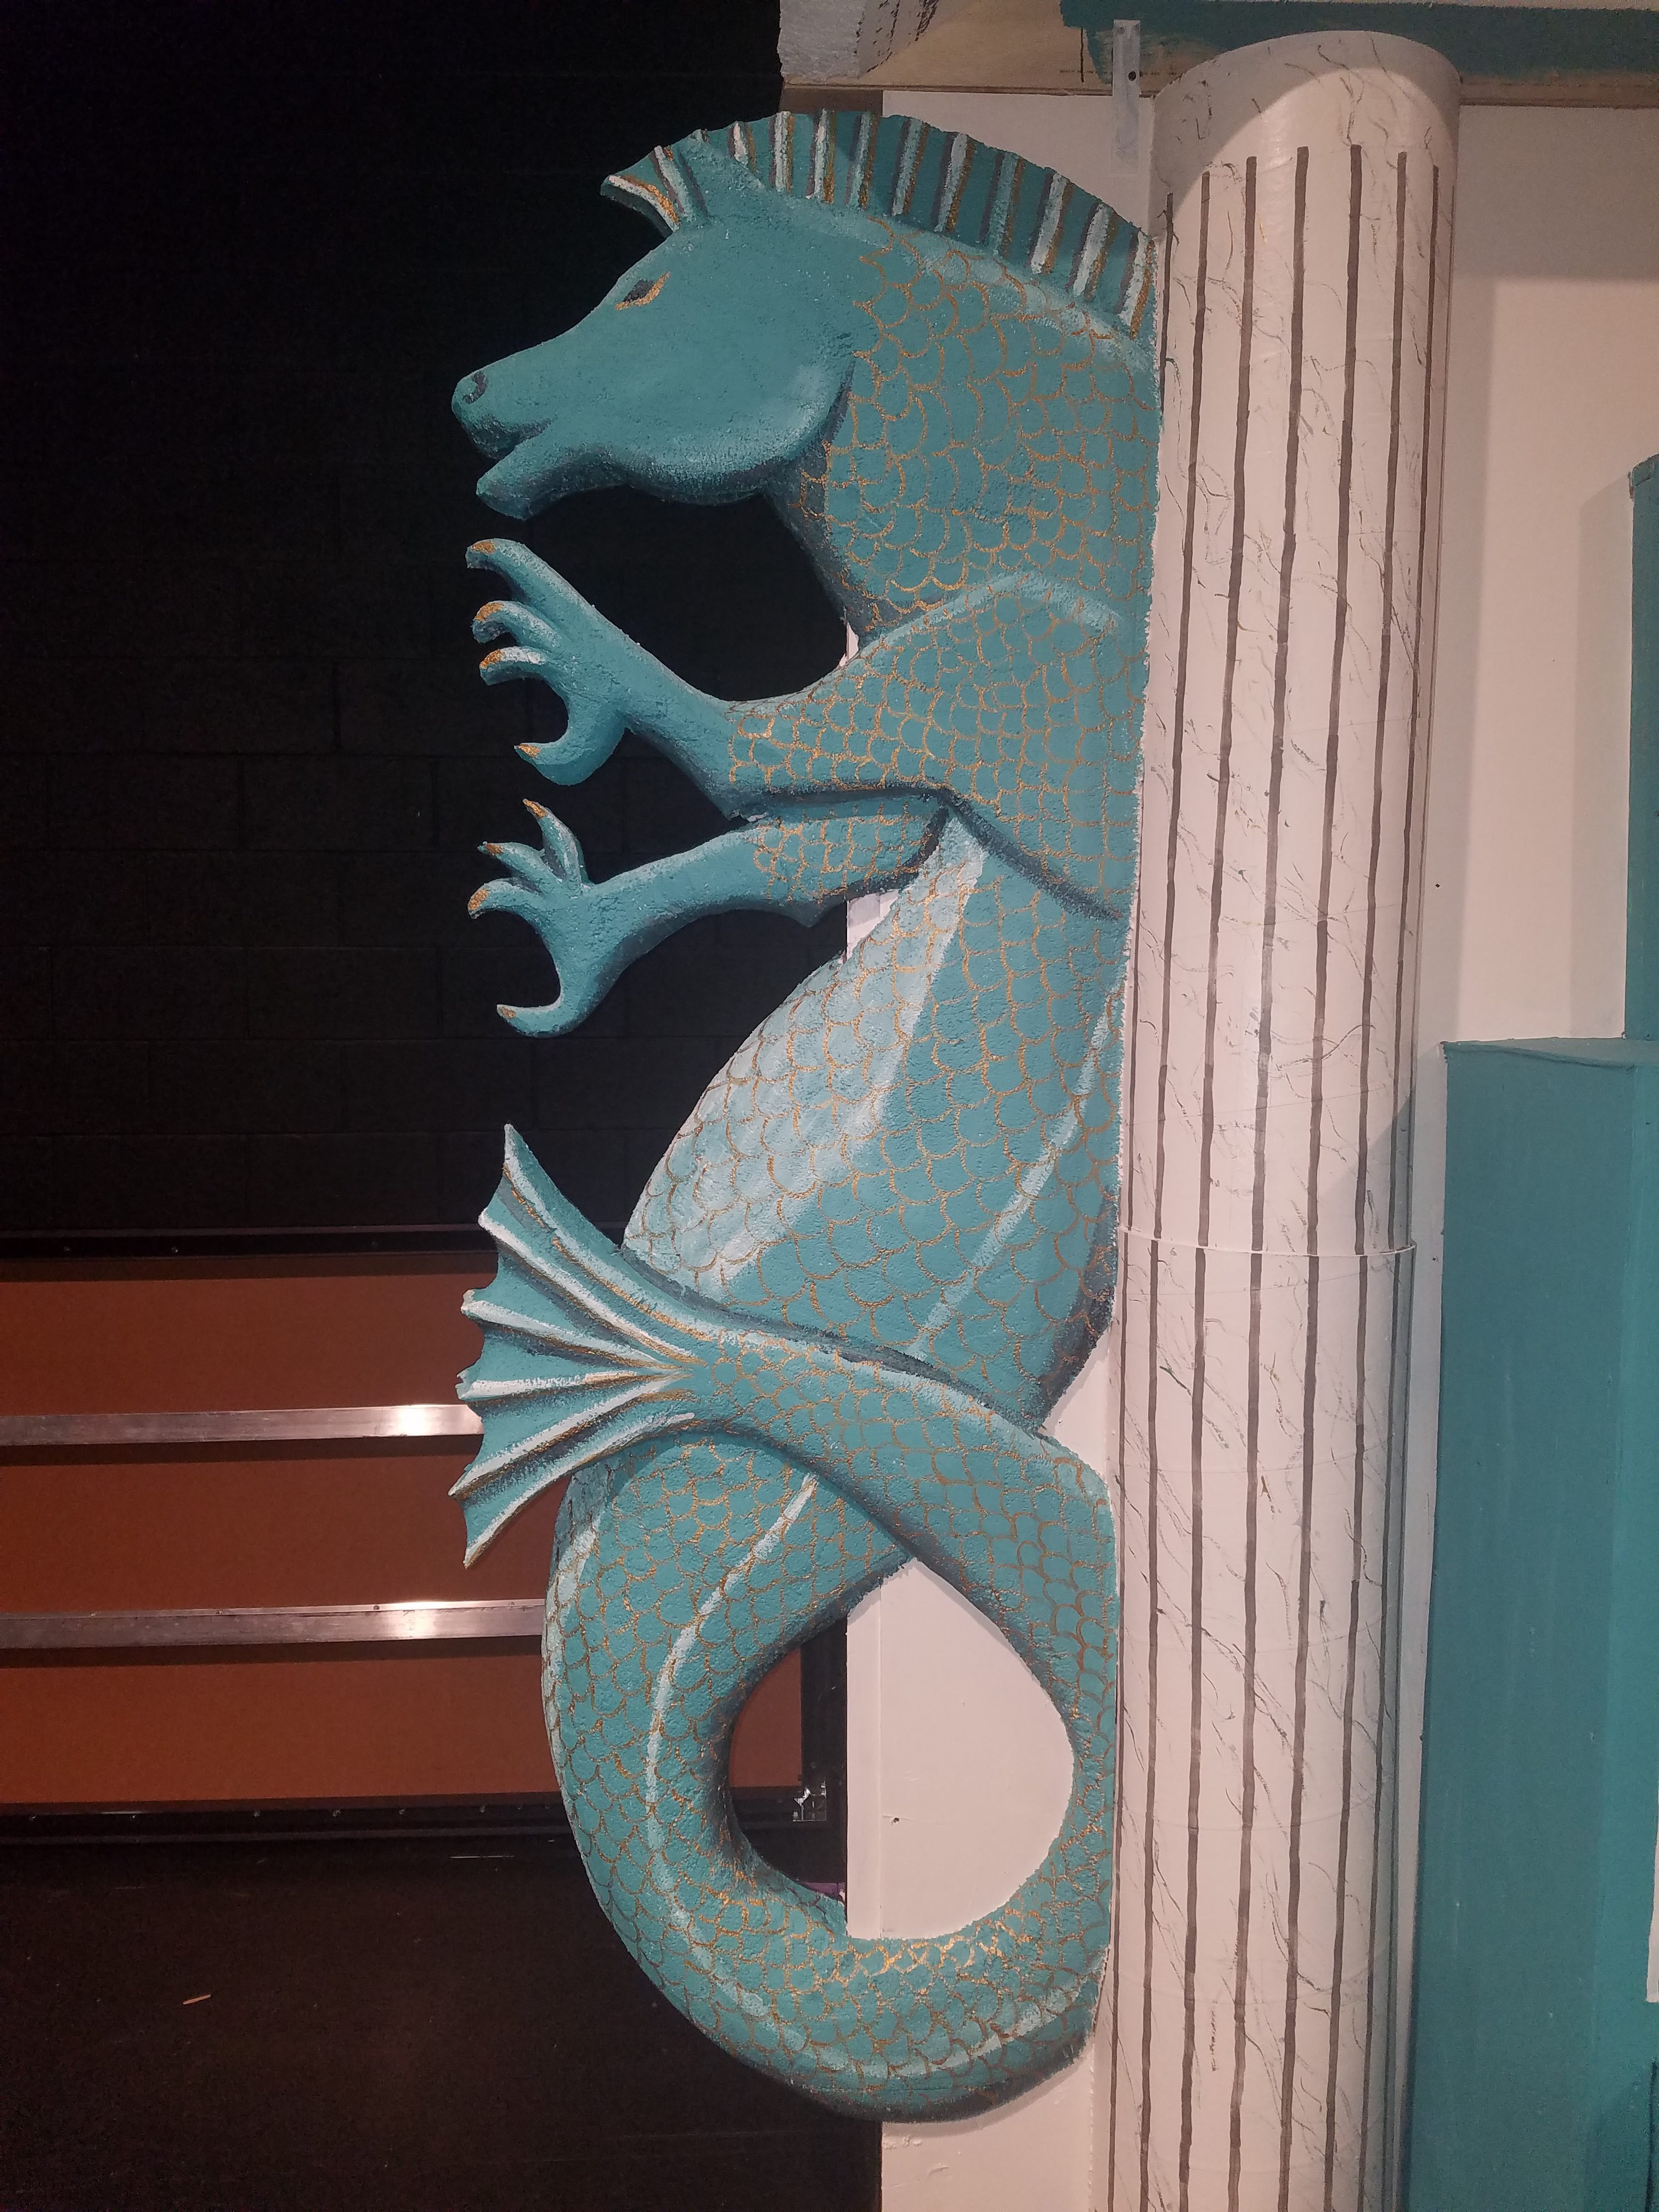
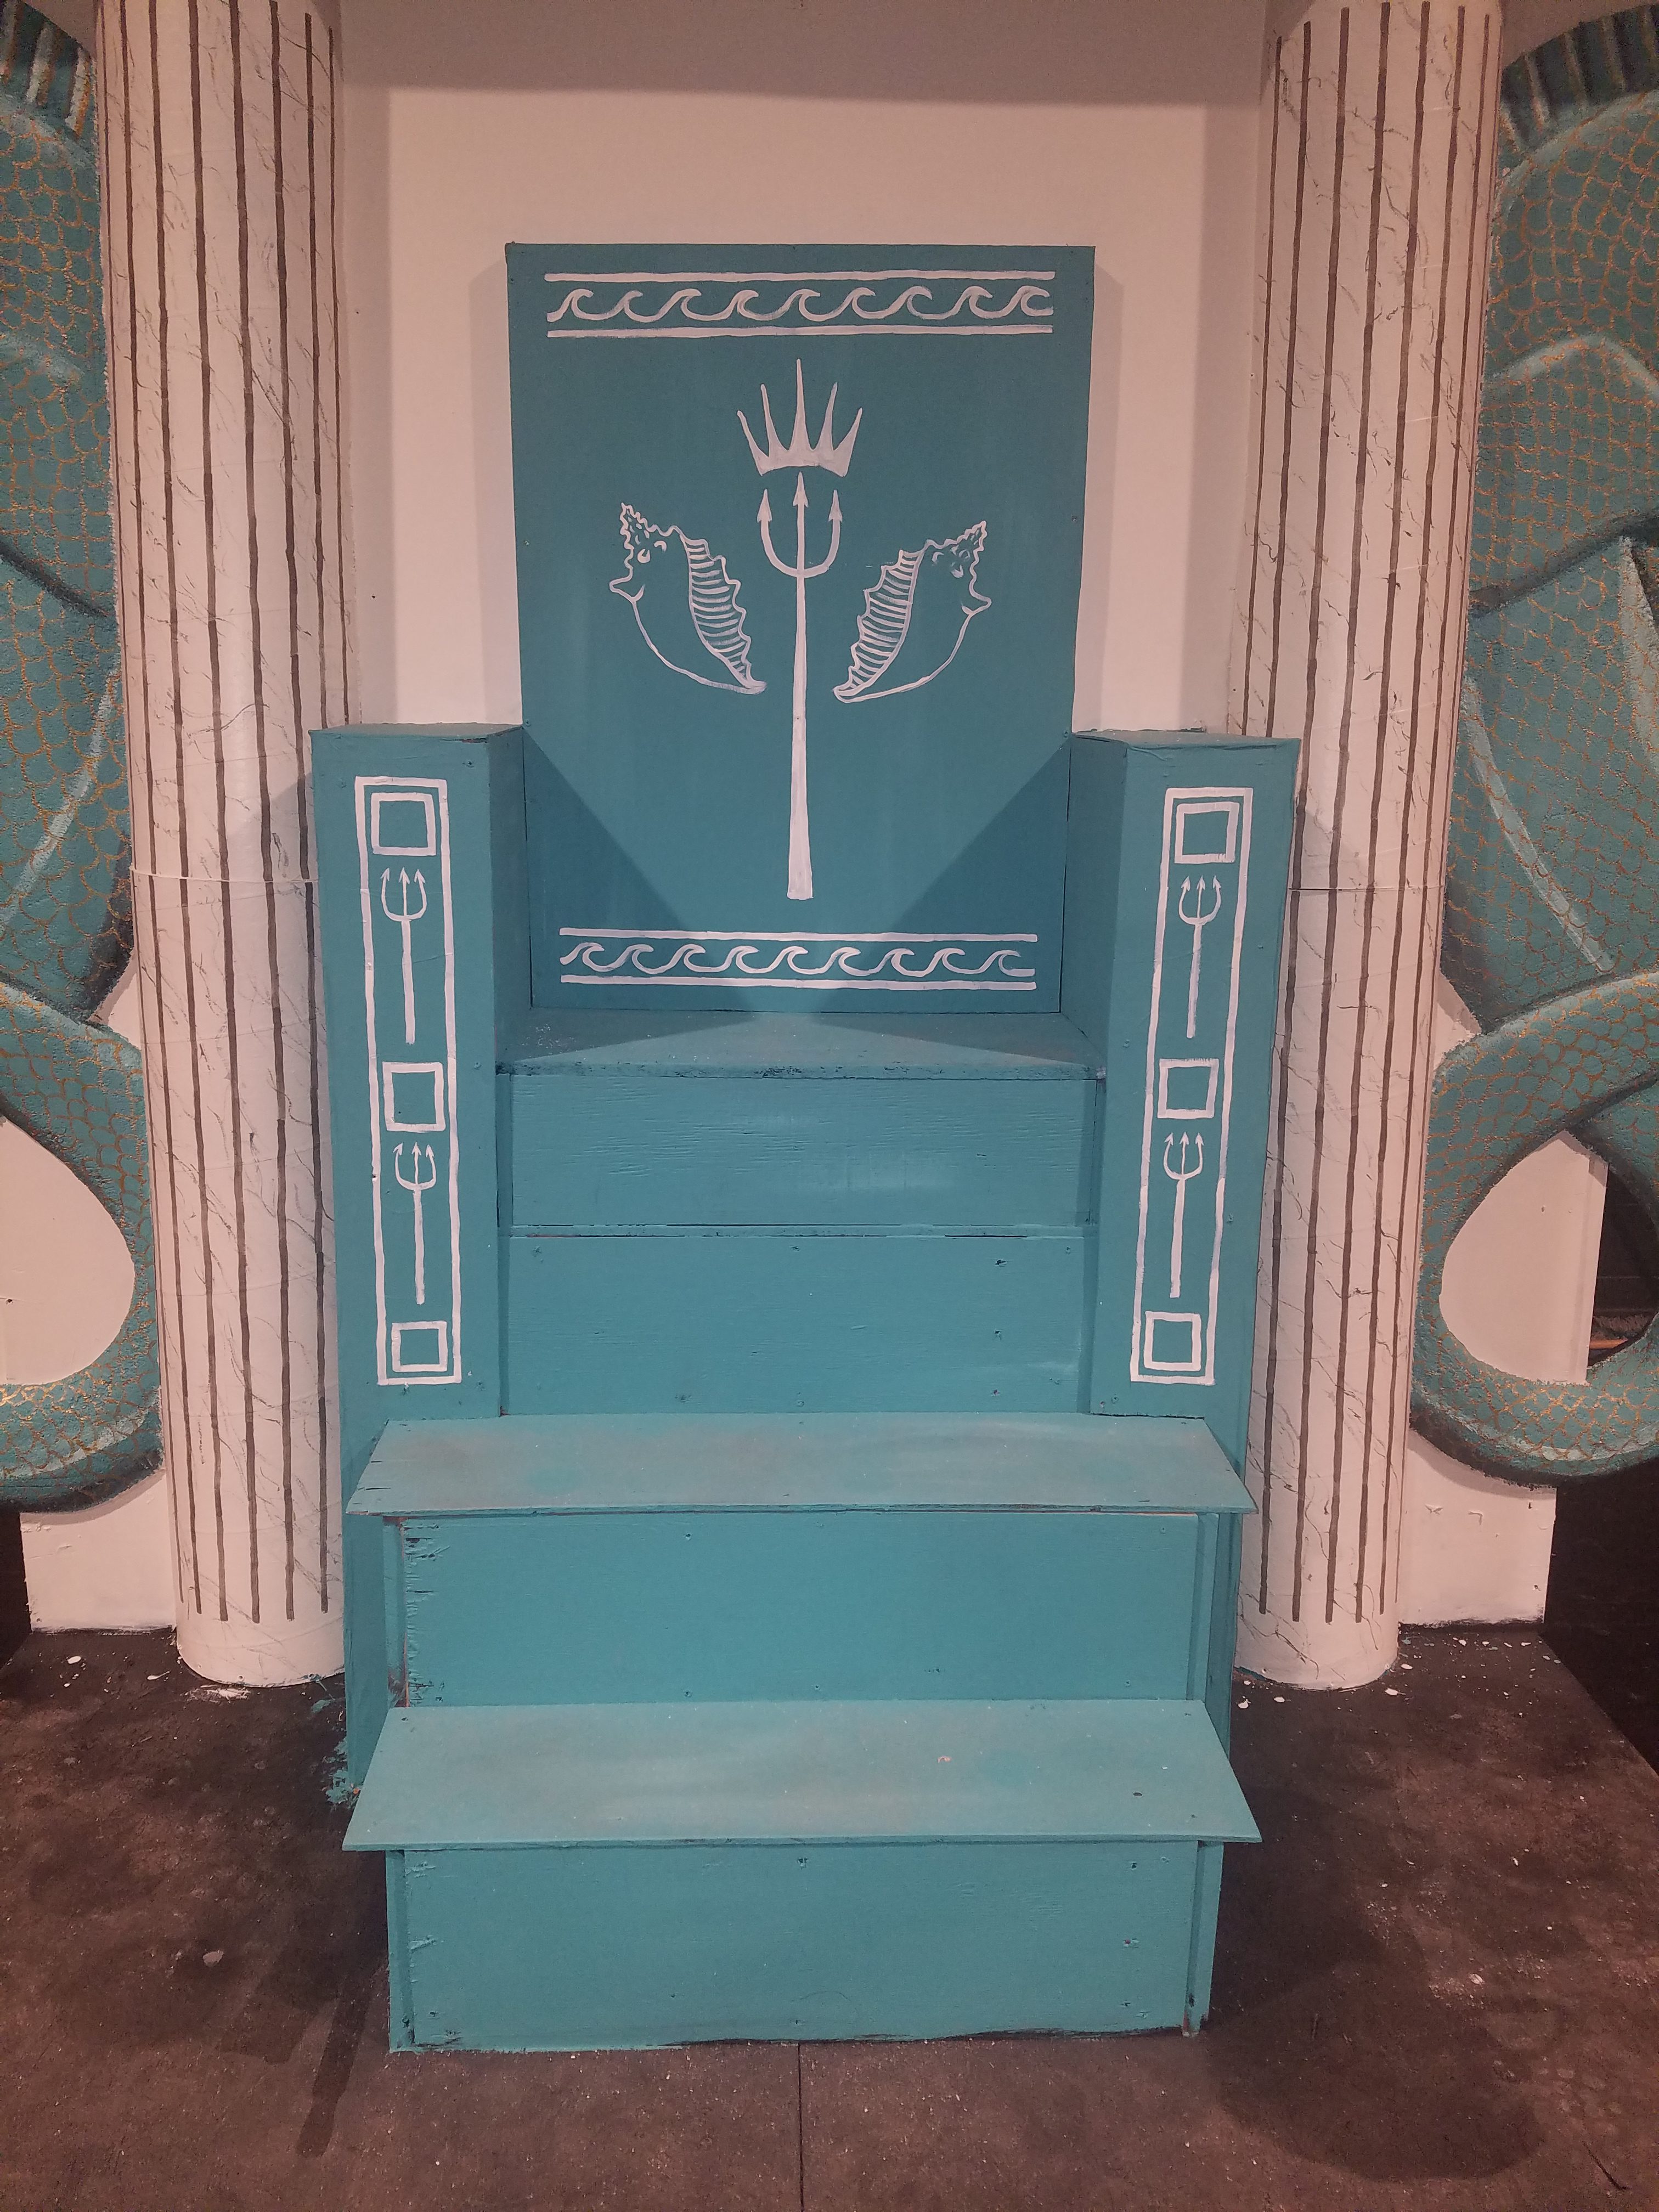
For Triton’s throne, I wanted a classical look, like a mini-Parthenon under the sea. We had some half-columns left over from “Joseph” the previous year, so we repurposed them for The Little Mermaid. We built the throne larger than life, compact enough that I could create two hippocampi (mythical water horses) flanking the piece.
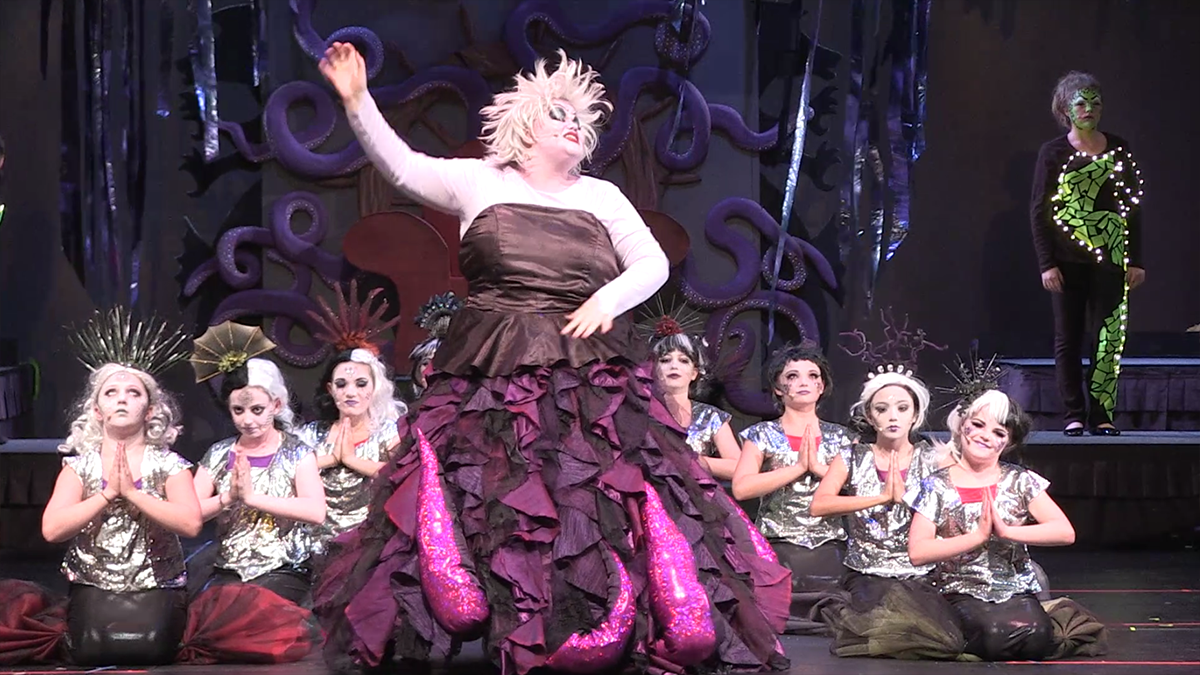
For Ursula’s throne, the theme was shipwreck and tentacles. Unlike Triton’s rather squarish throne, Ursula’s looks like an overstuffed easy chair. I began with a large ship’s wheel, then made use of the backdrop and the reverse side of the hippocampi for the overlapping, intertwining tentacles.
Triton’s Throne
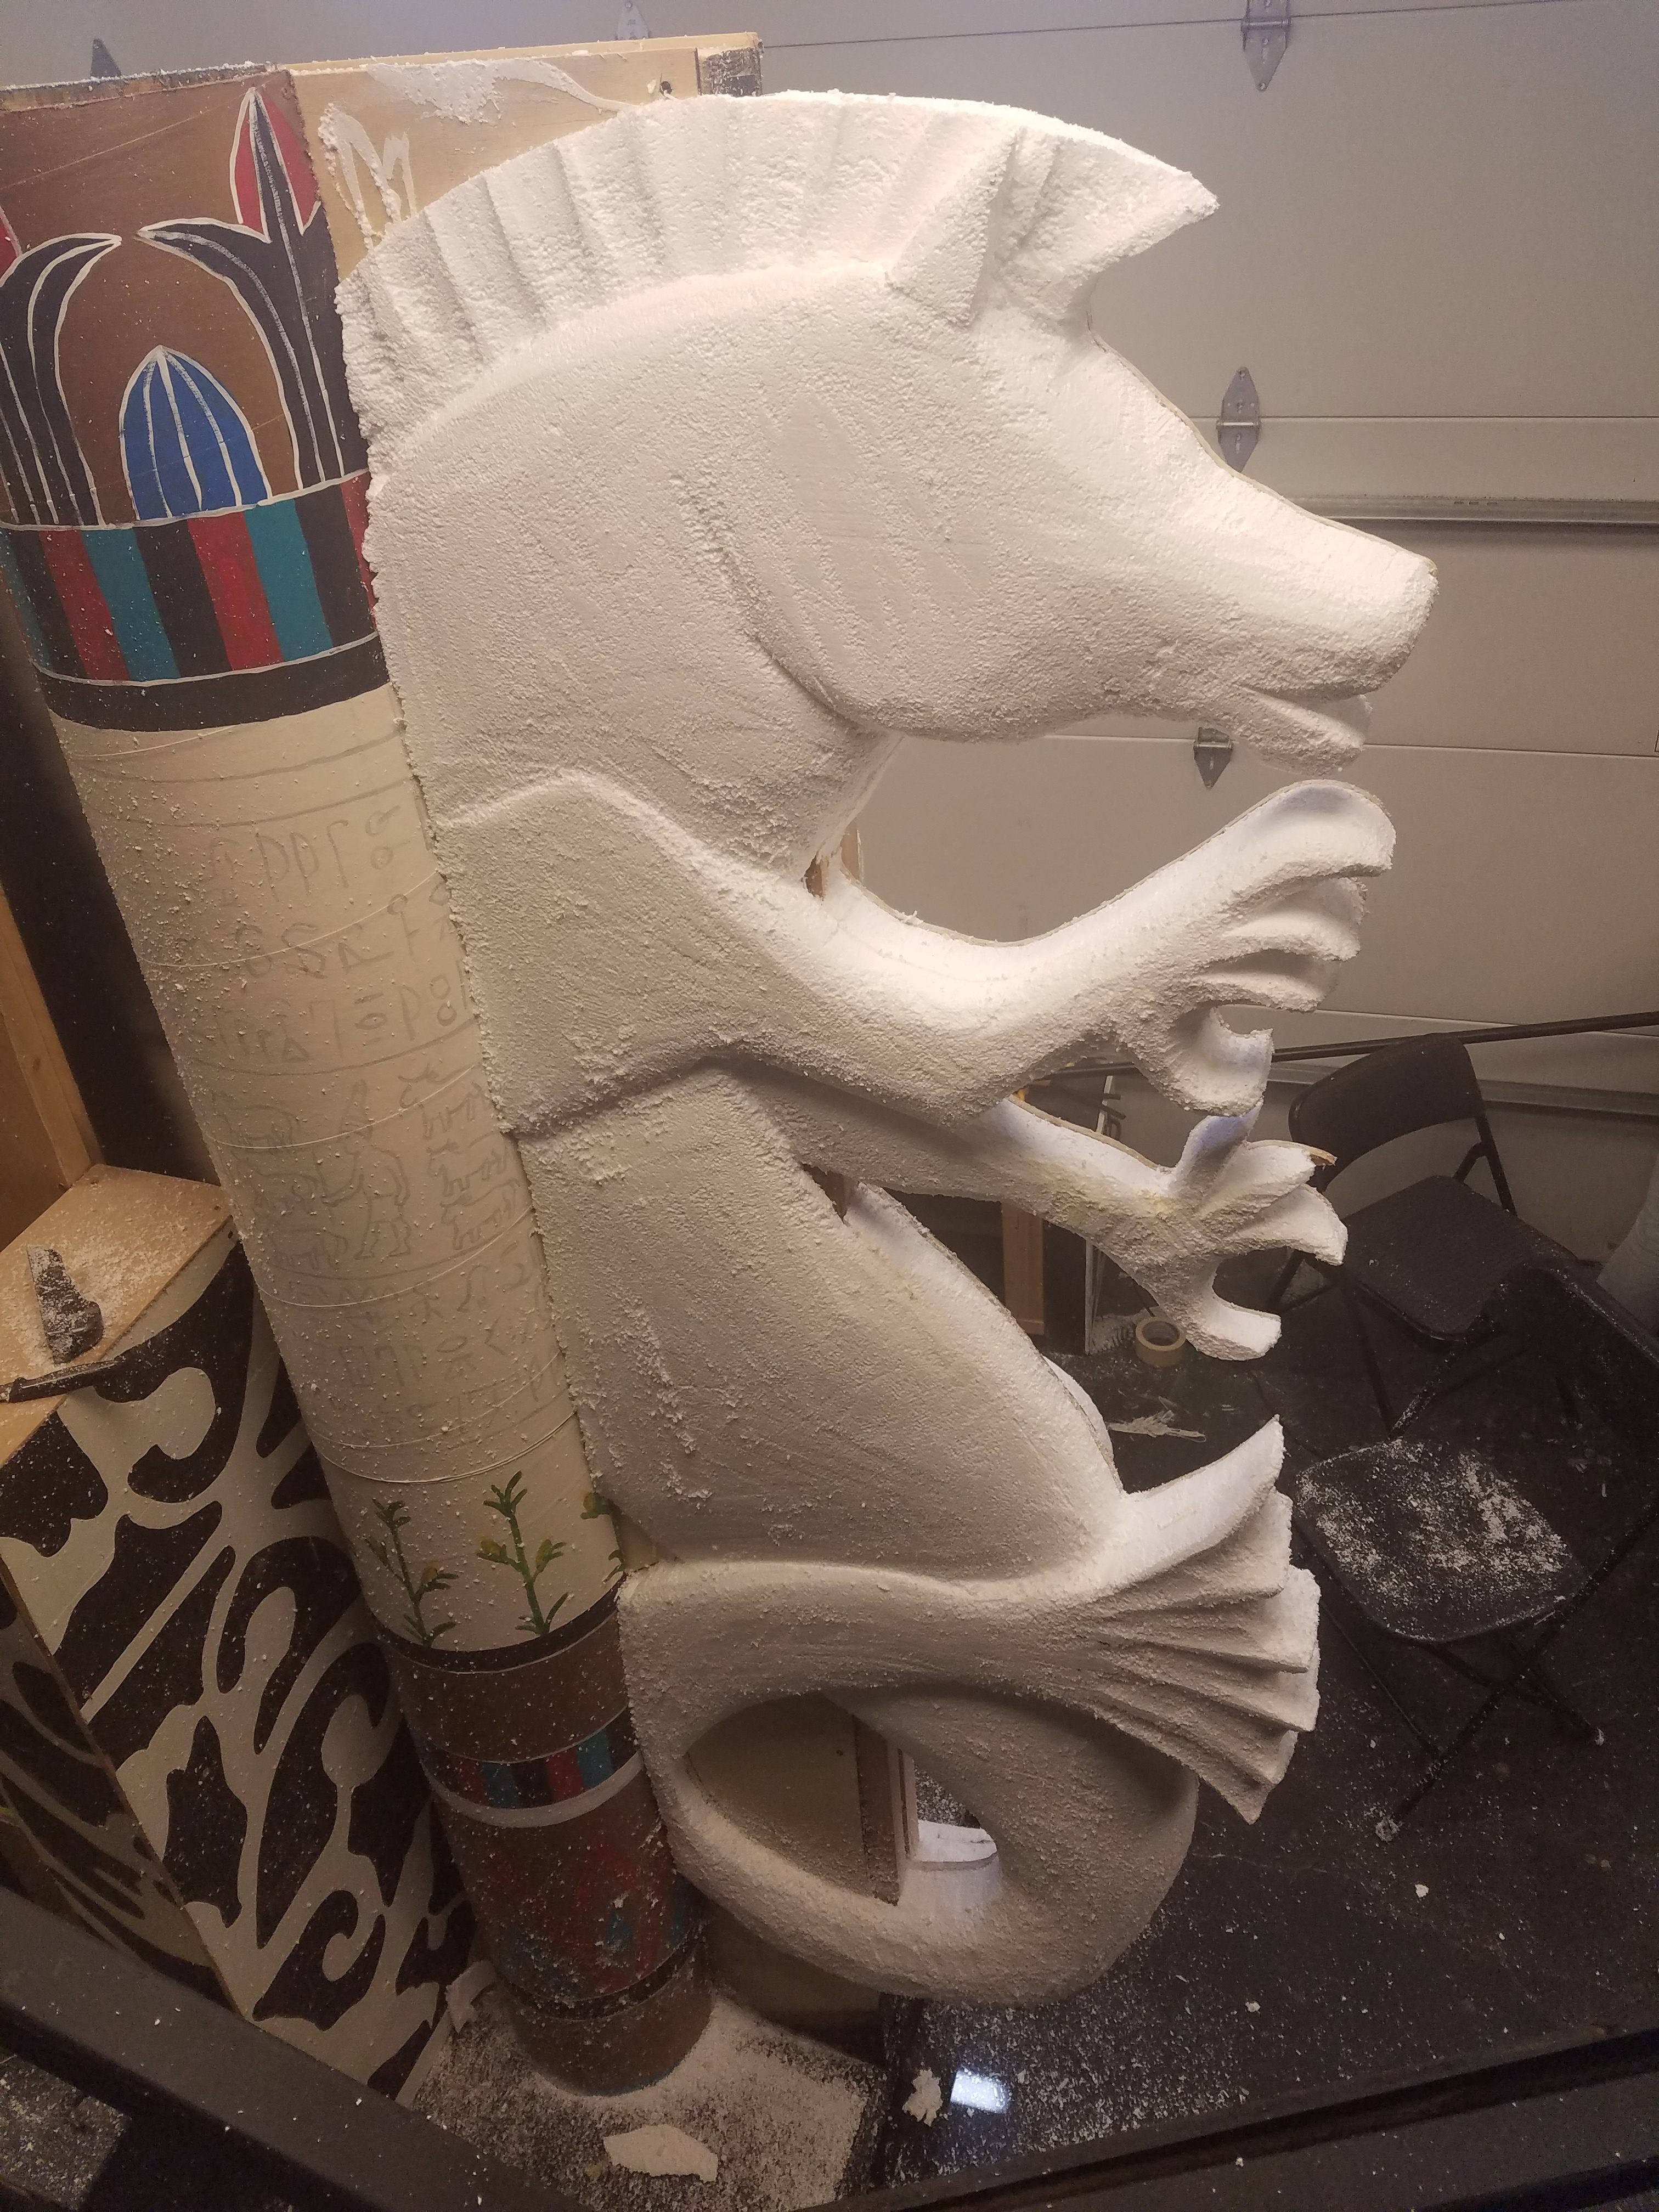
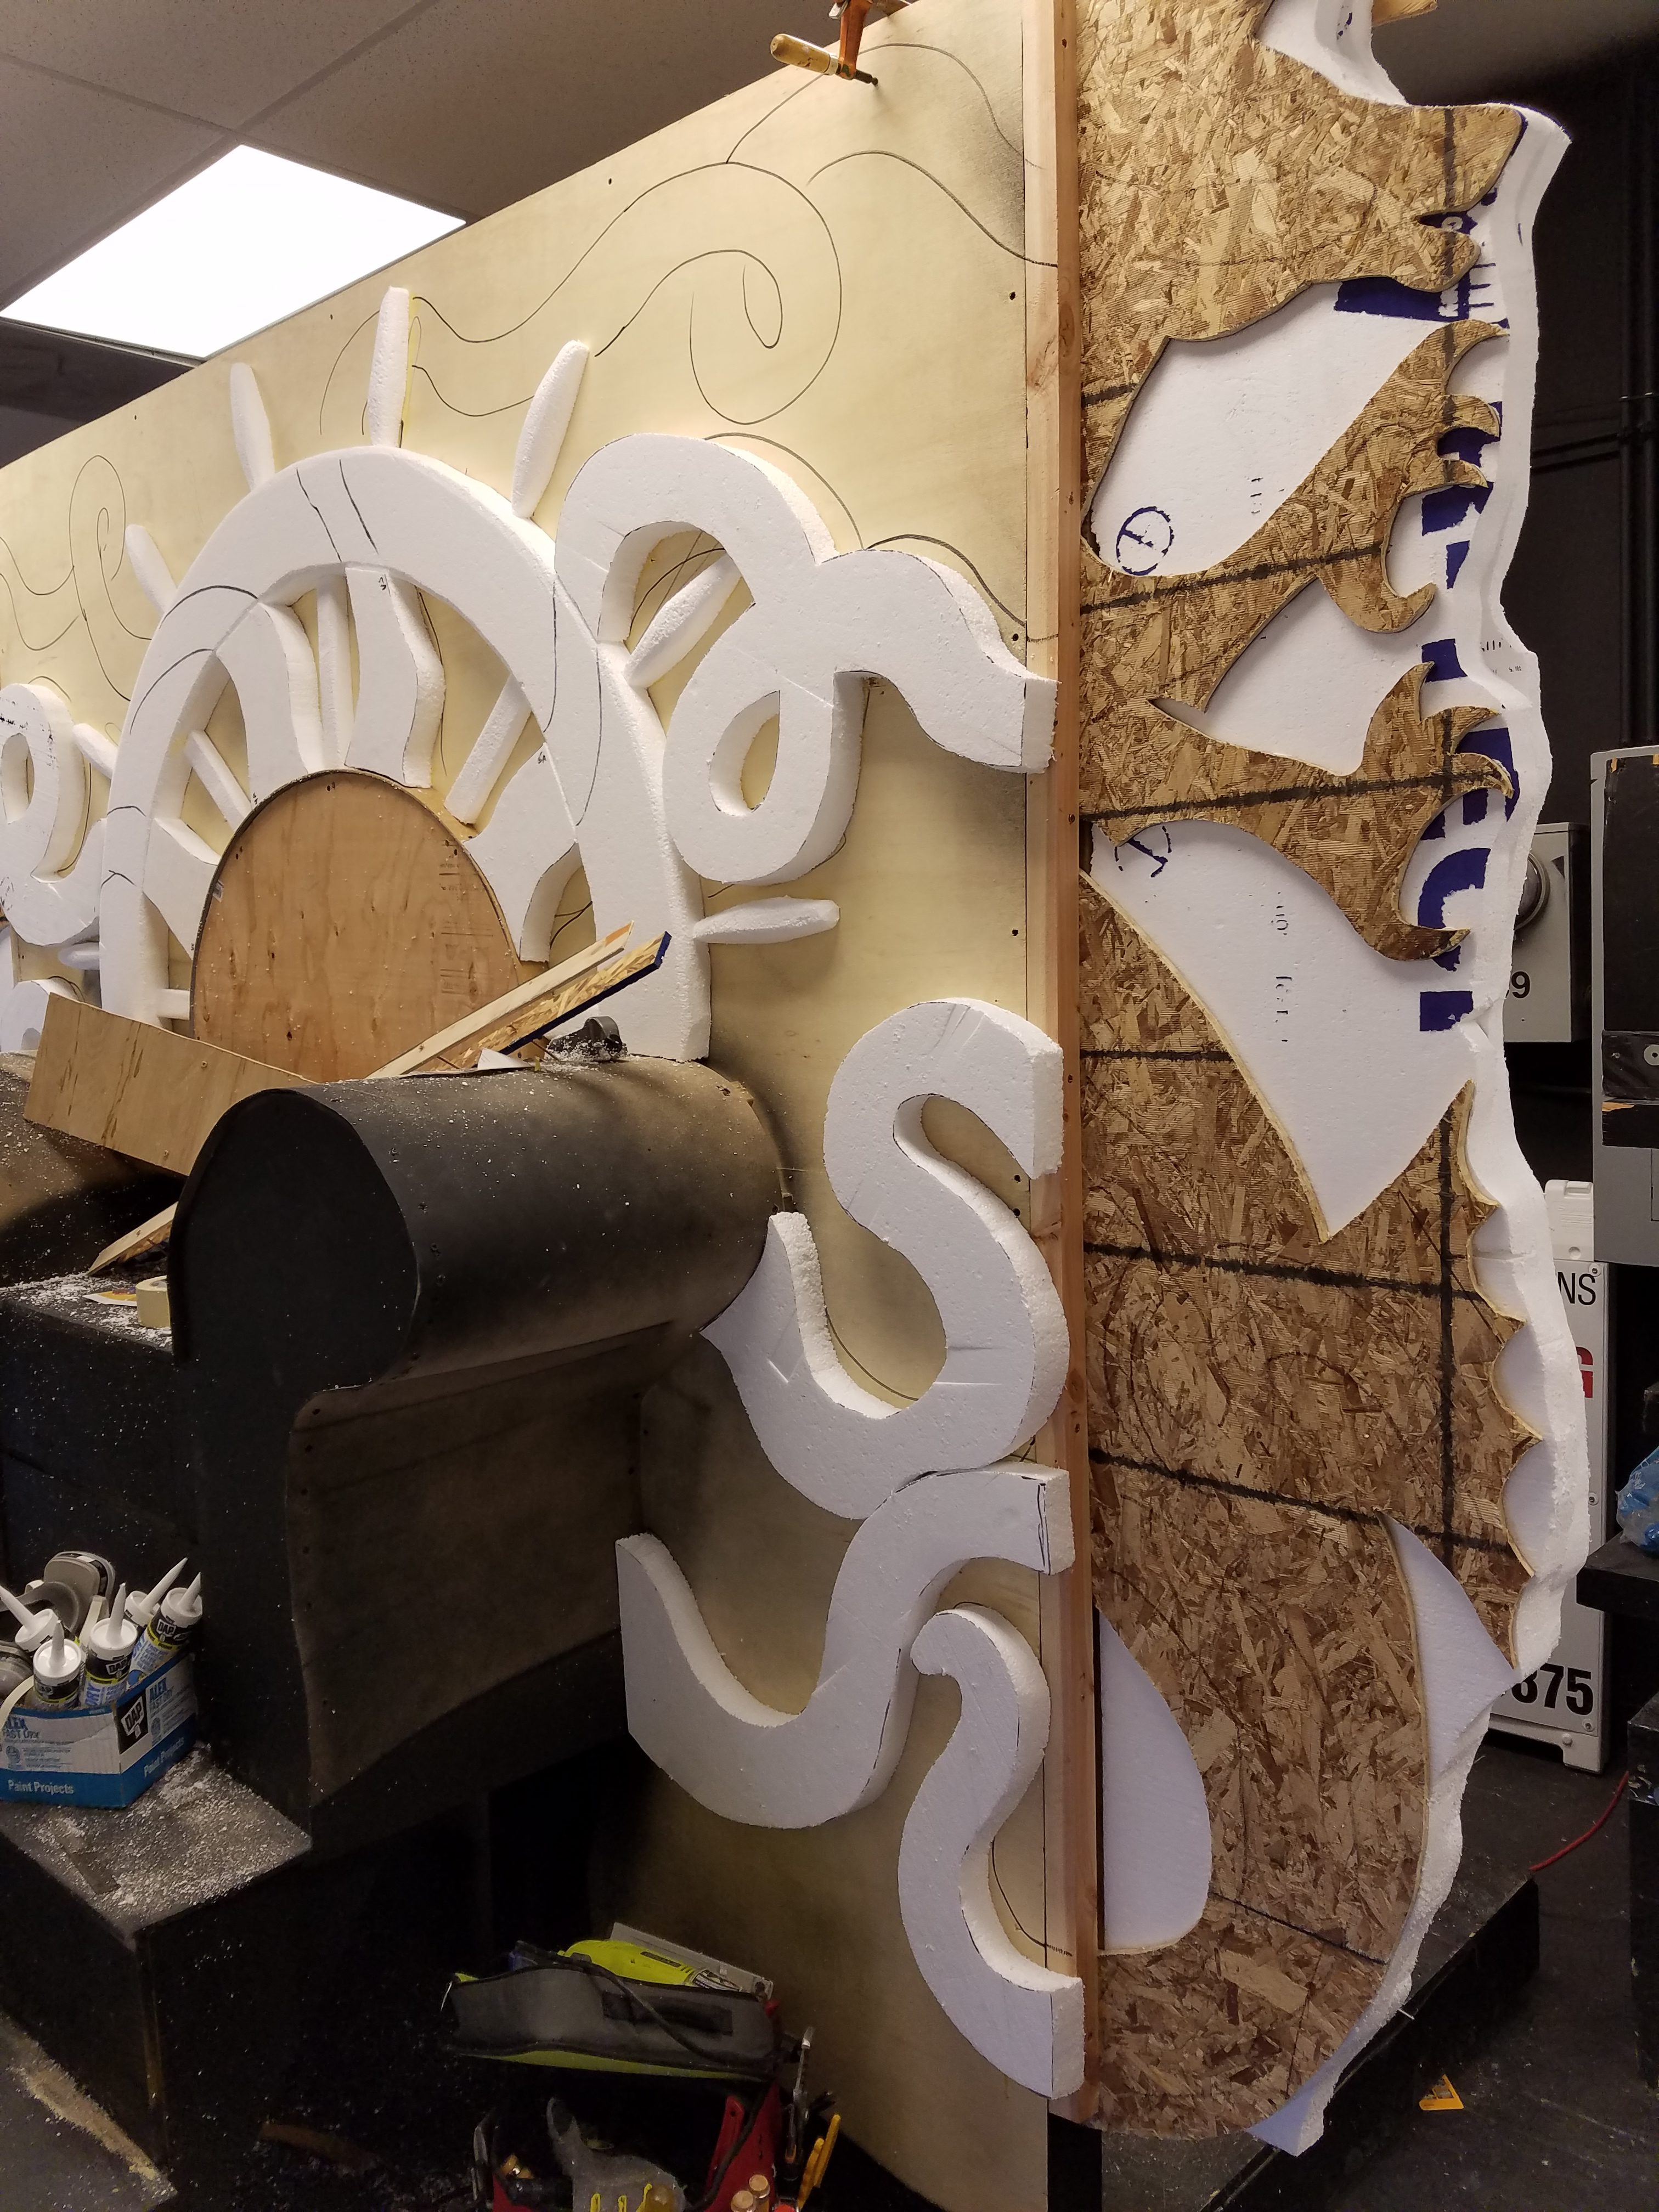
The platform was built on wheels, with a wall down the middle. Triton’s throne went on first, and then the columns. We would save the triangular “roof” until the very end, since otherwise the piece would be too tall to fit into the theater. I began by cutting out and attaching backing board for the hippocampi out of OSB, then applying the first layer of 2″ construction foam.
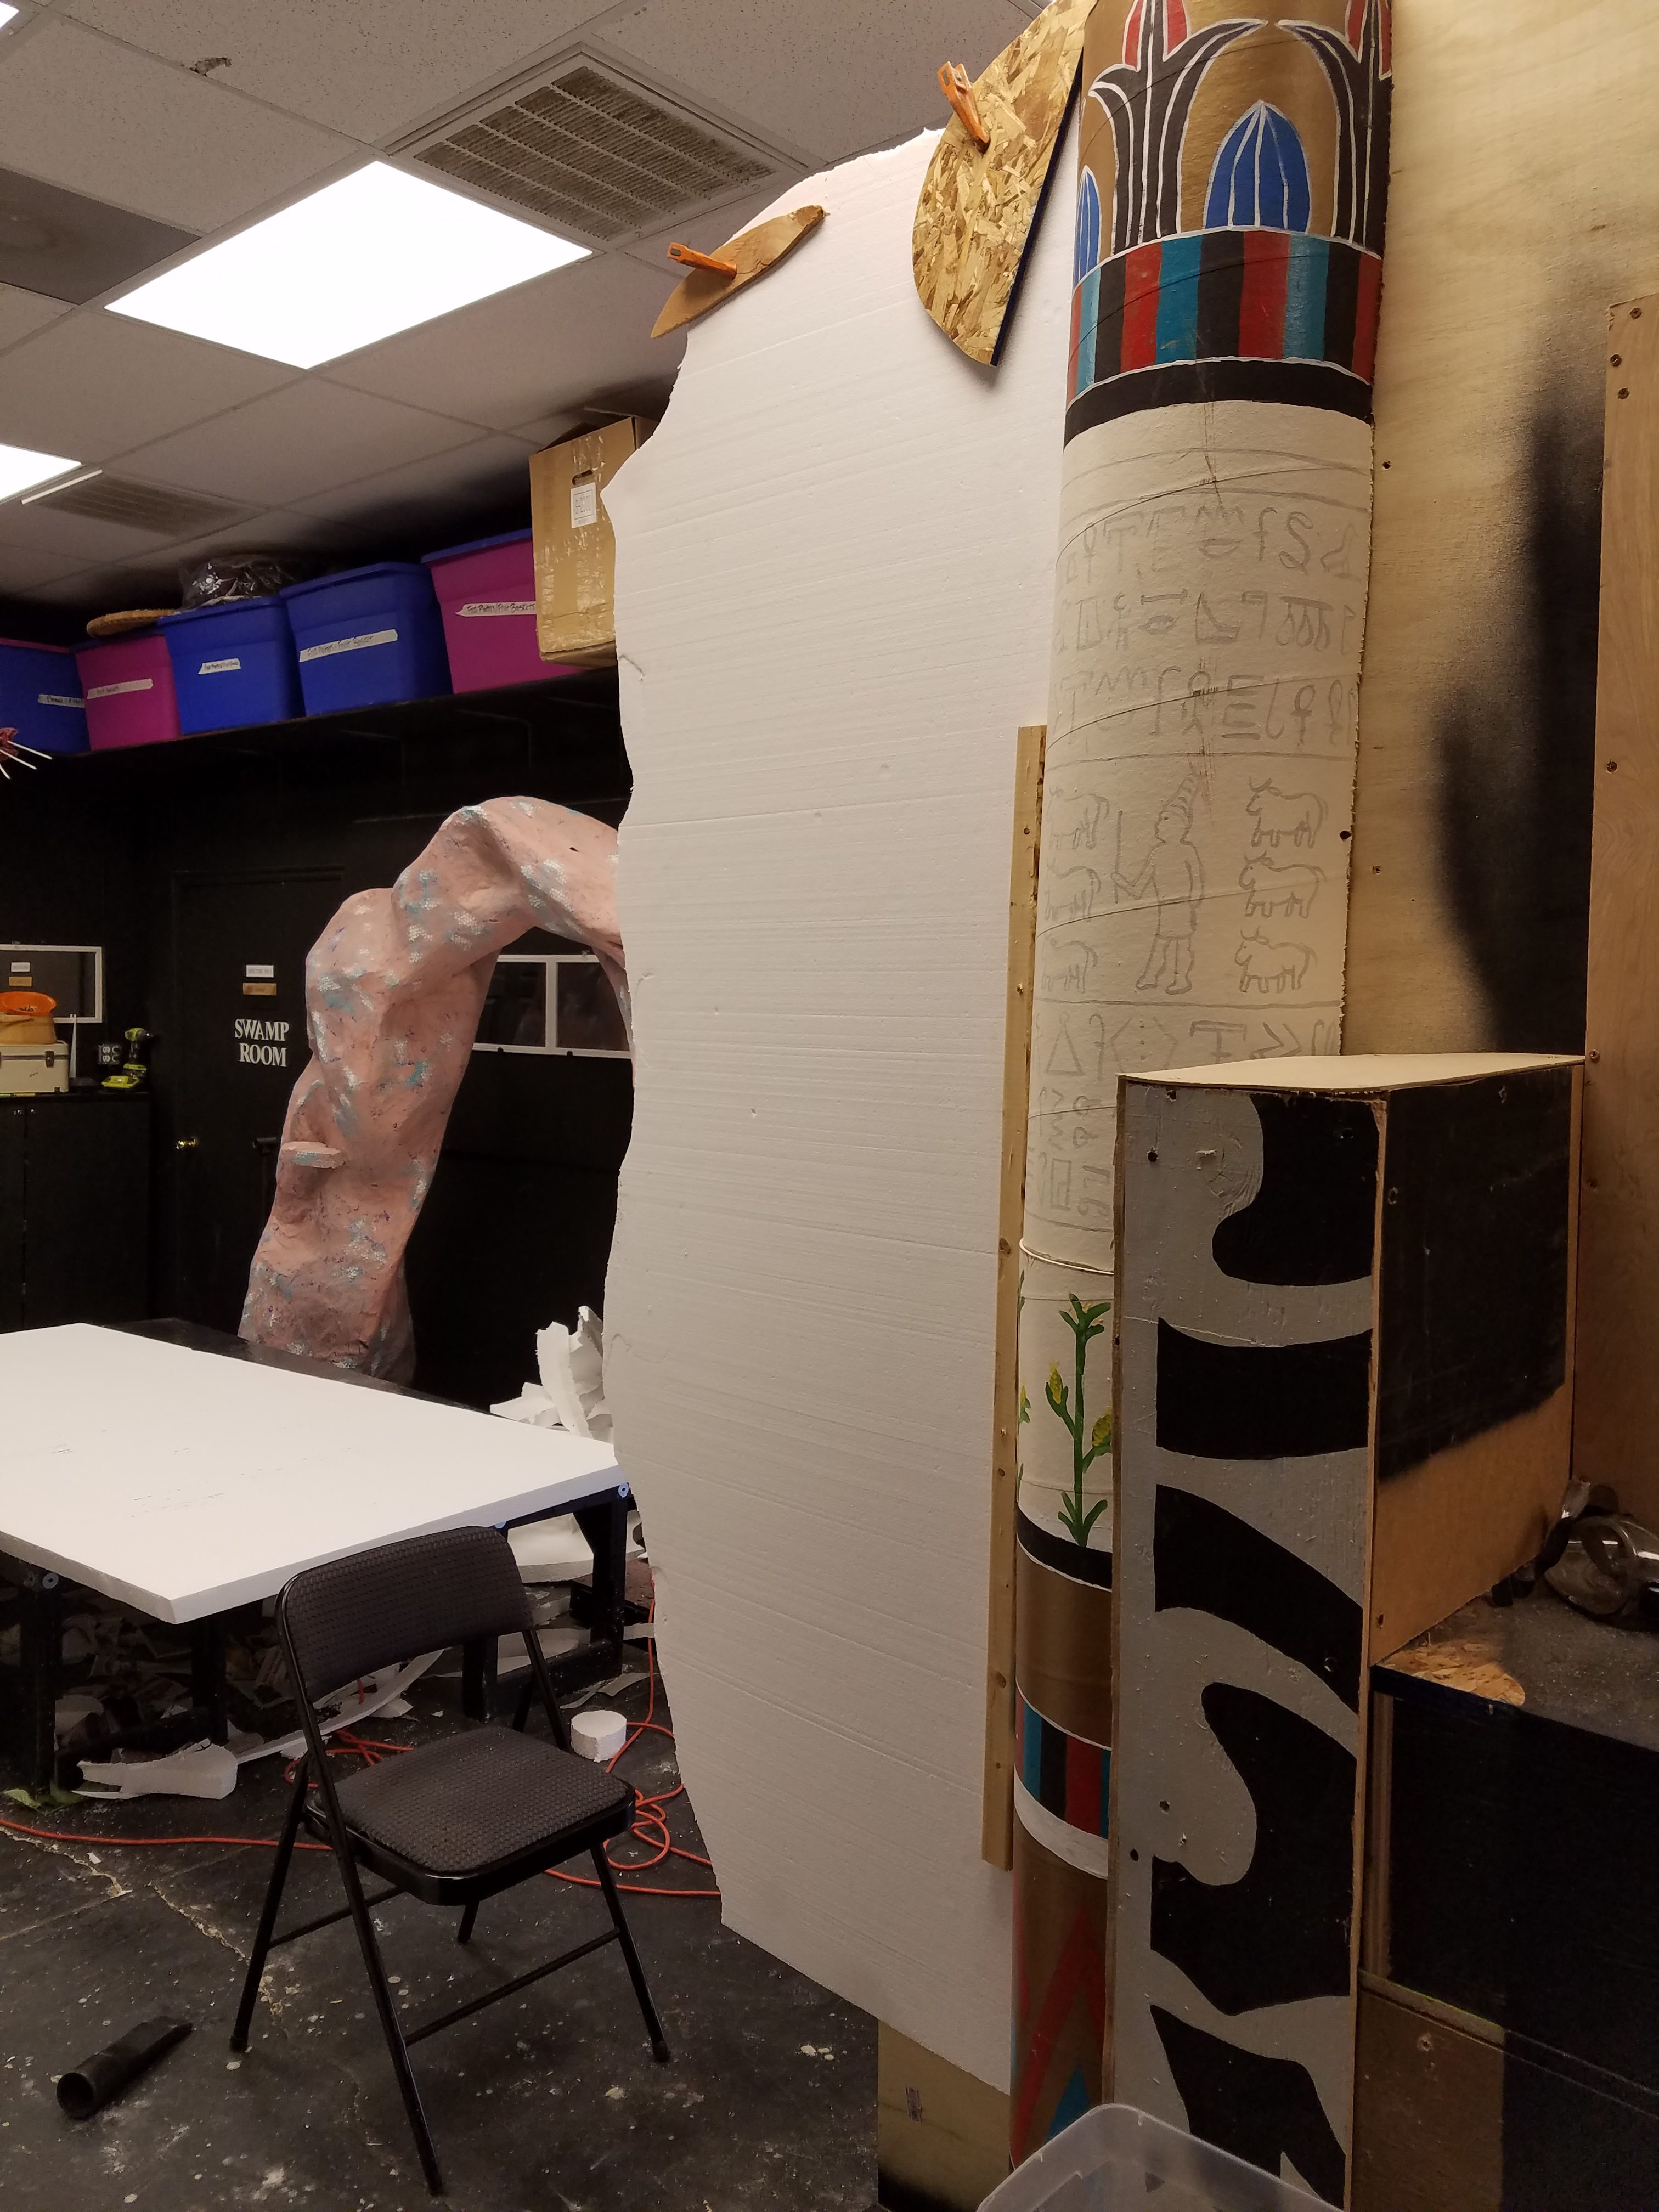
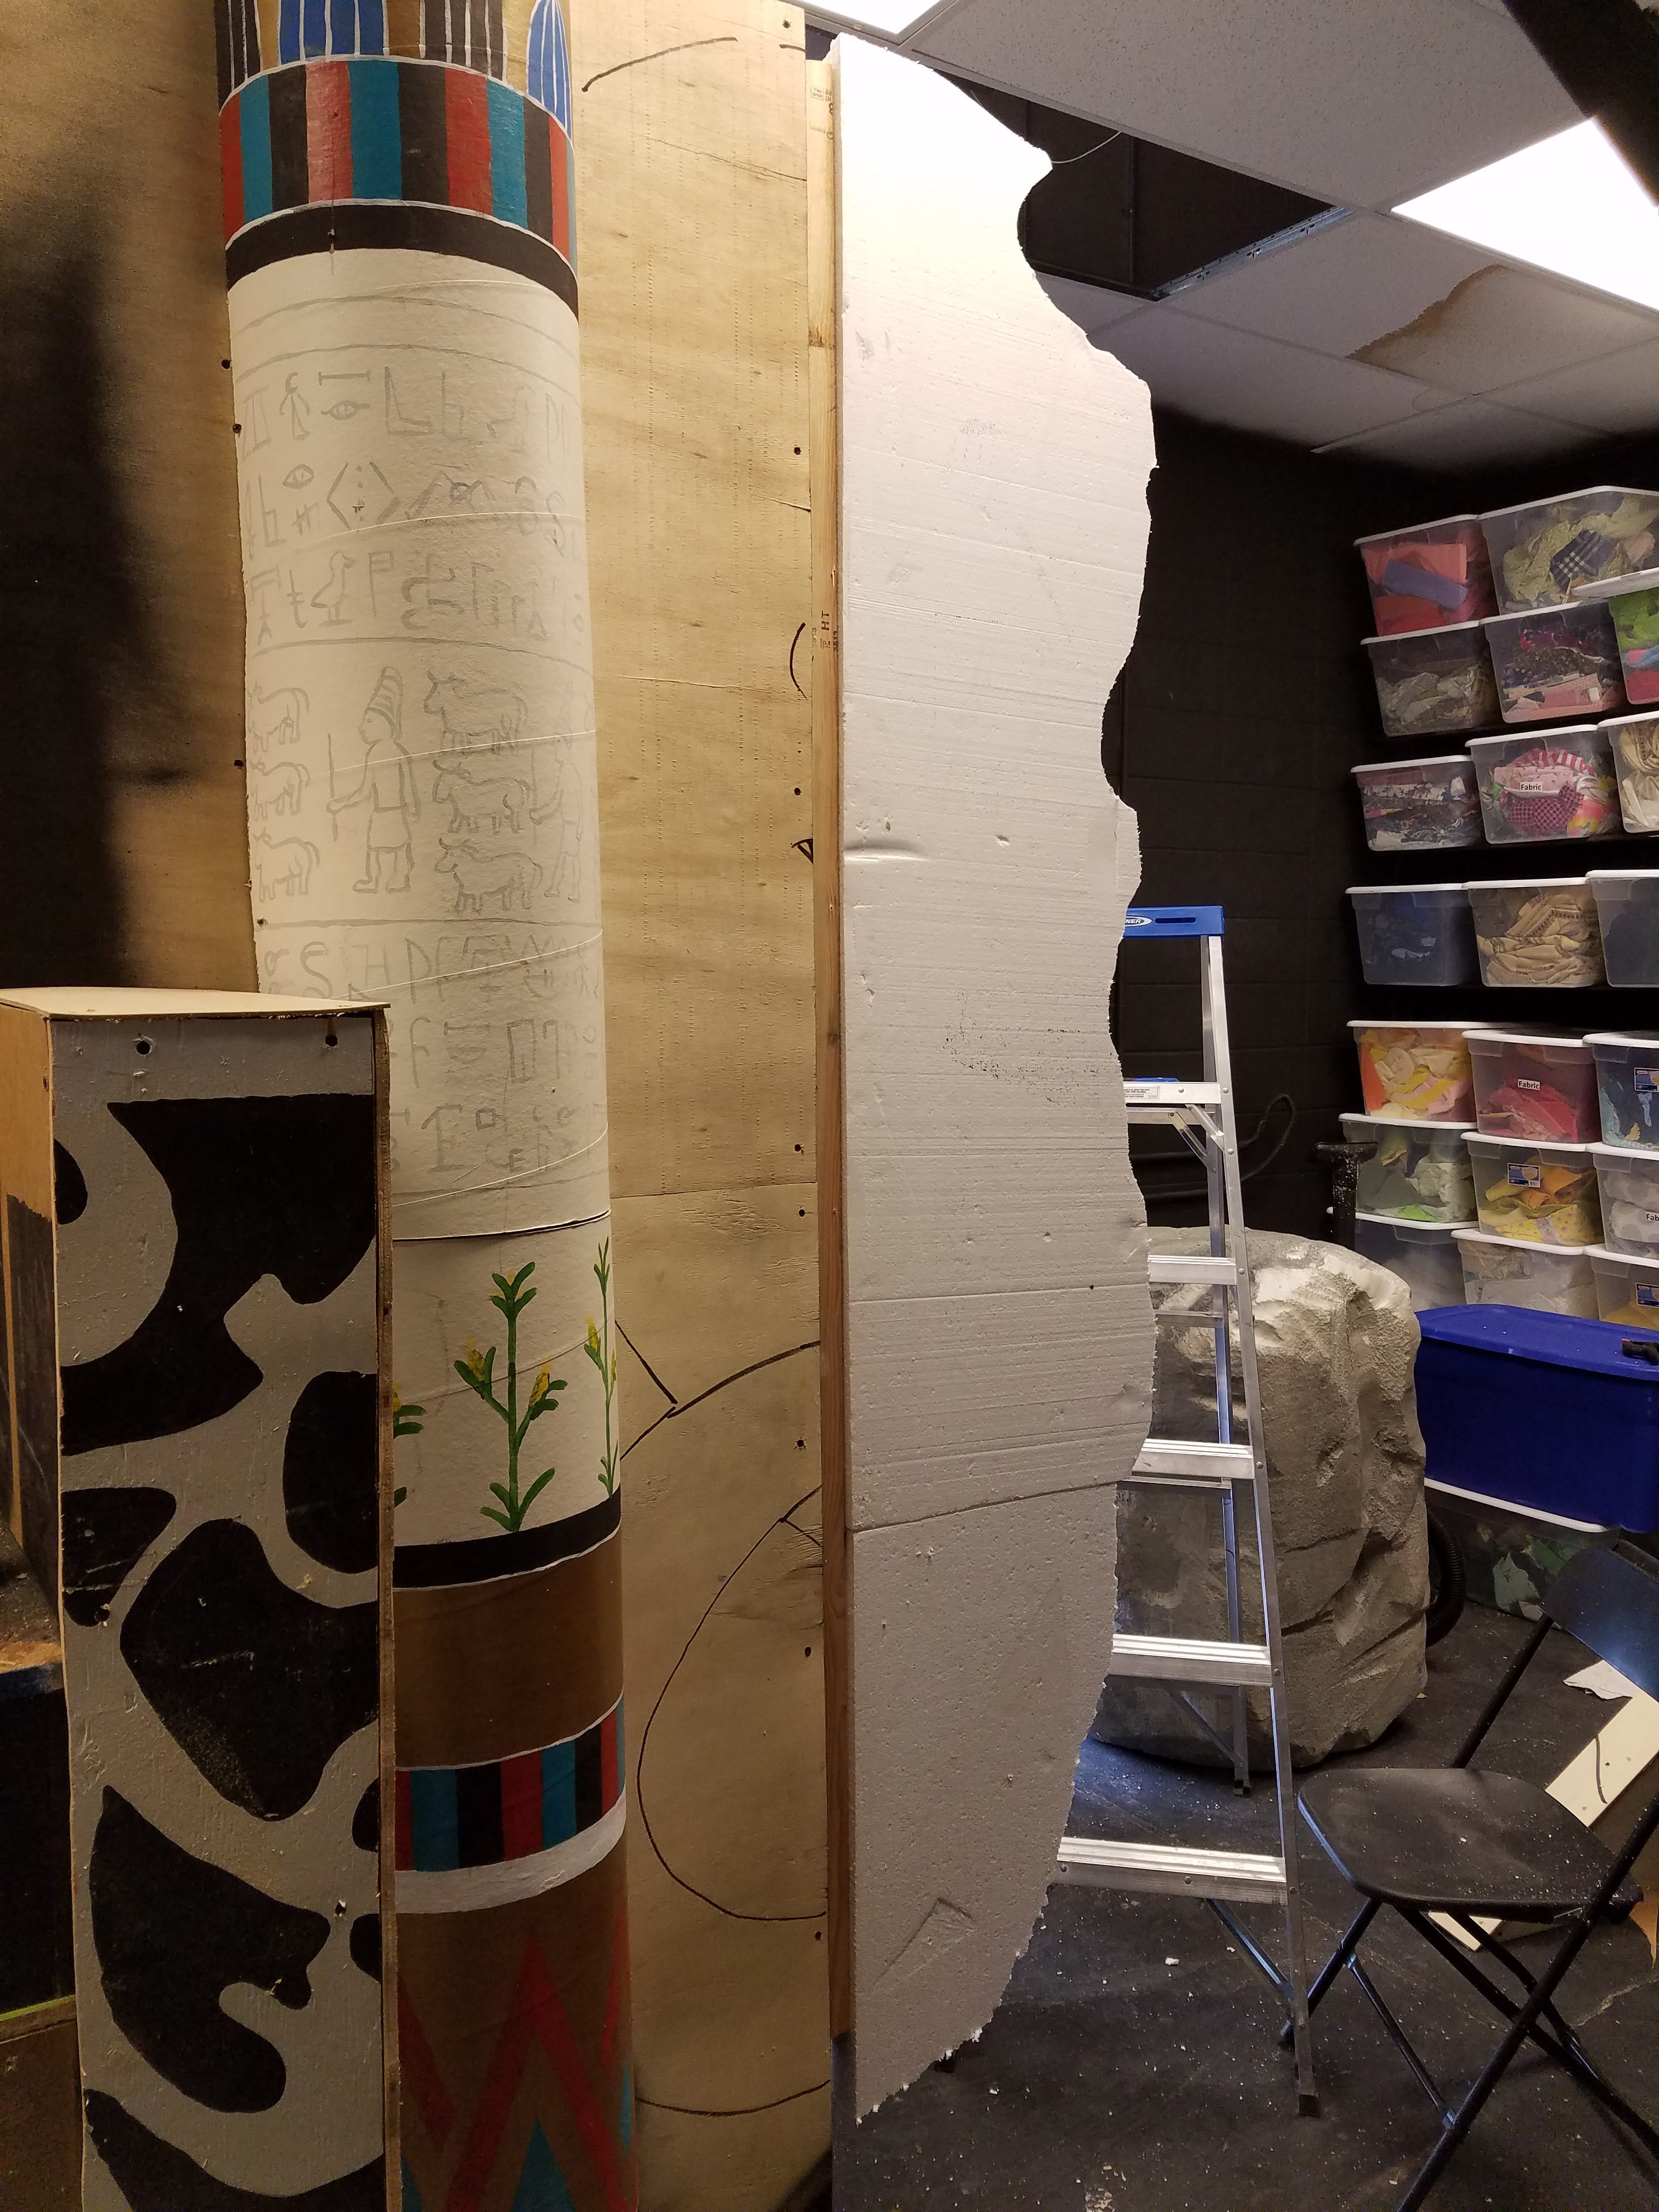
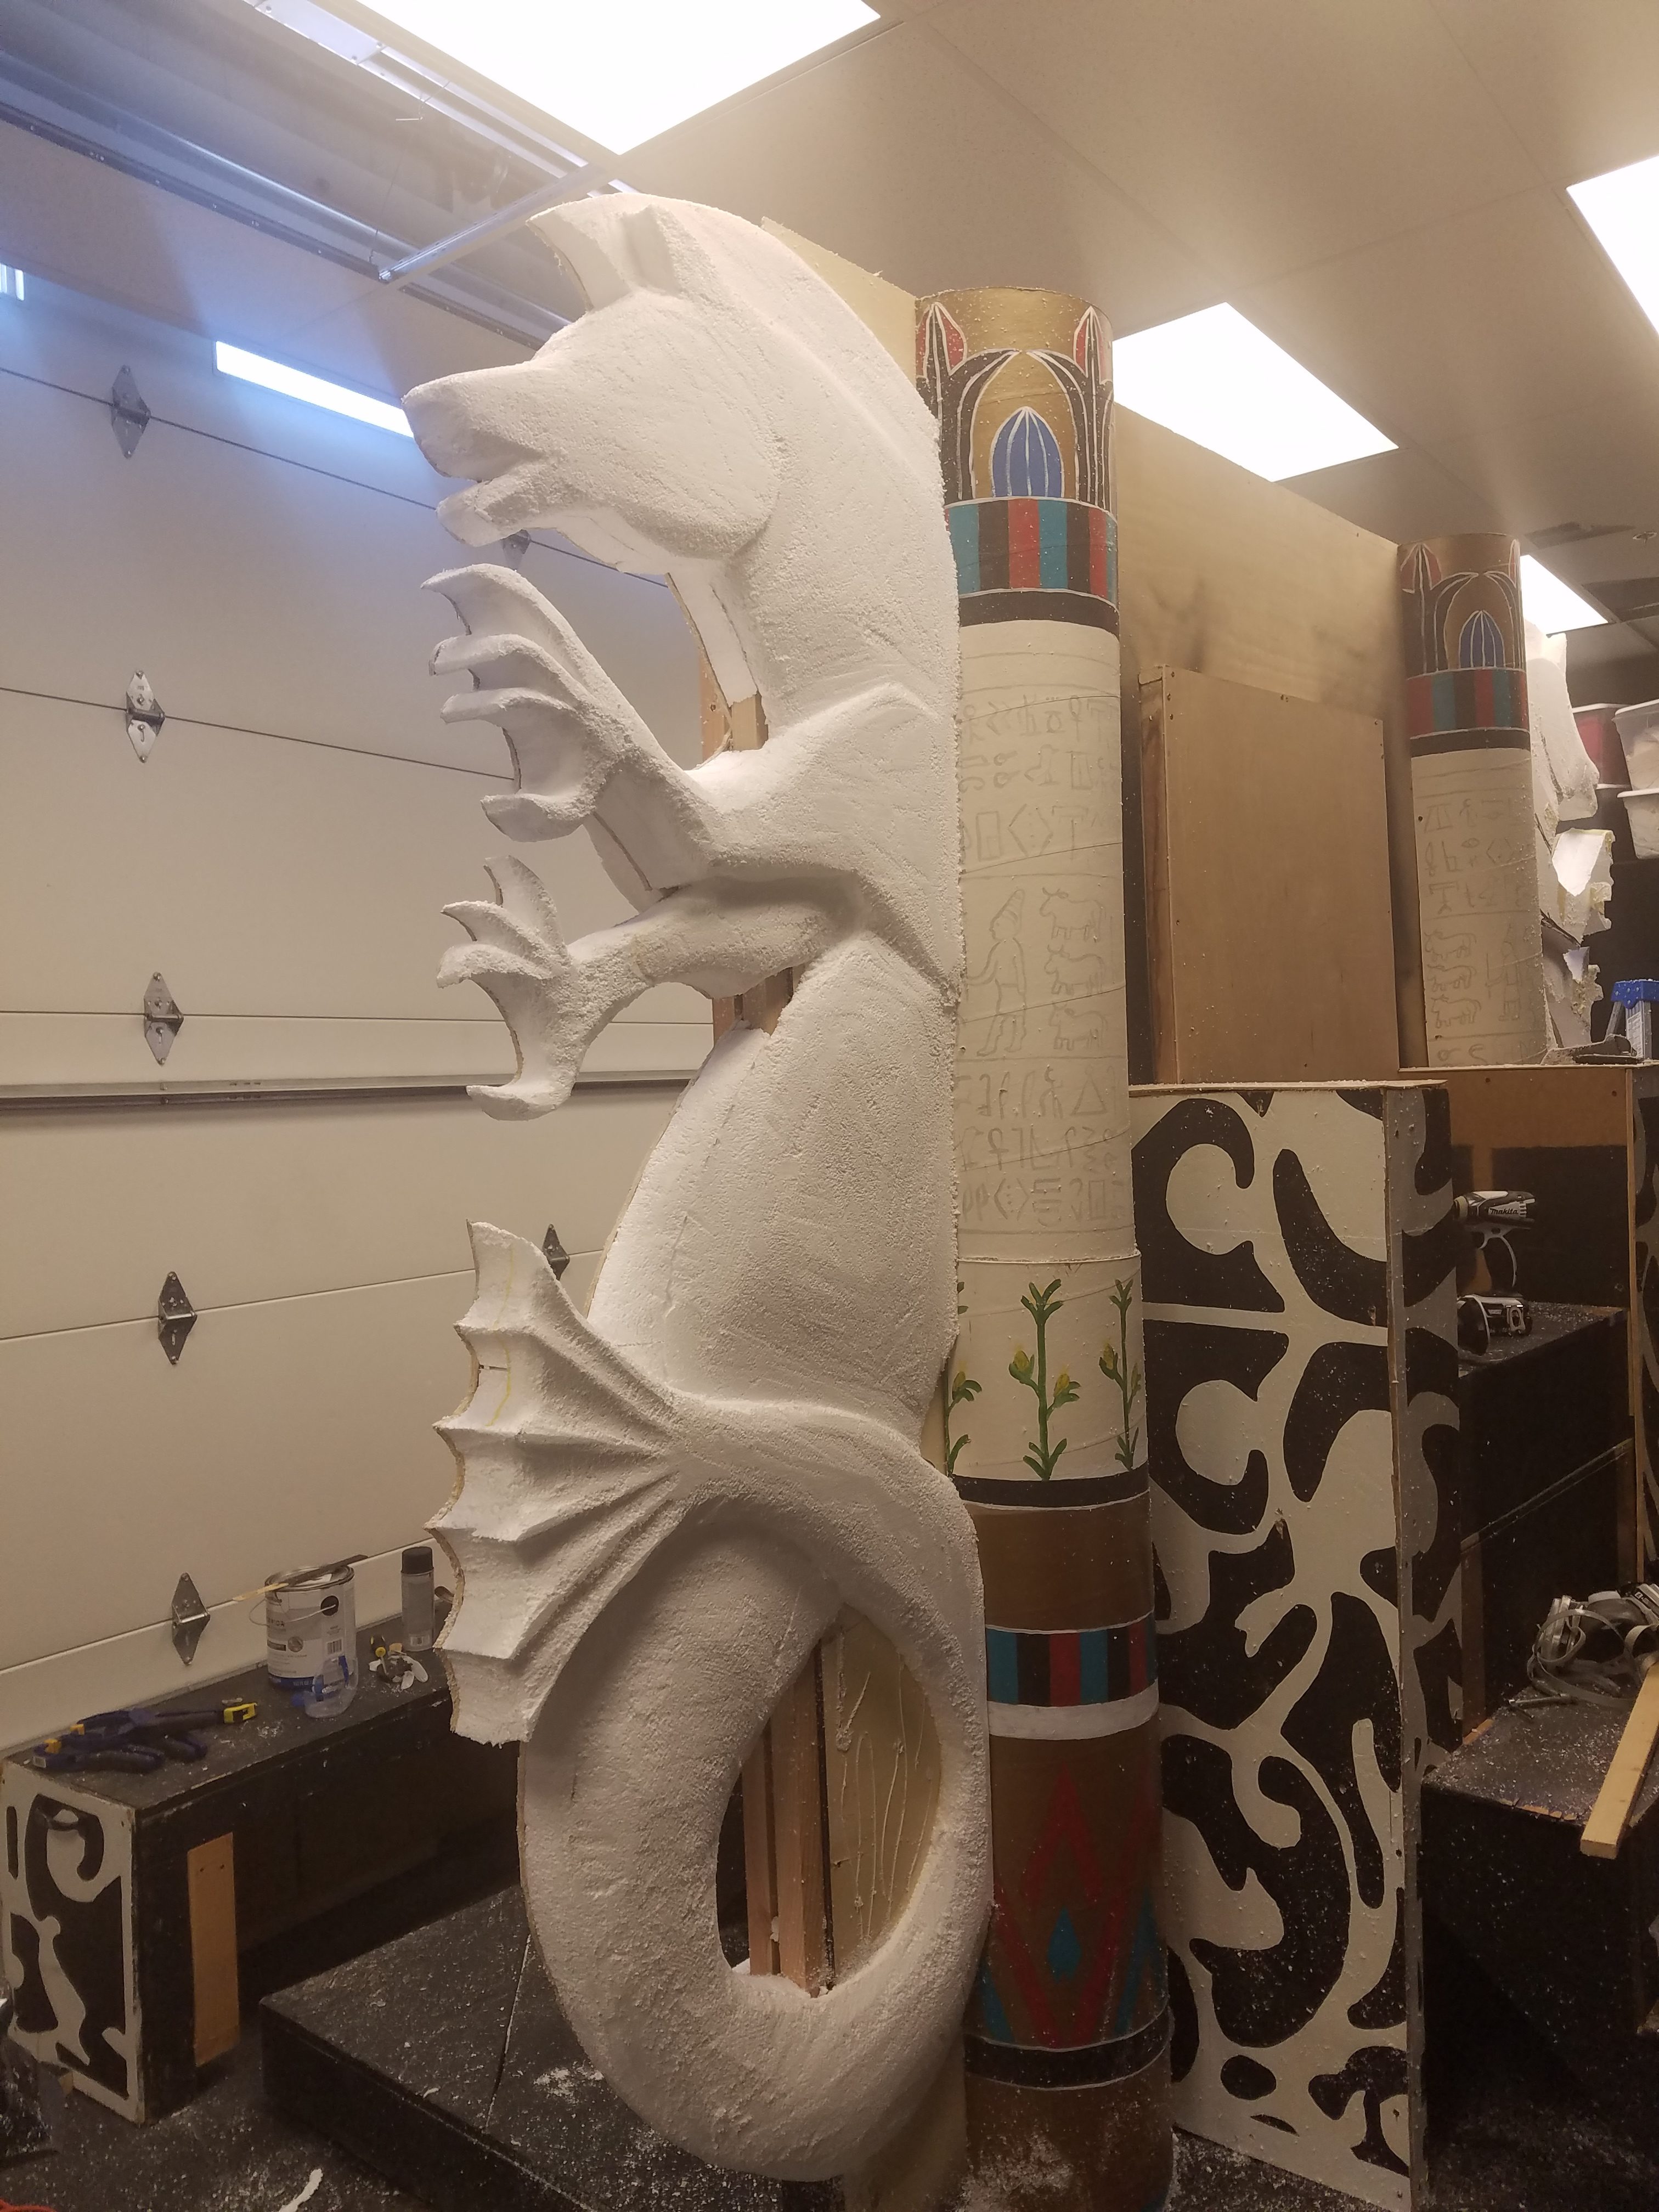
Next, I added a second layer of foam and did a rough cut to shape the hippocampi. The trick was that I wanted them perfectly symmetrical. That’s hard to do when you’re eyeballing foam.
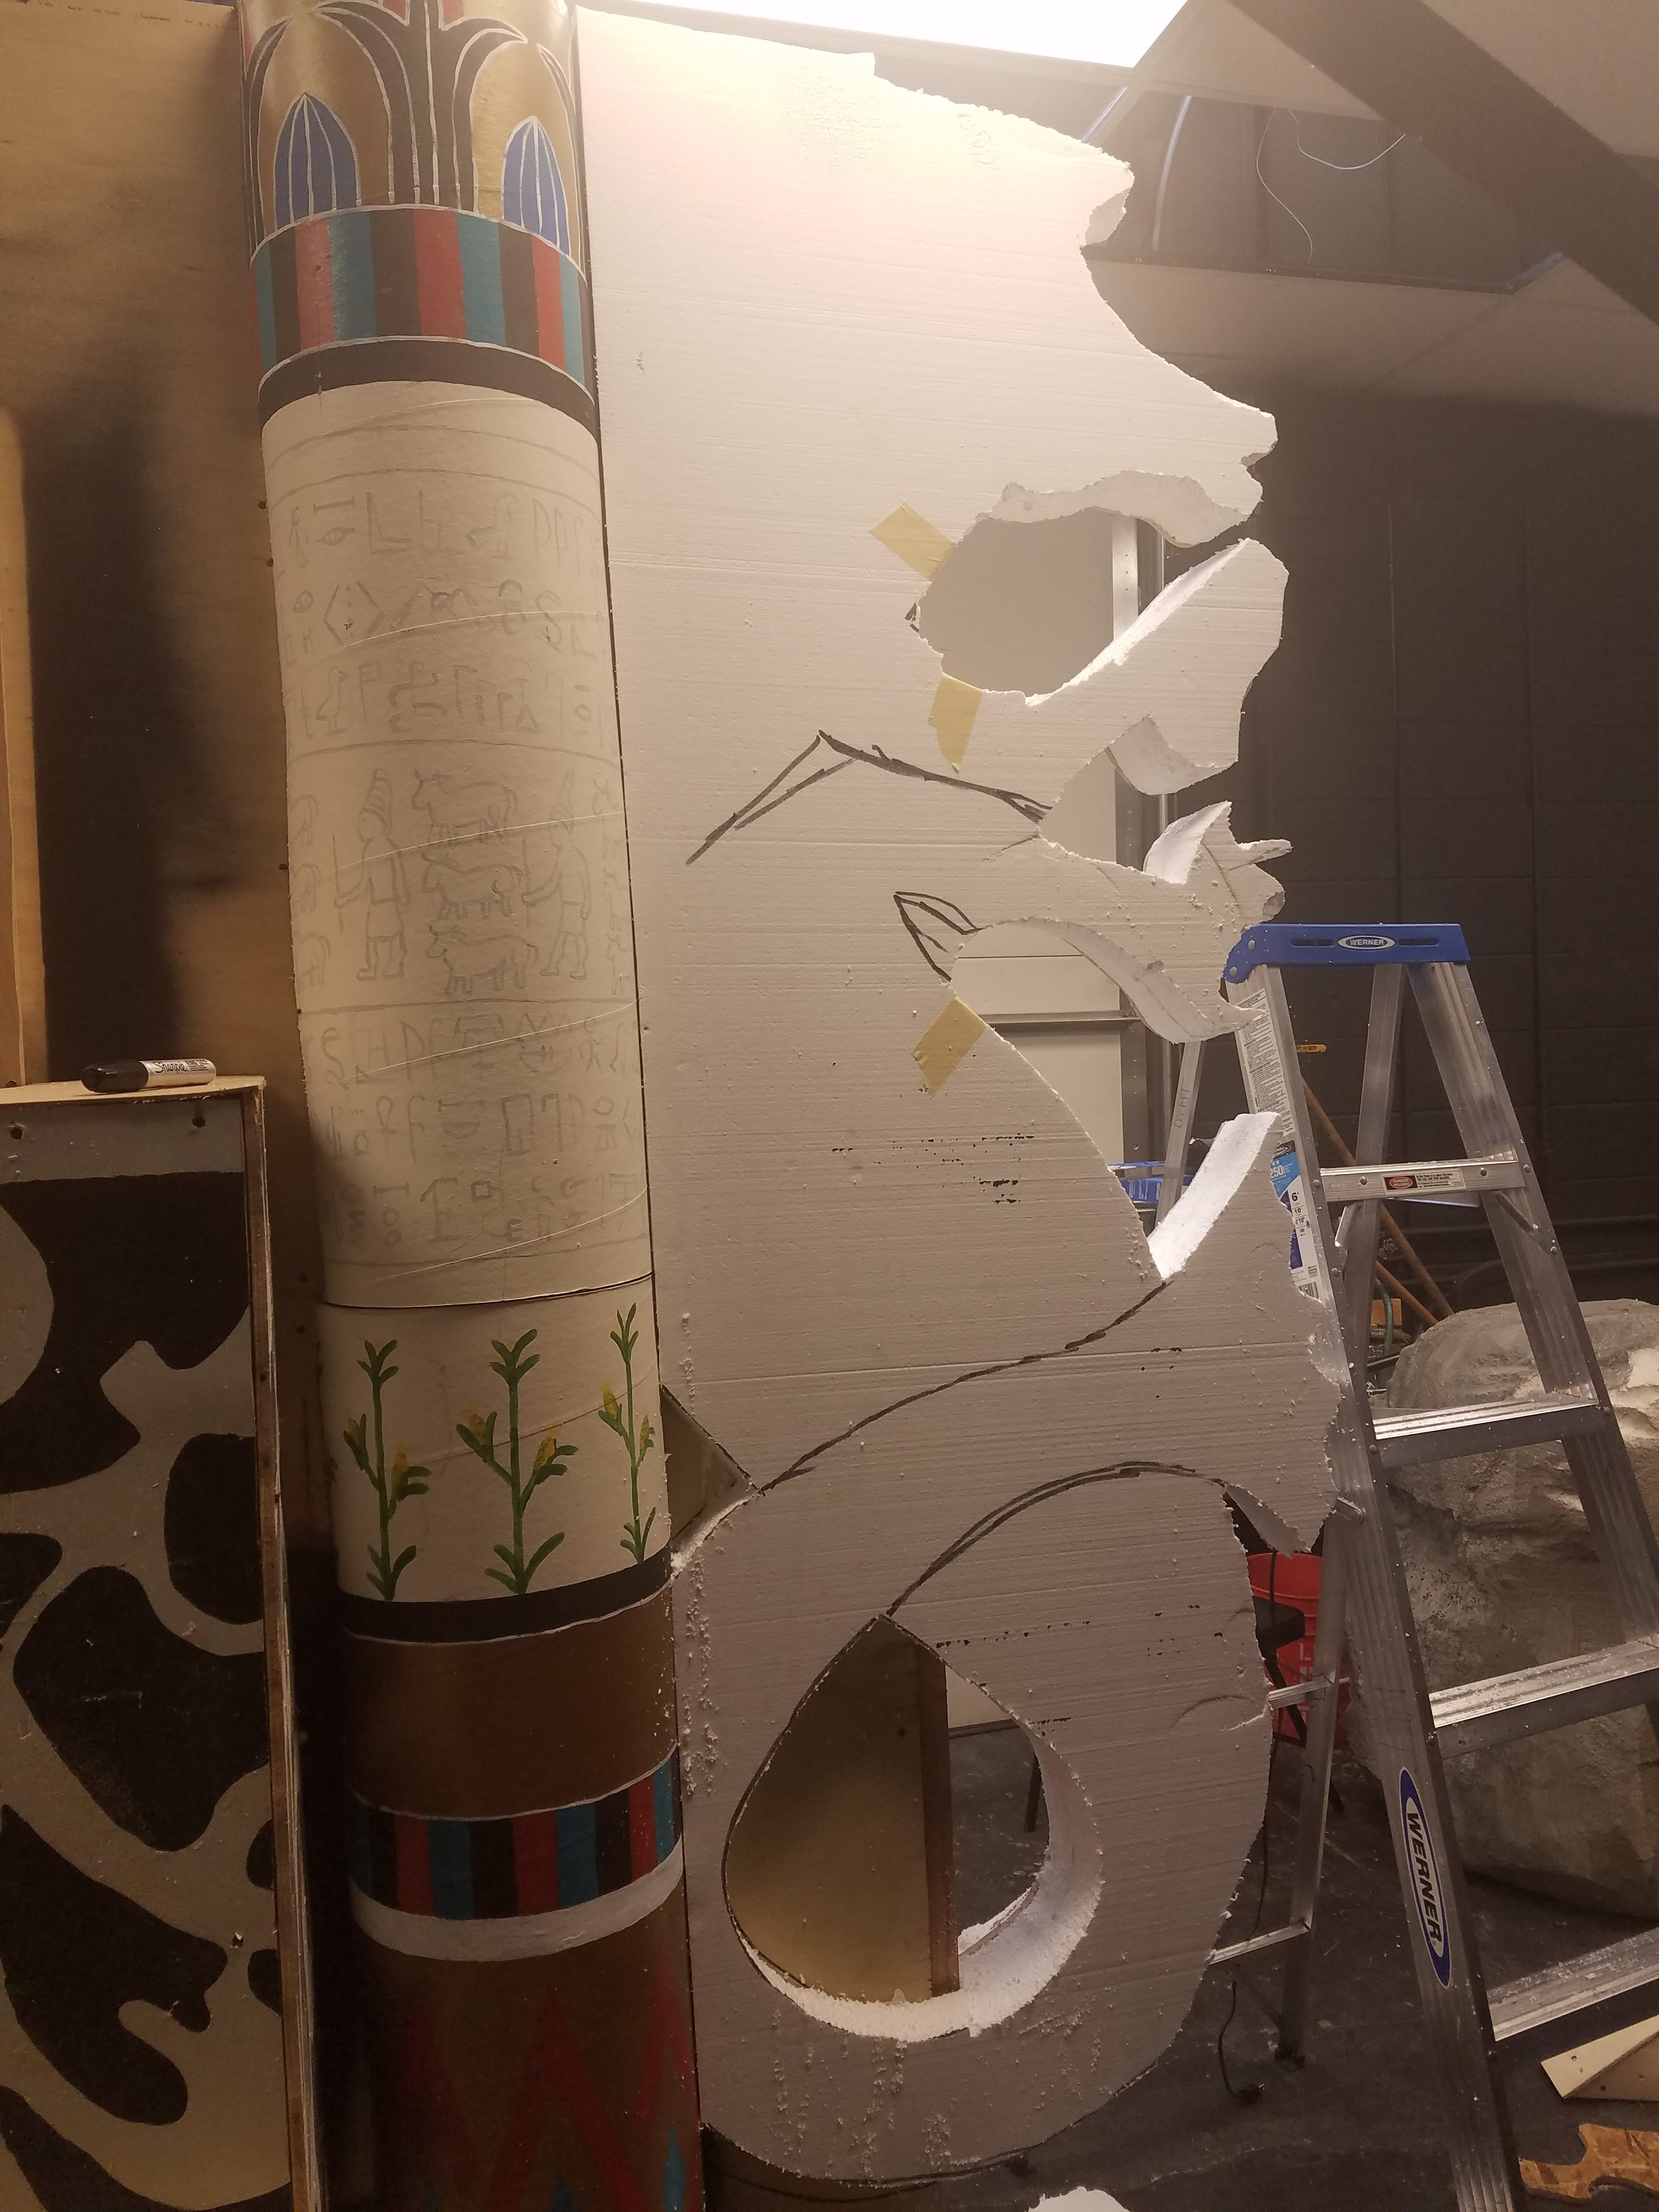
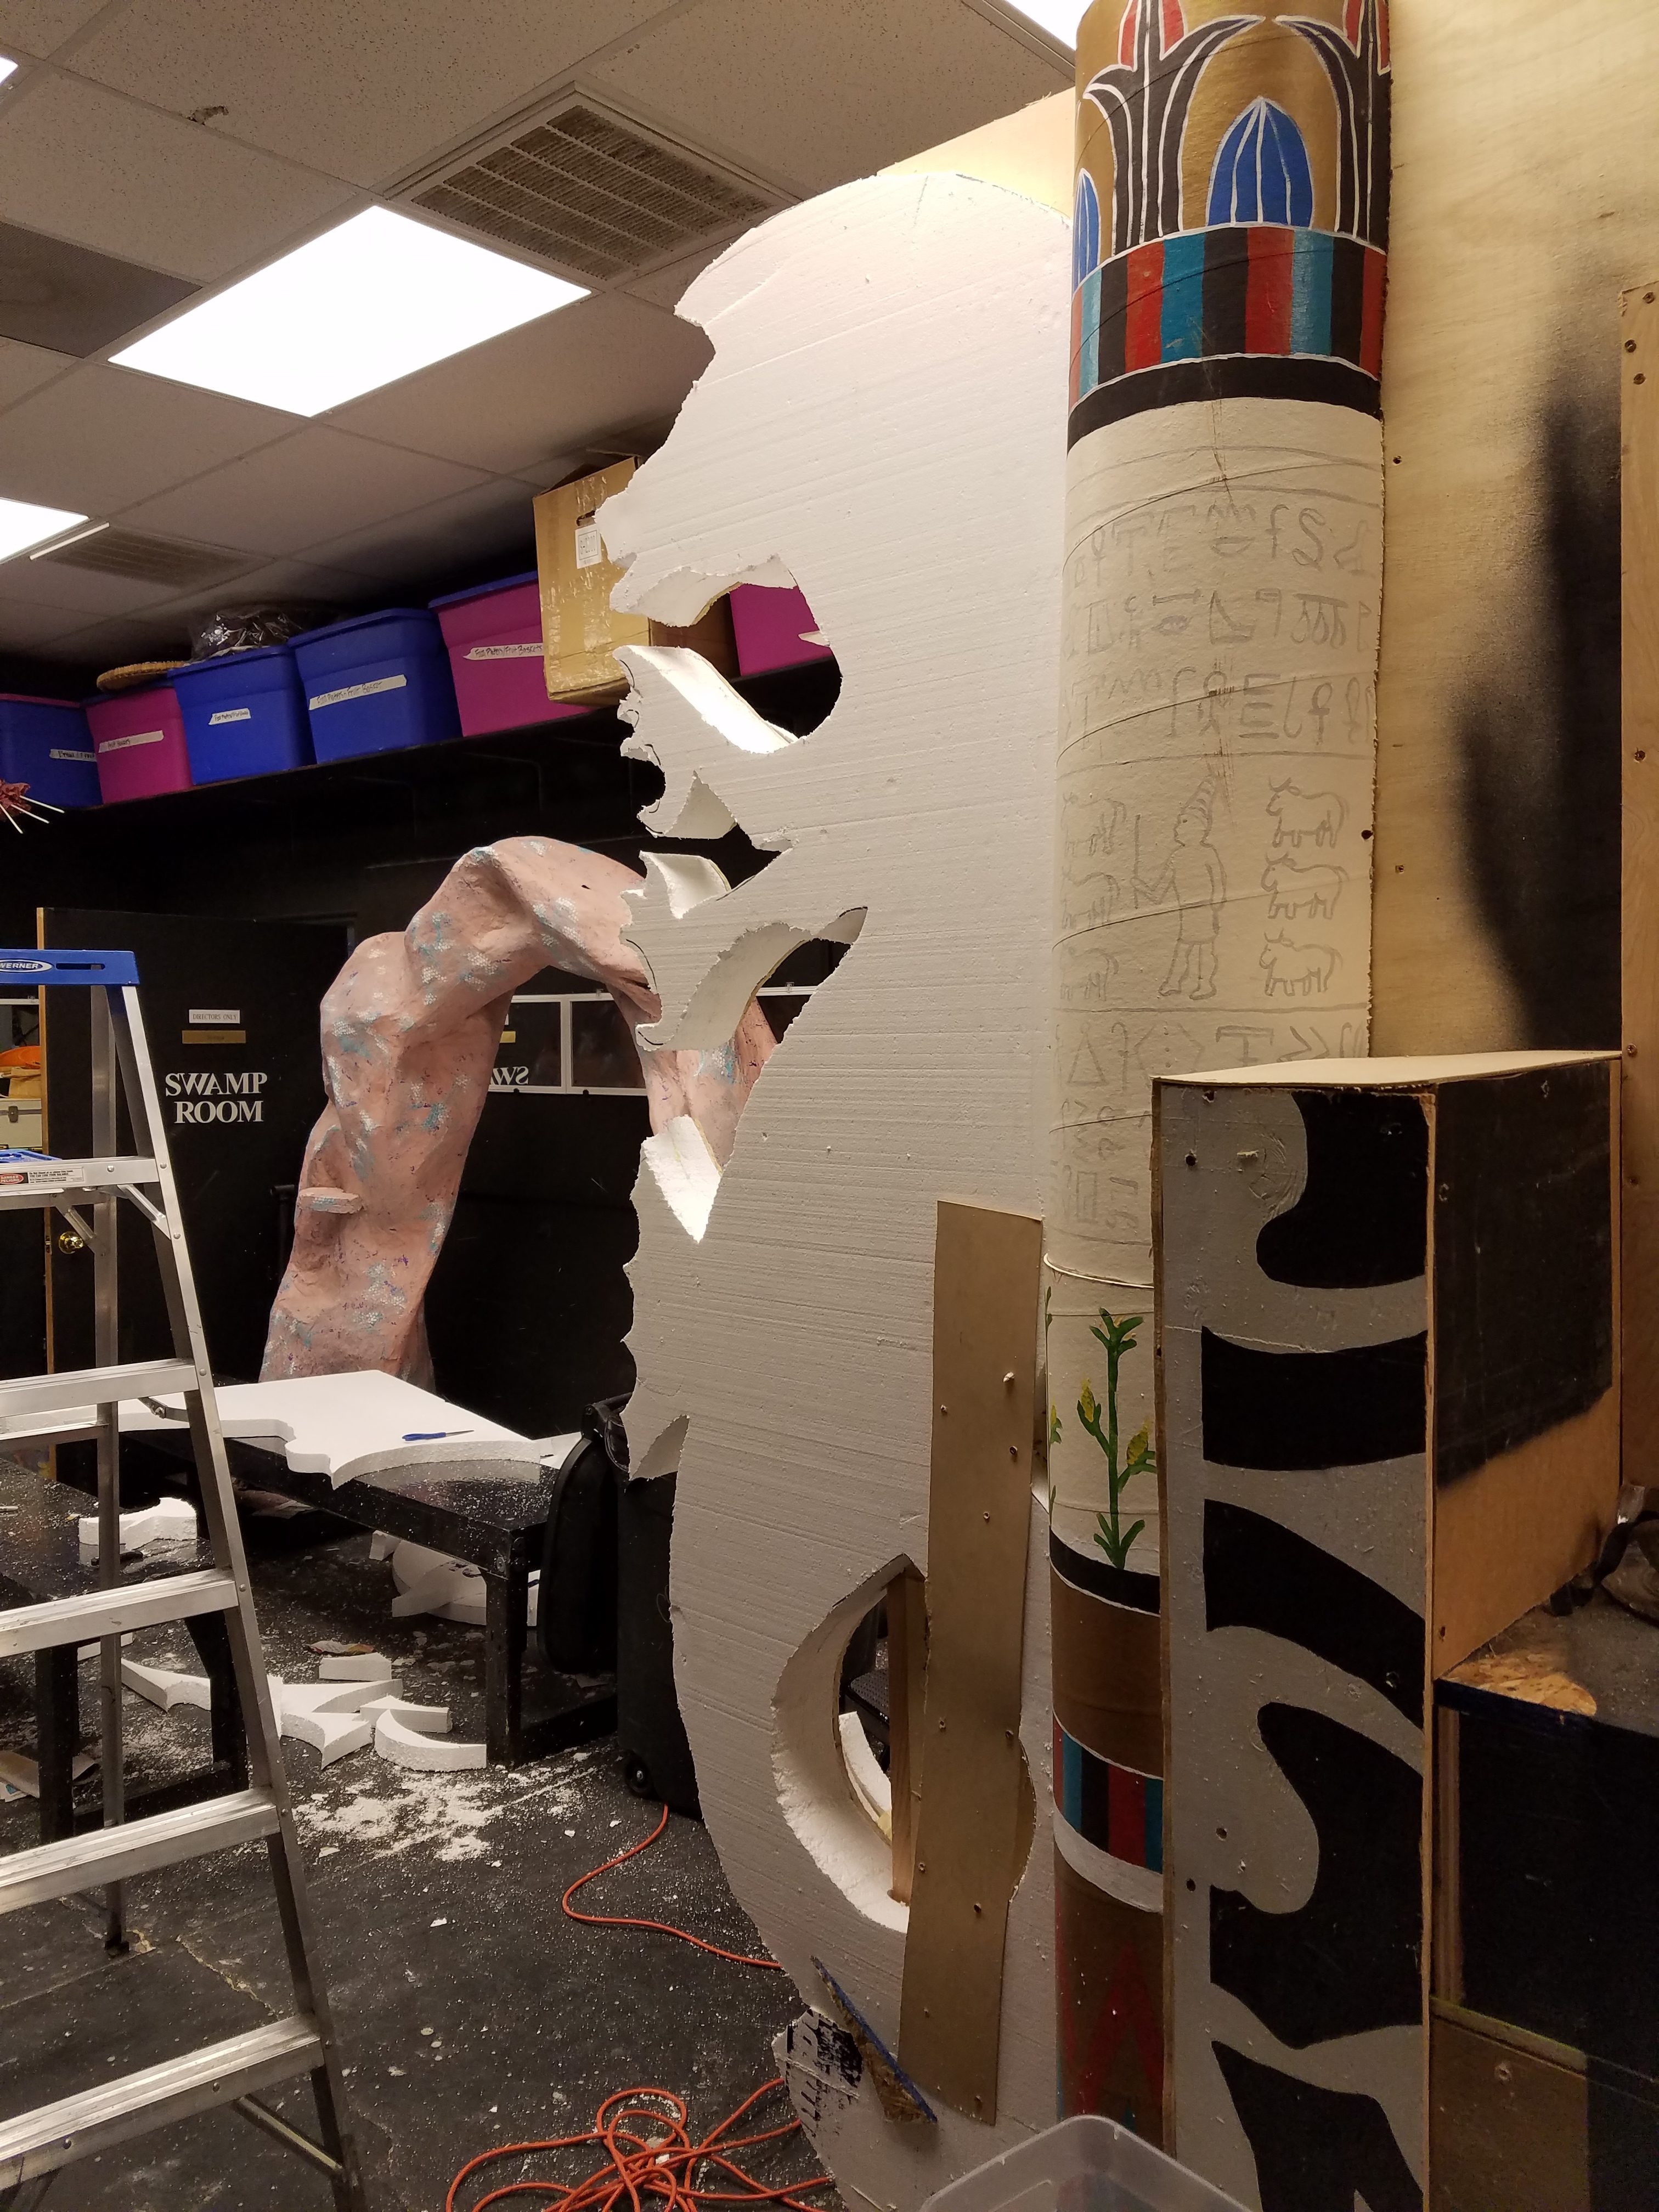
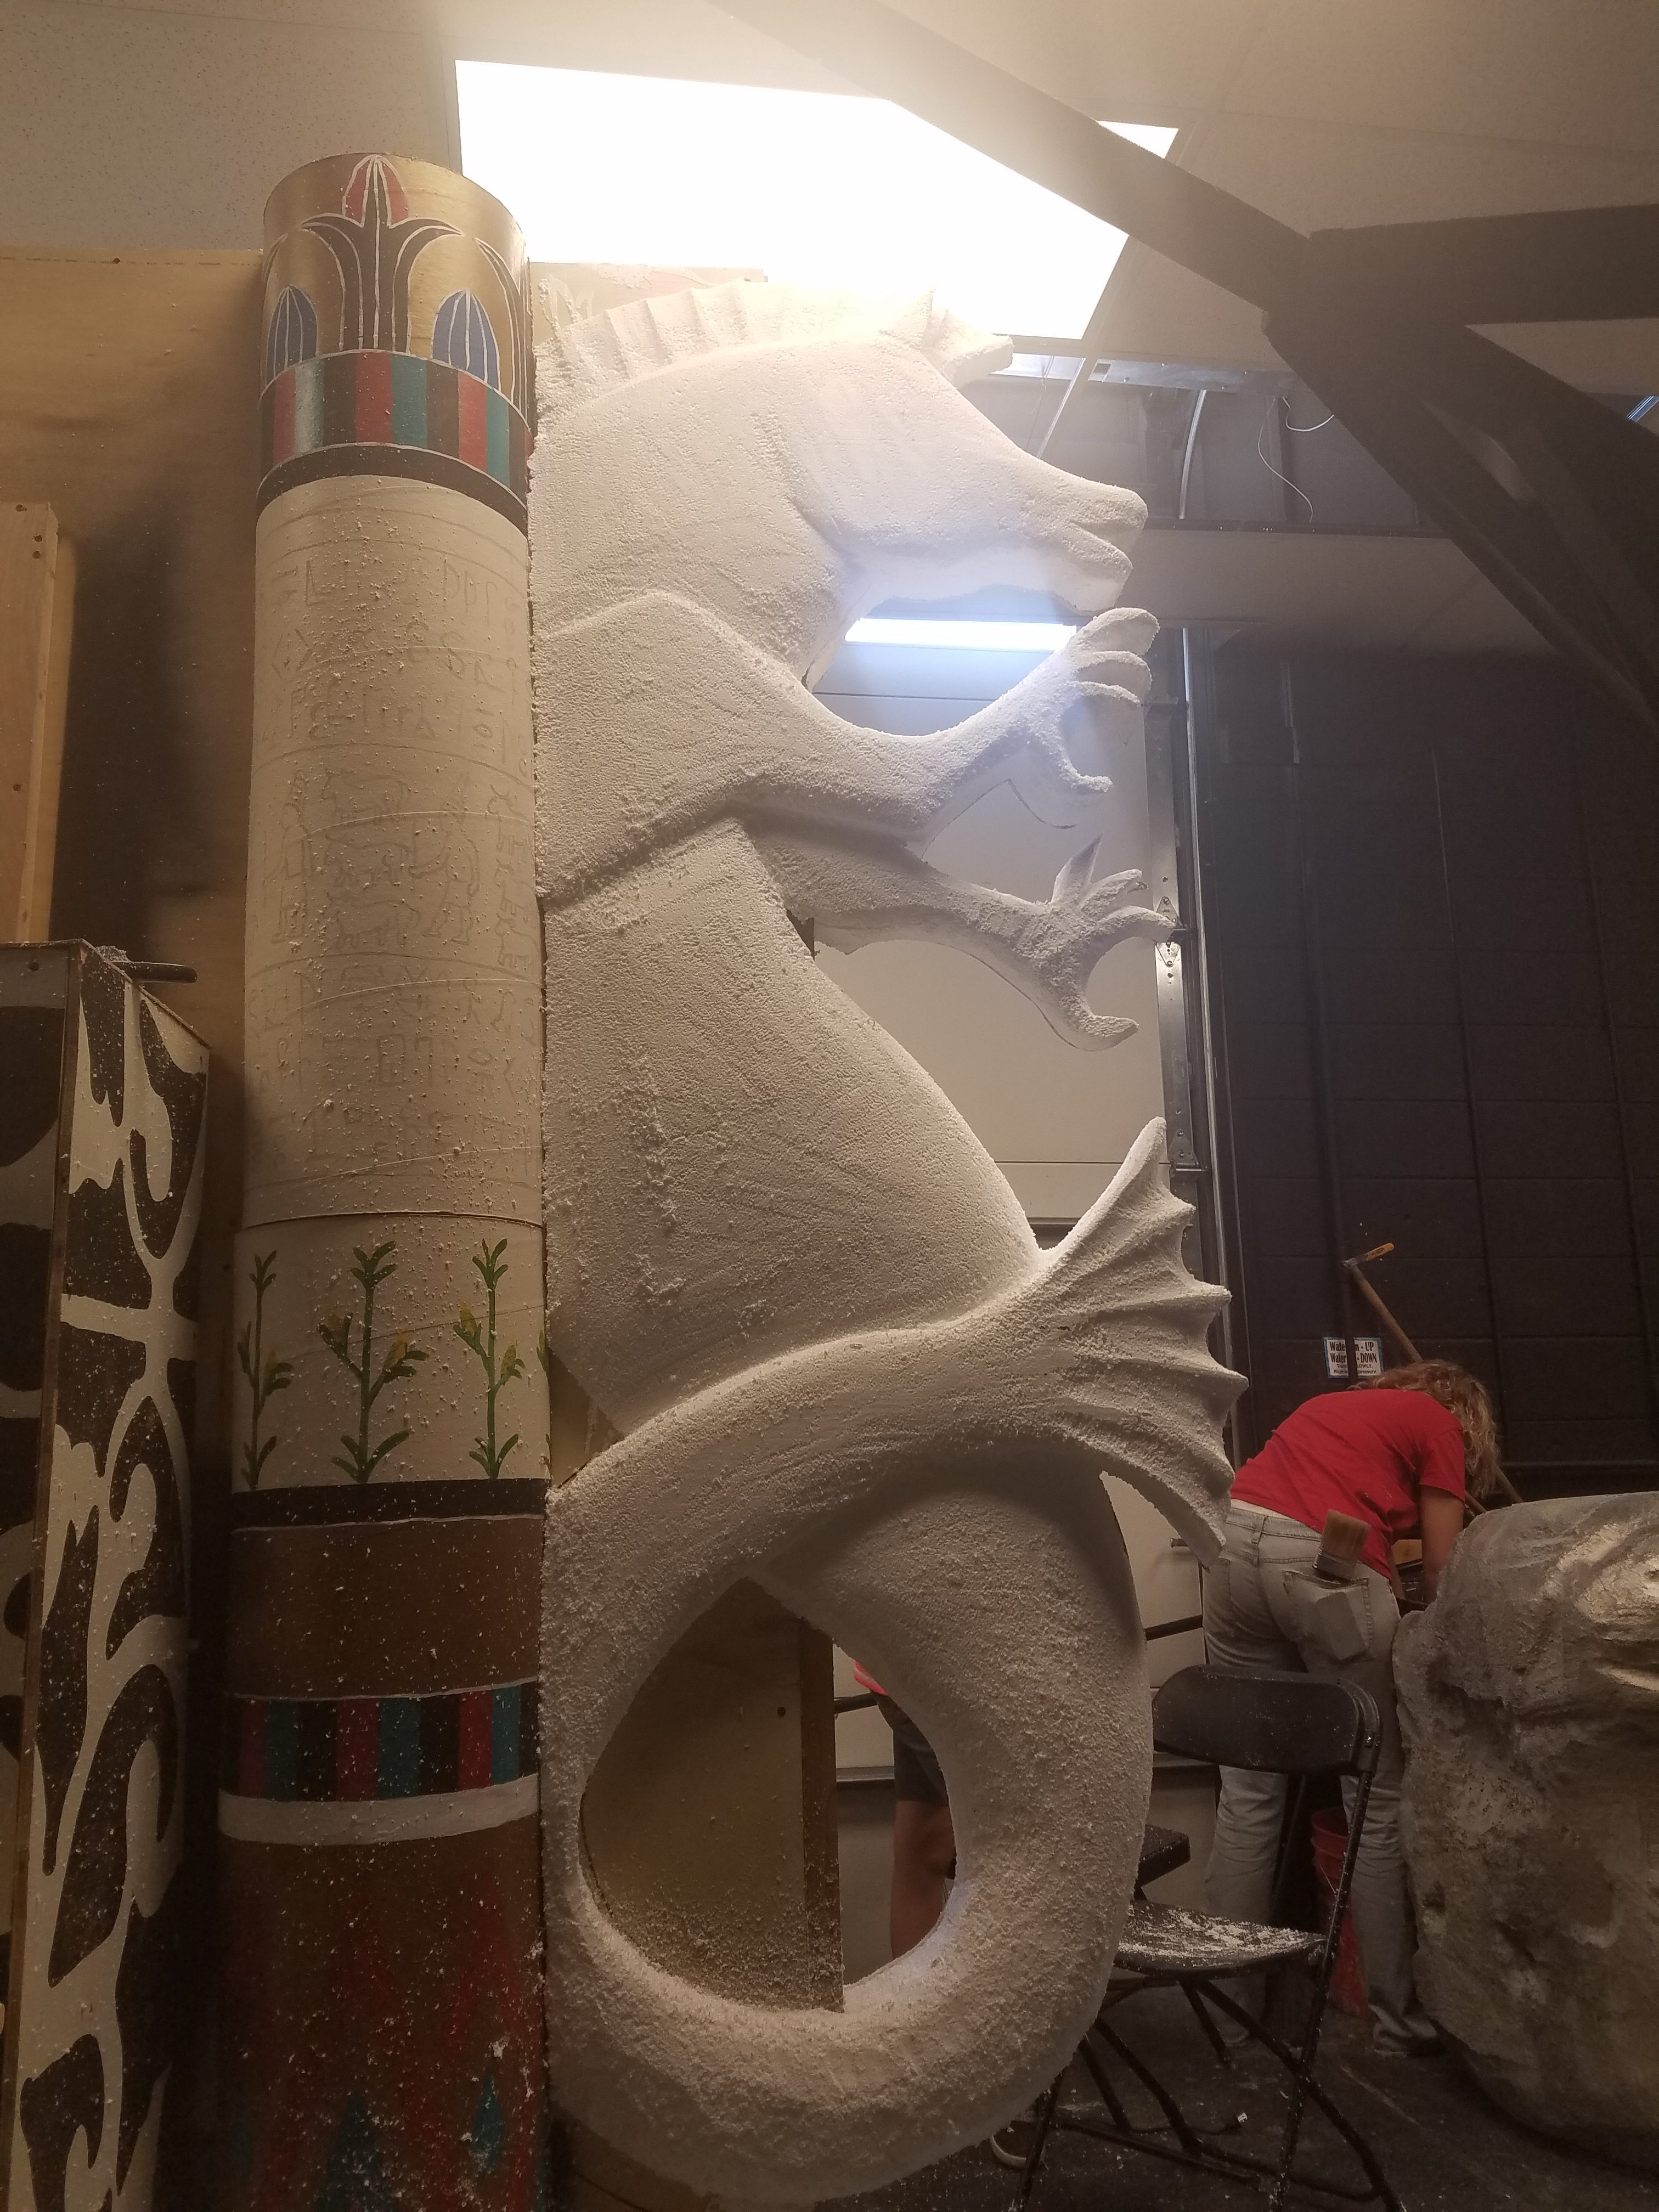
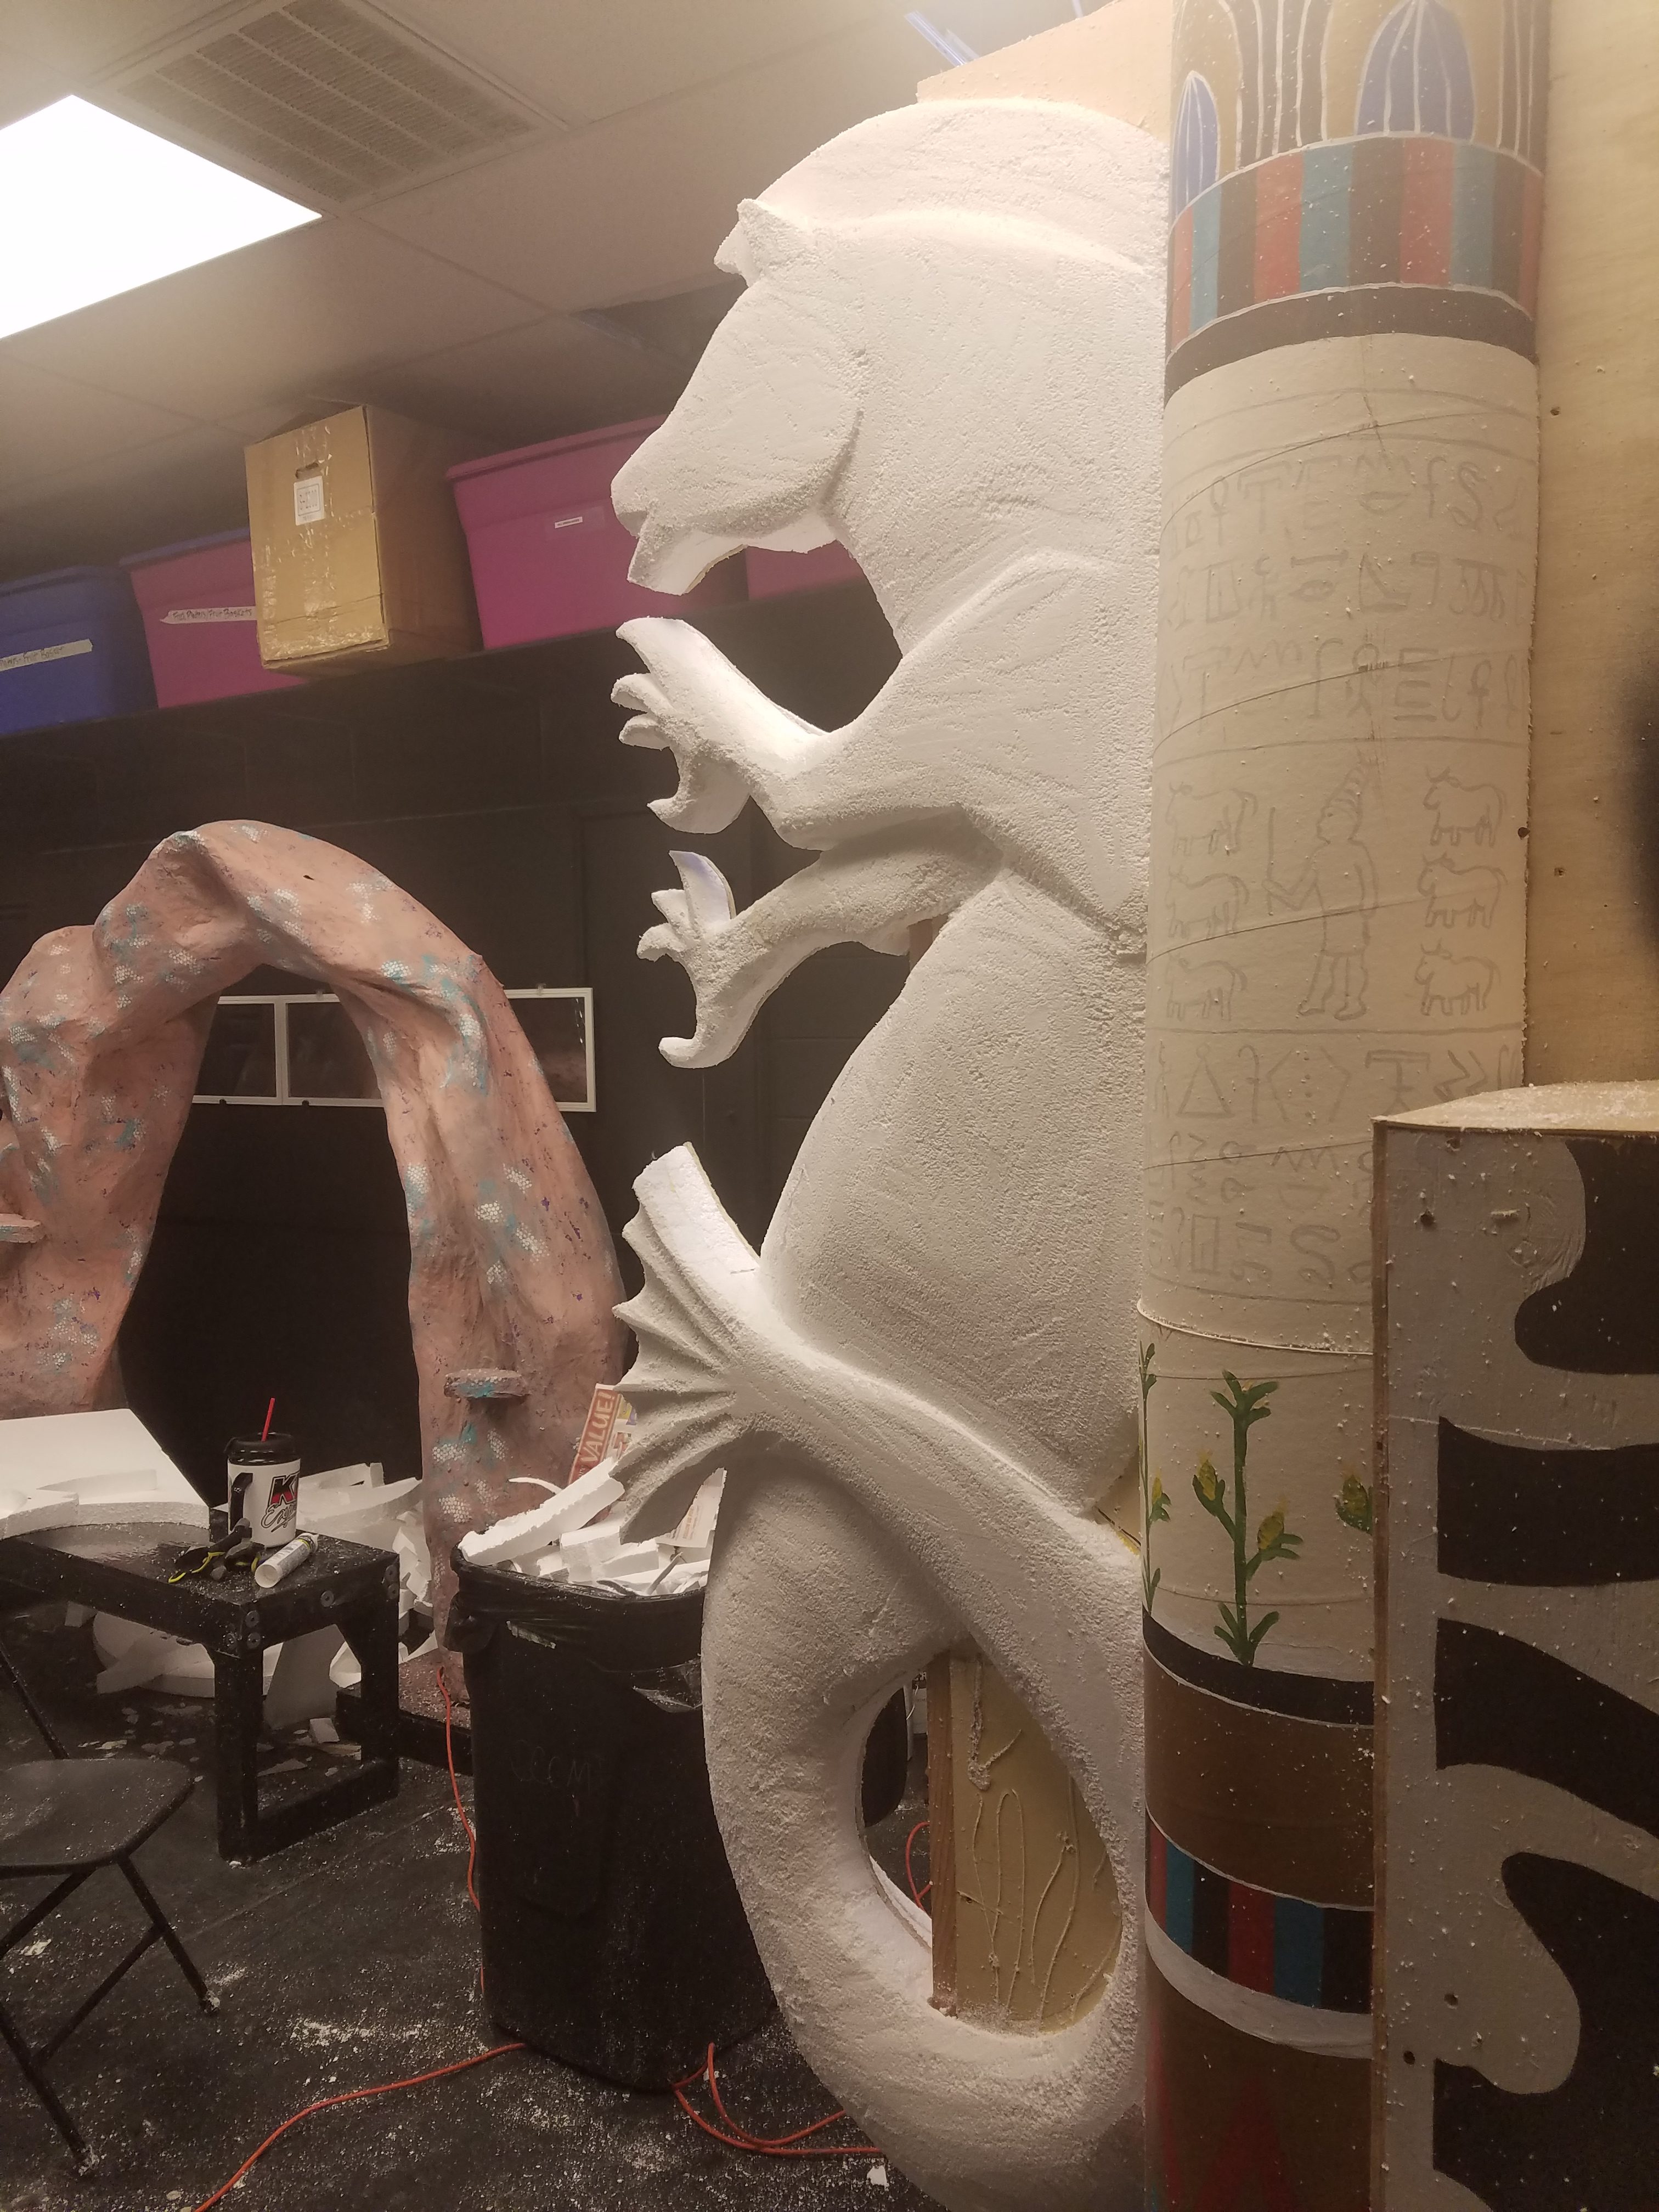
Now it was time to carve the relief. For the first time ever, I used an angle grinder with a sandpaper wheel to help speed up the shaping. The friction from the wheel actually heated up the foam to the point where it started to melt, so I had to be careful.
Now for the paint and details. I decorated the throne, fluted the columns, marbled everything with a feather. Then I painted up the hippocampi. I wasn’t sure whether the gold scales would be visible in the audience, but I really like the way they turned out.
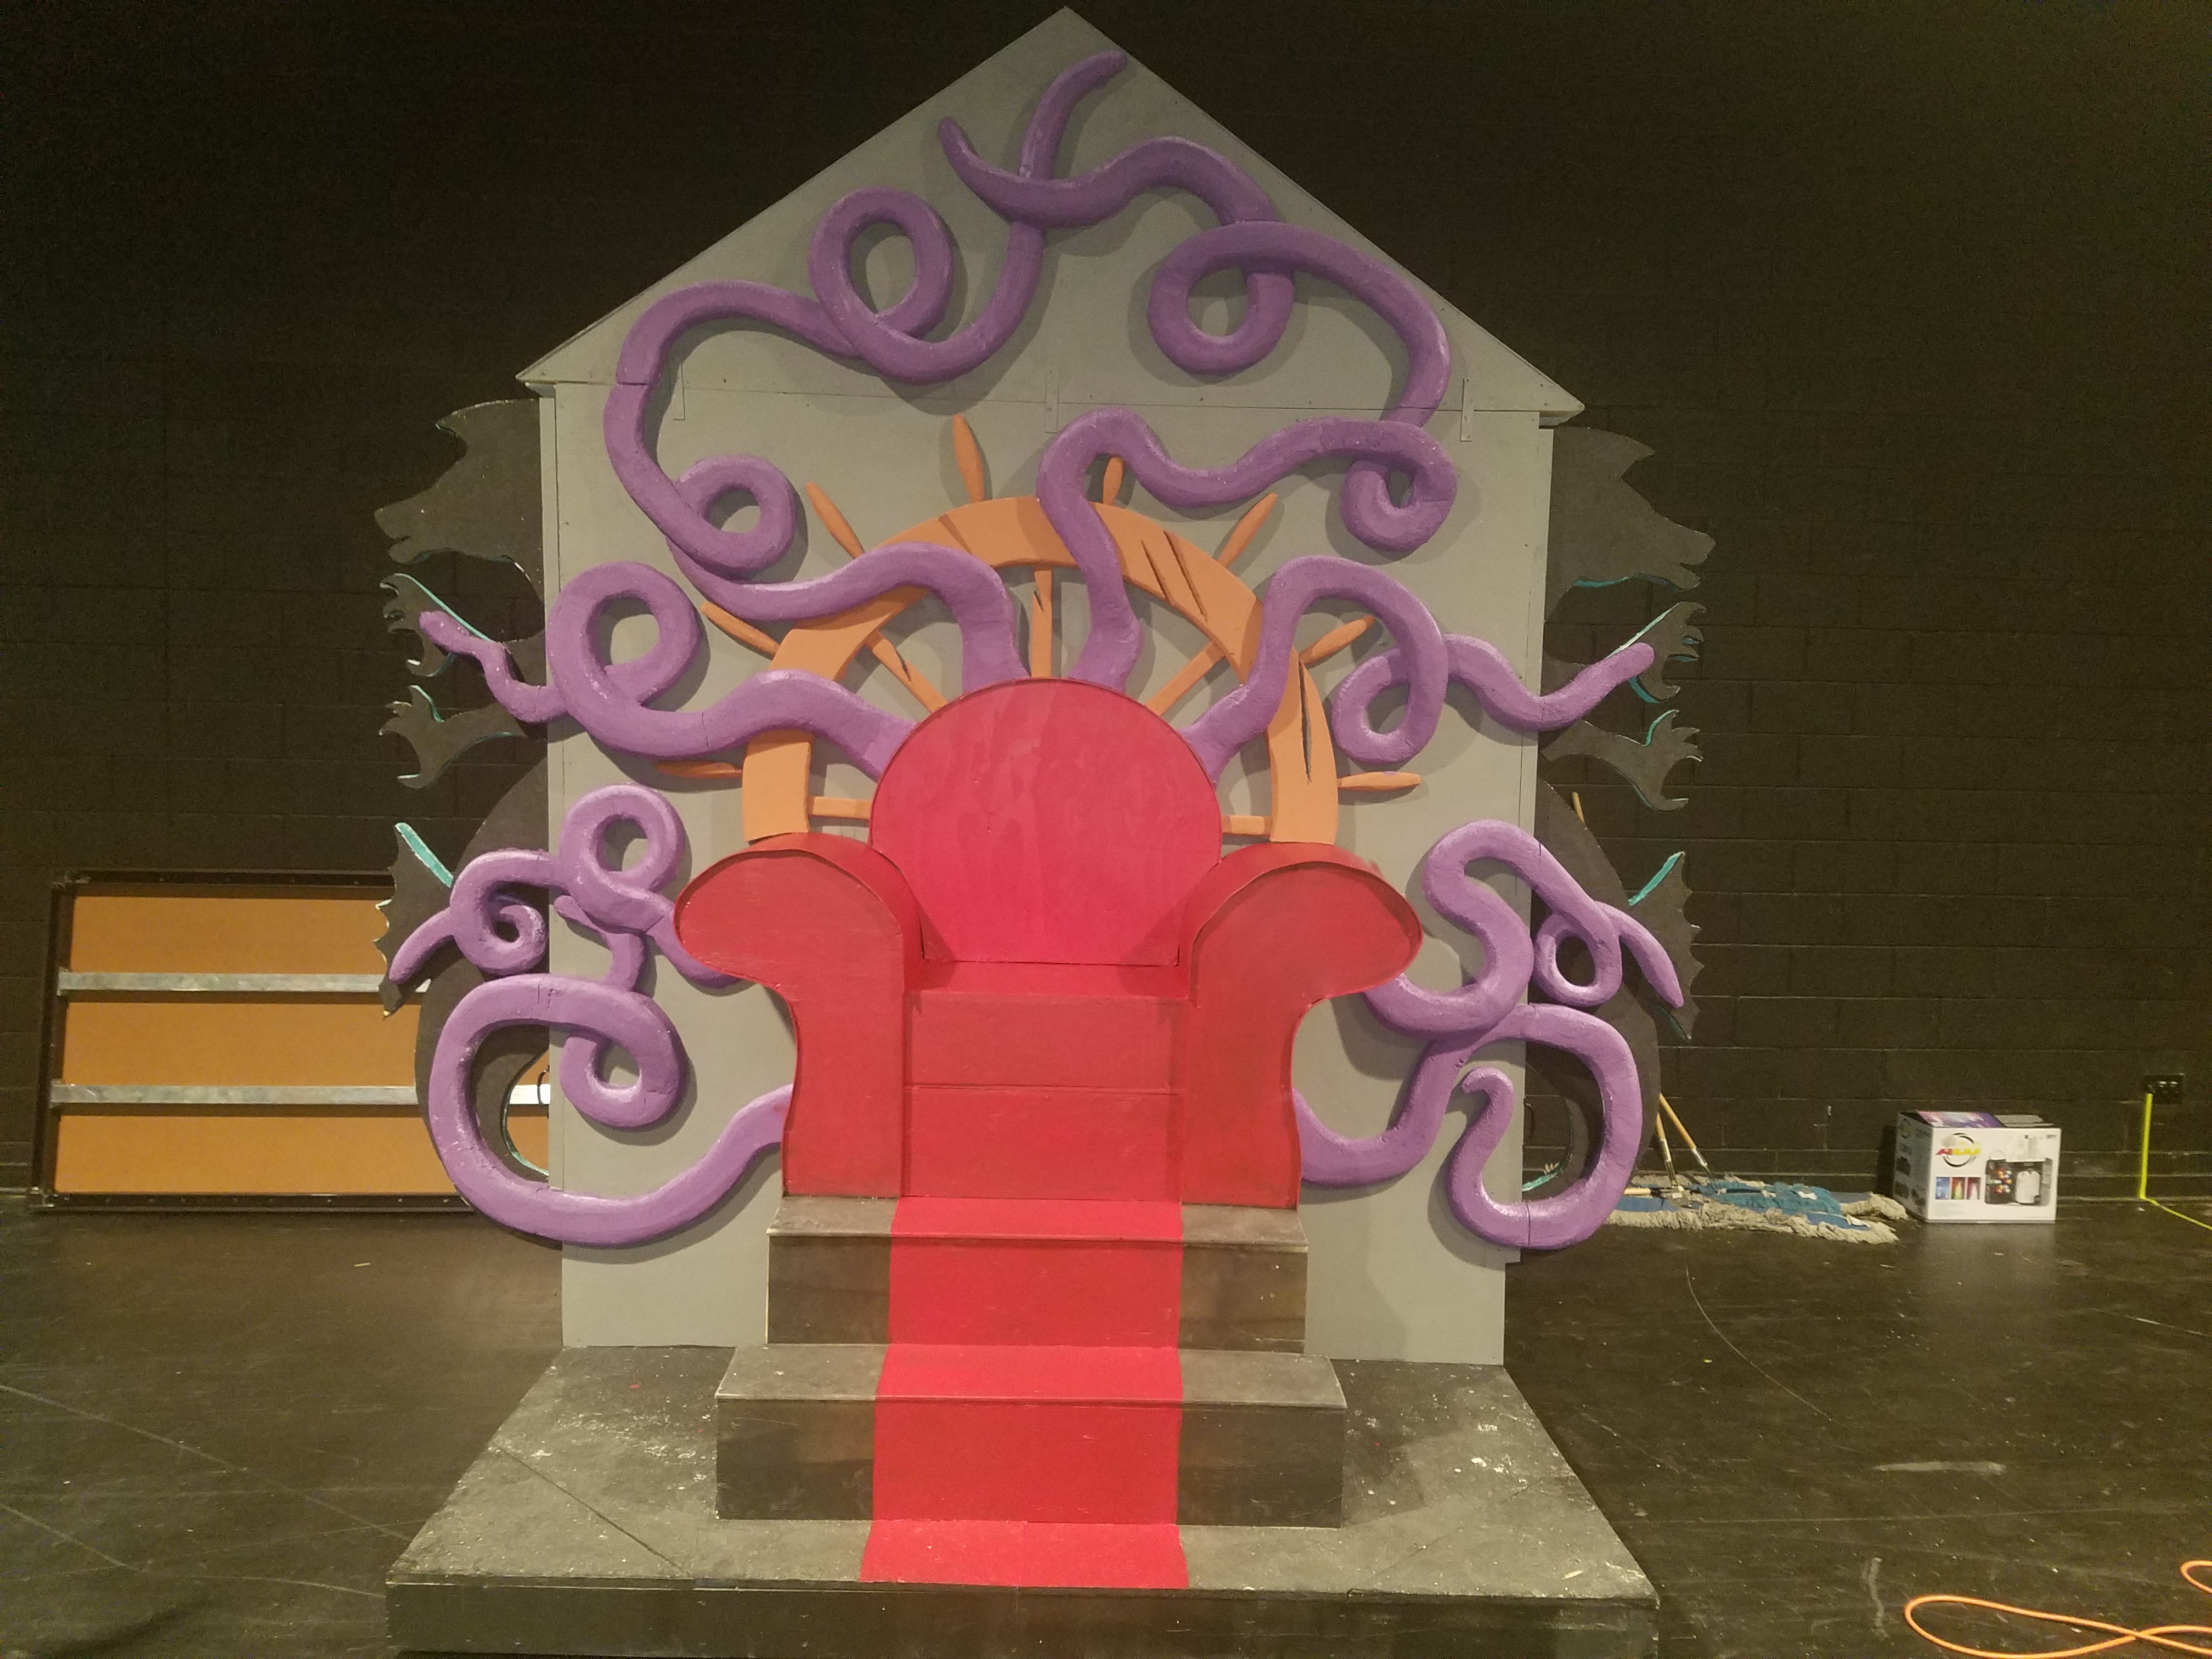
Ursula’s Throne
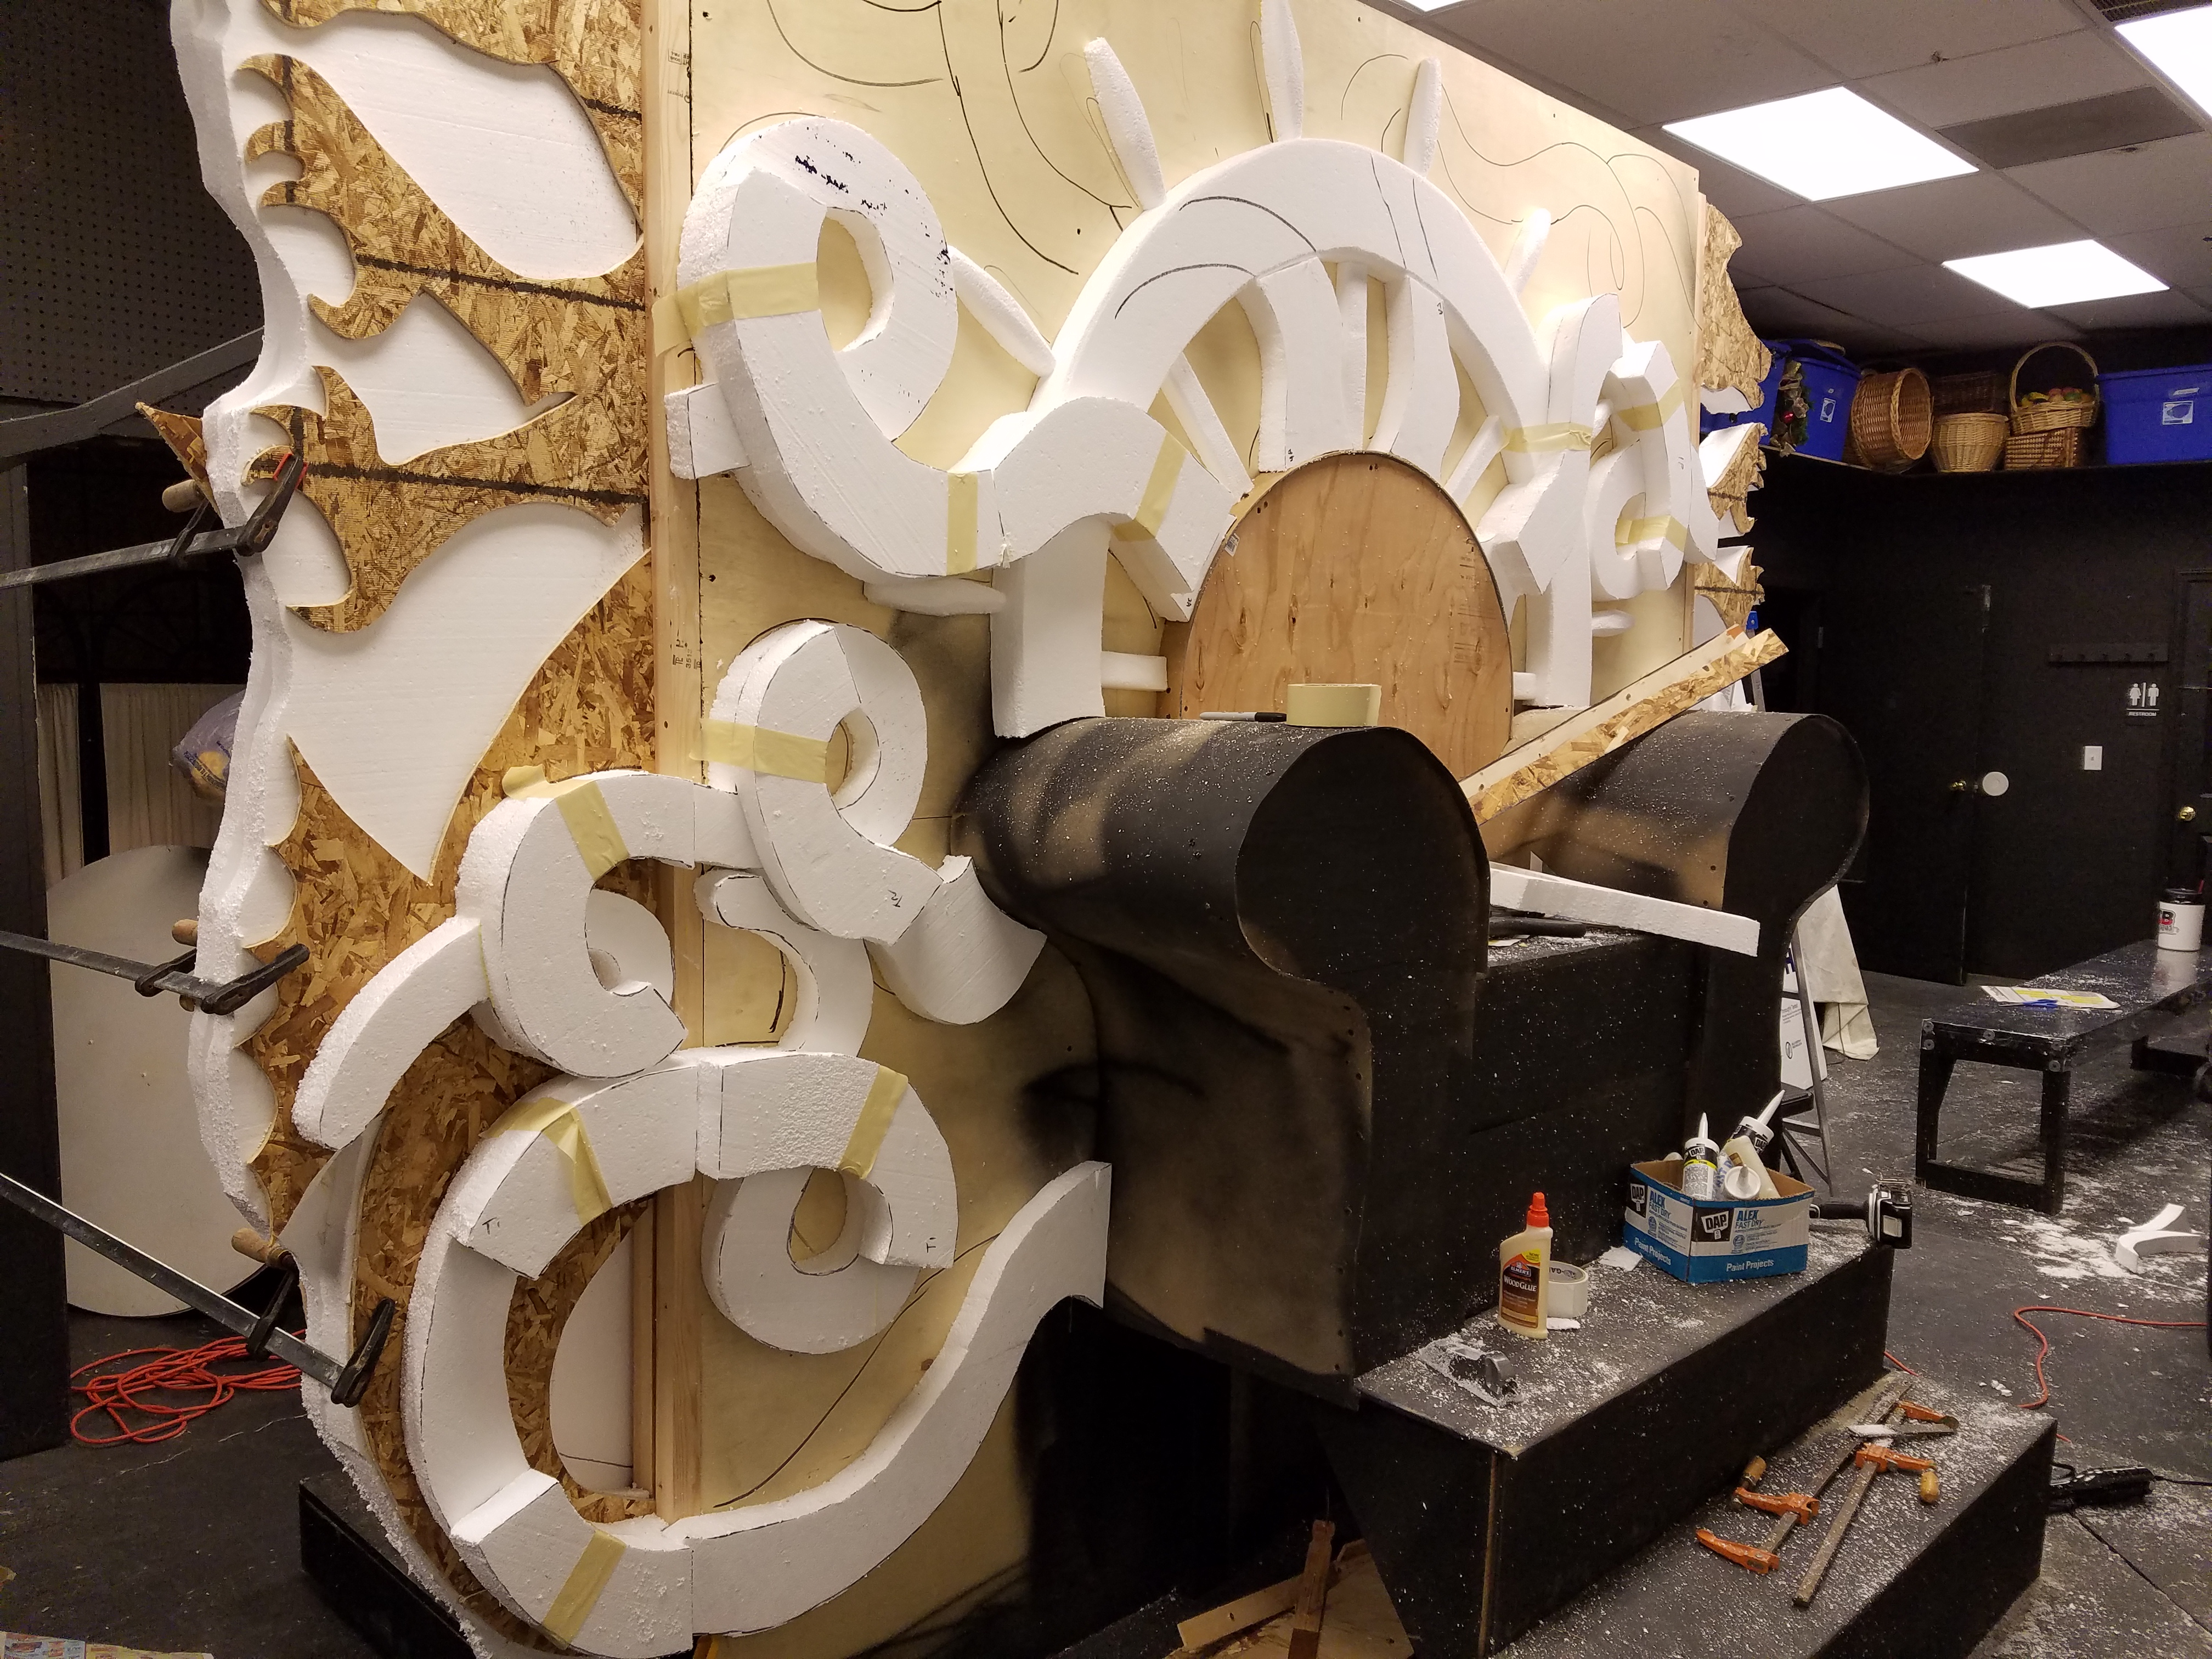
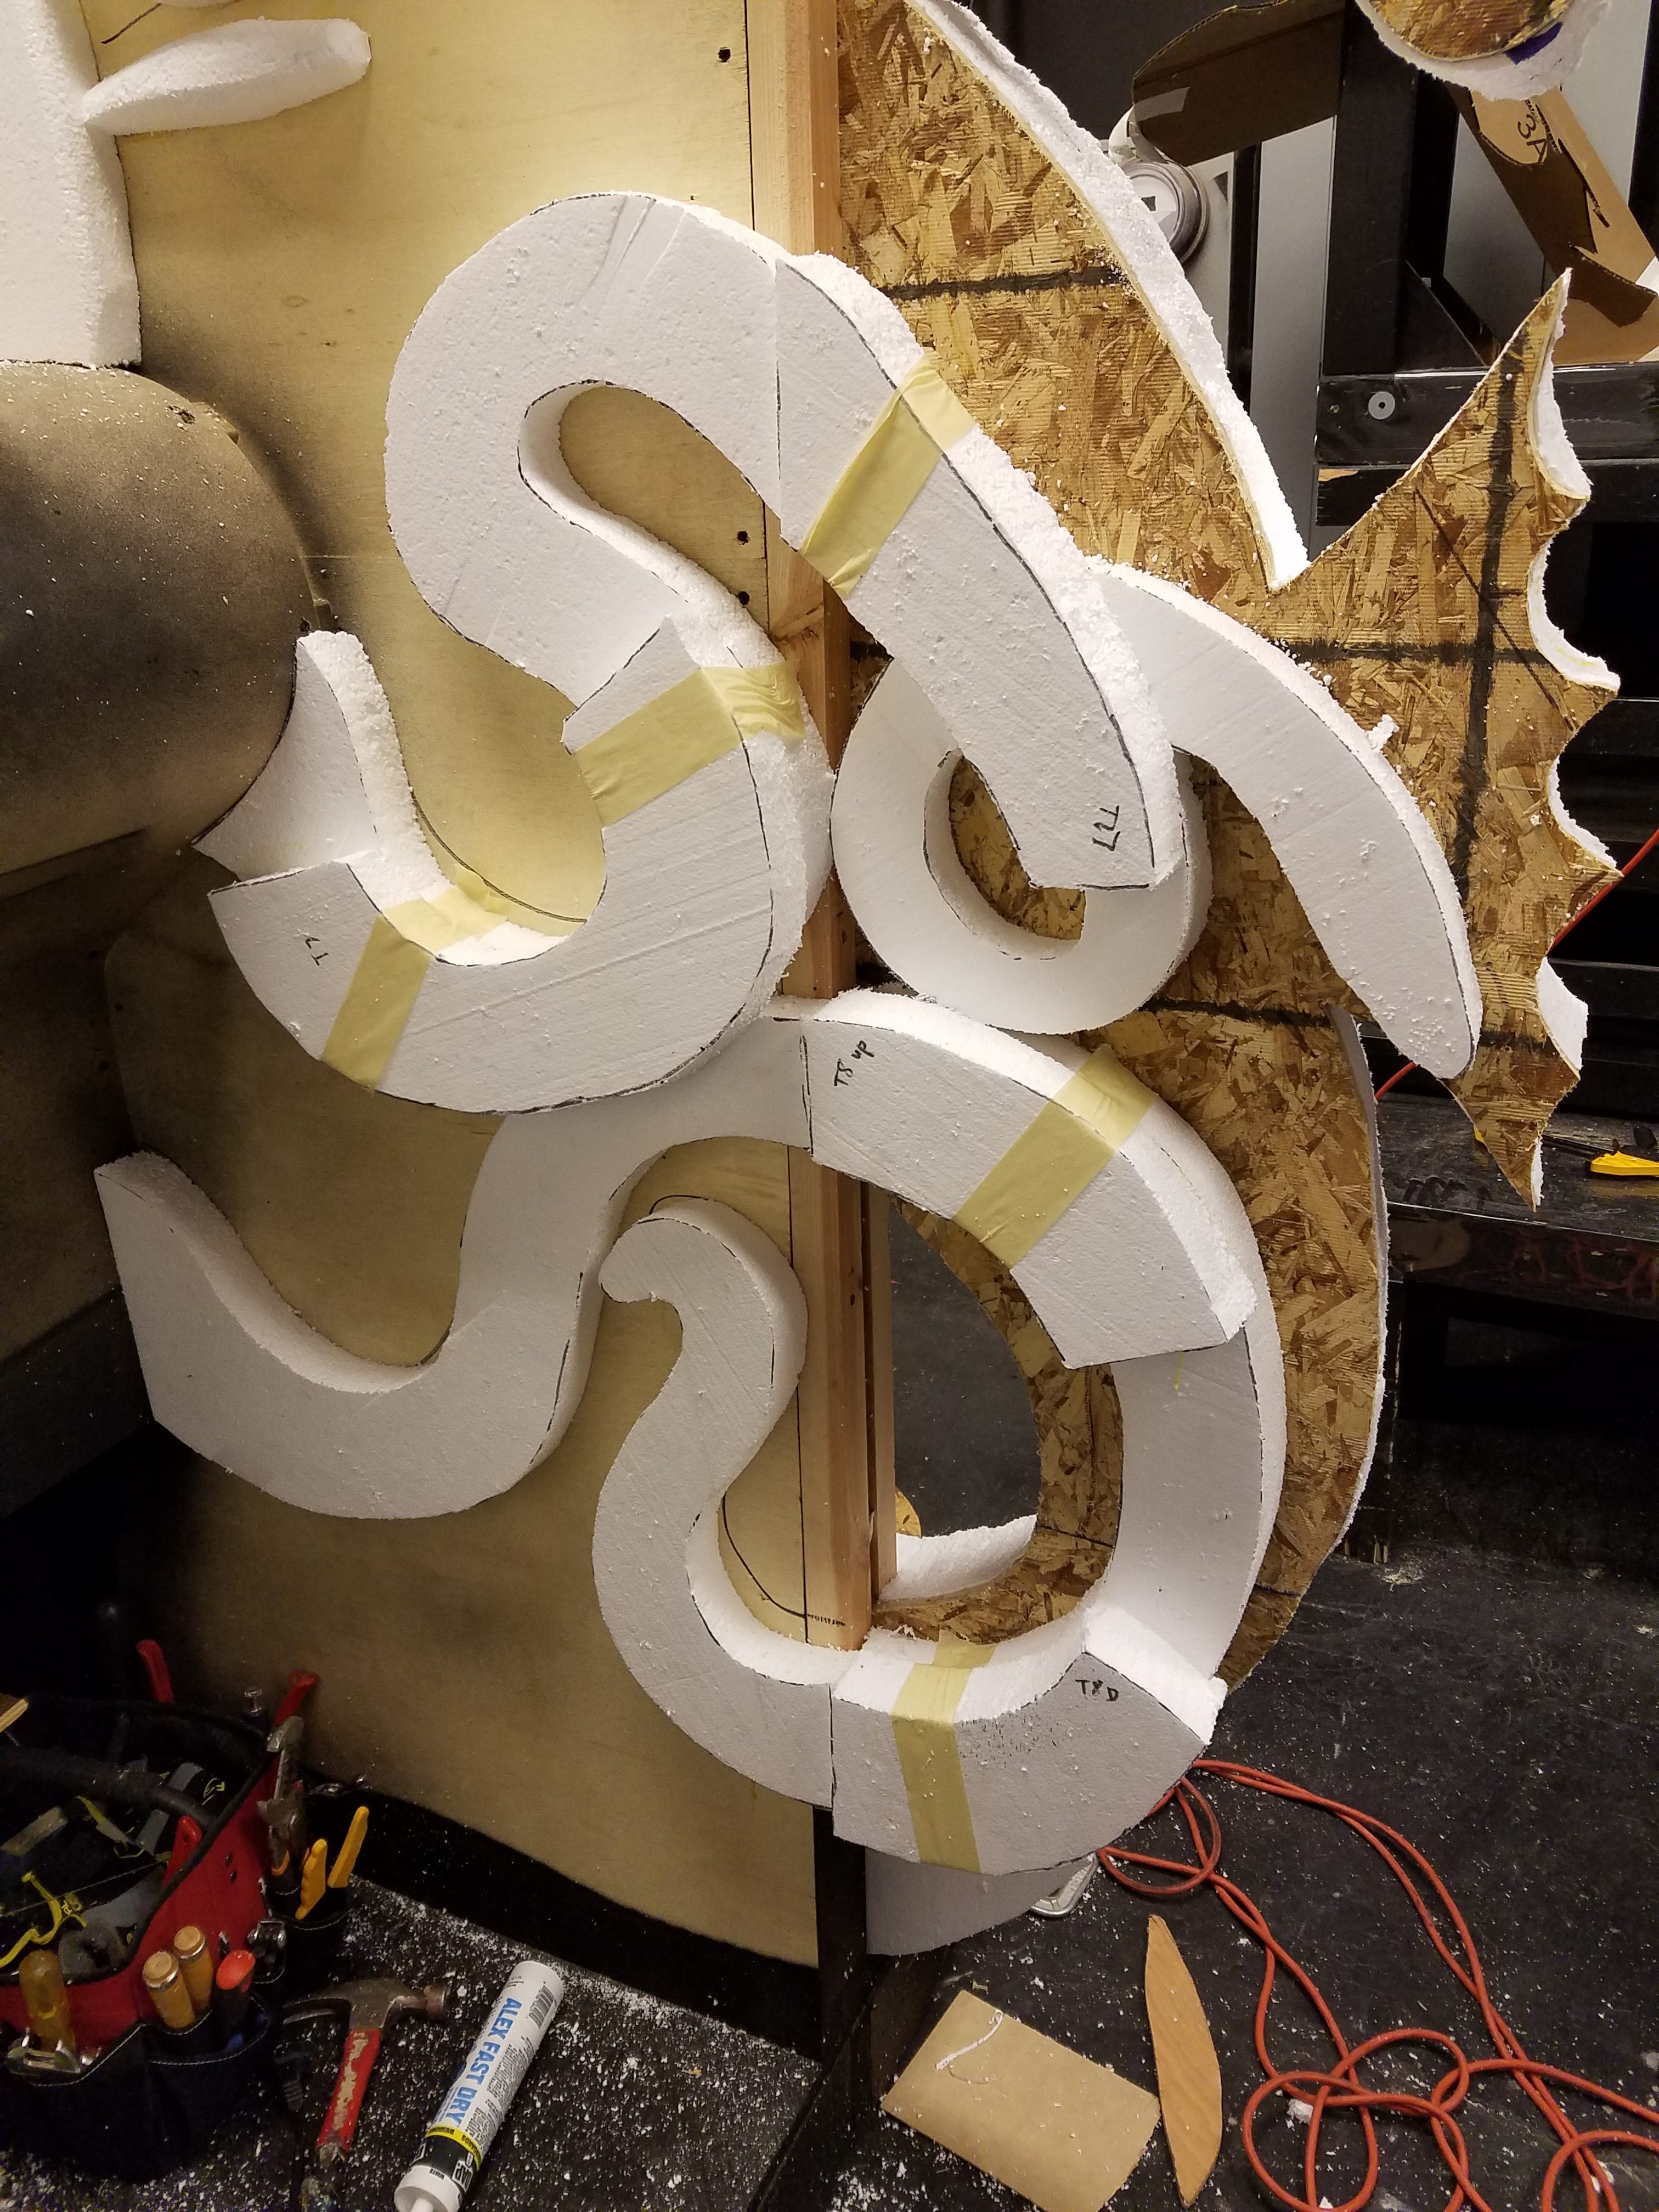
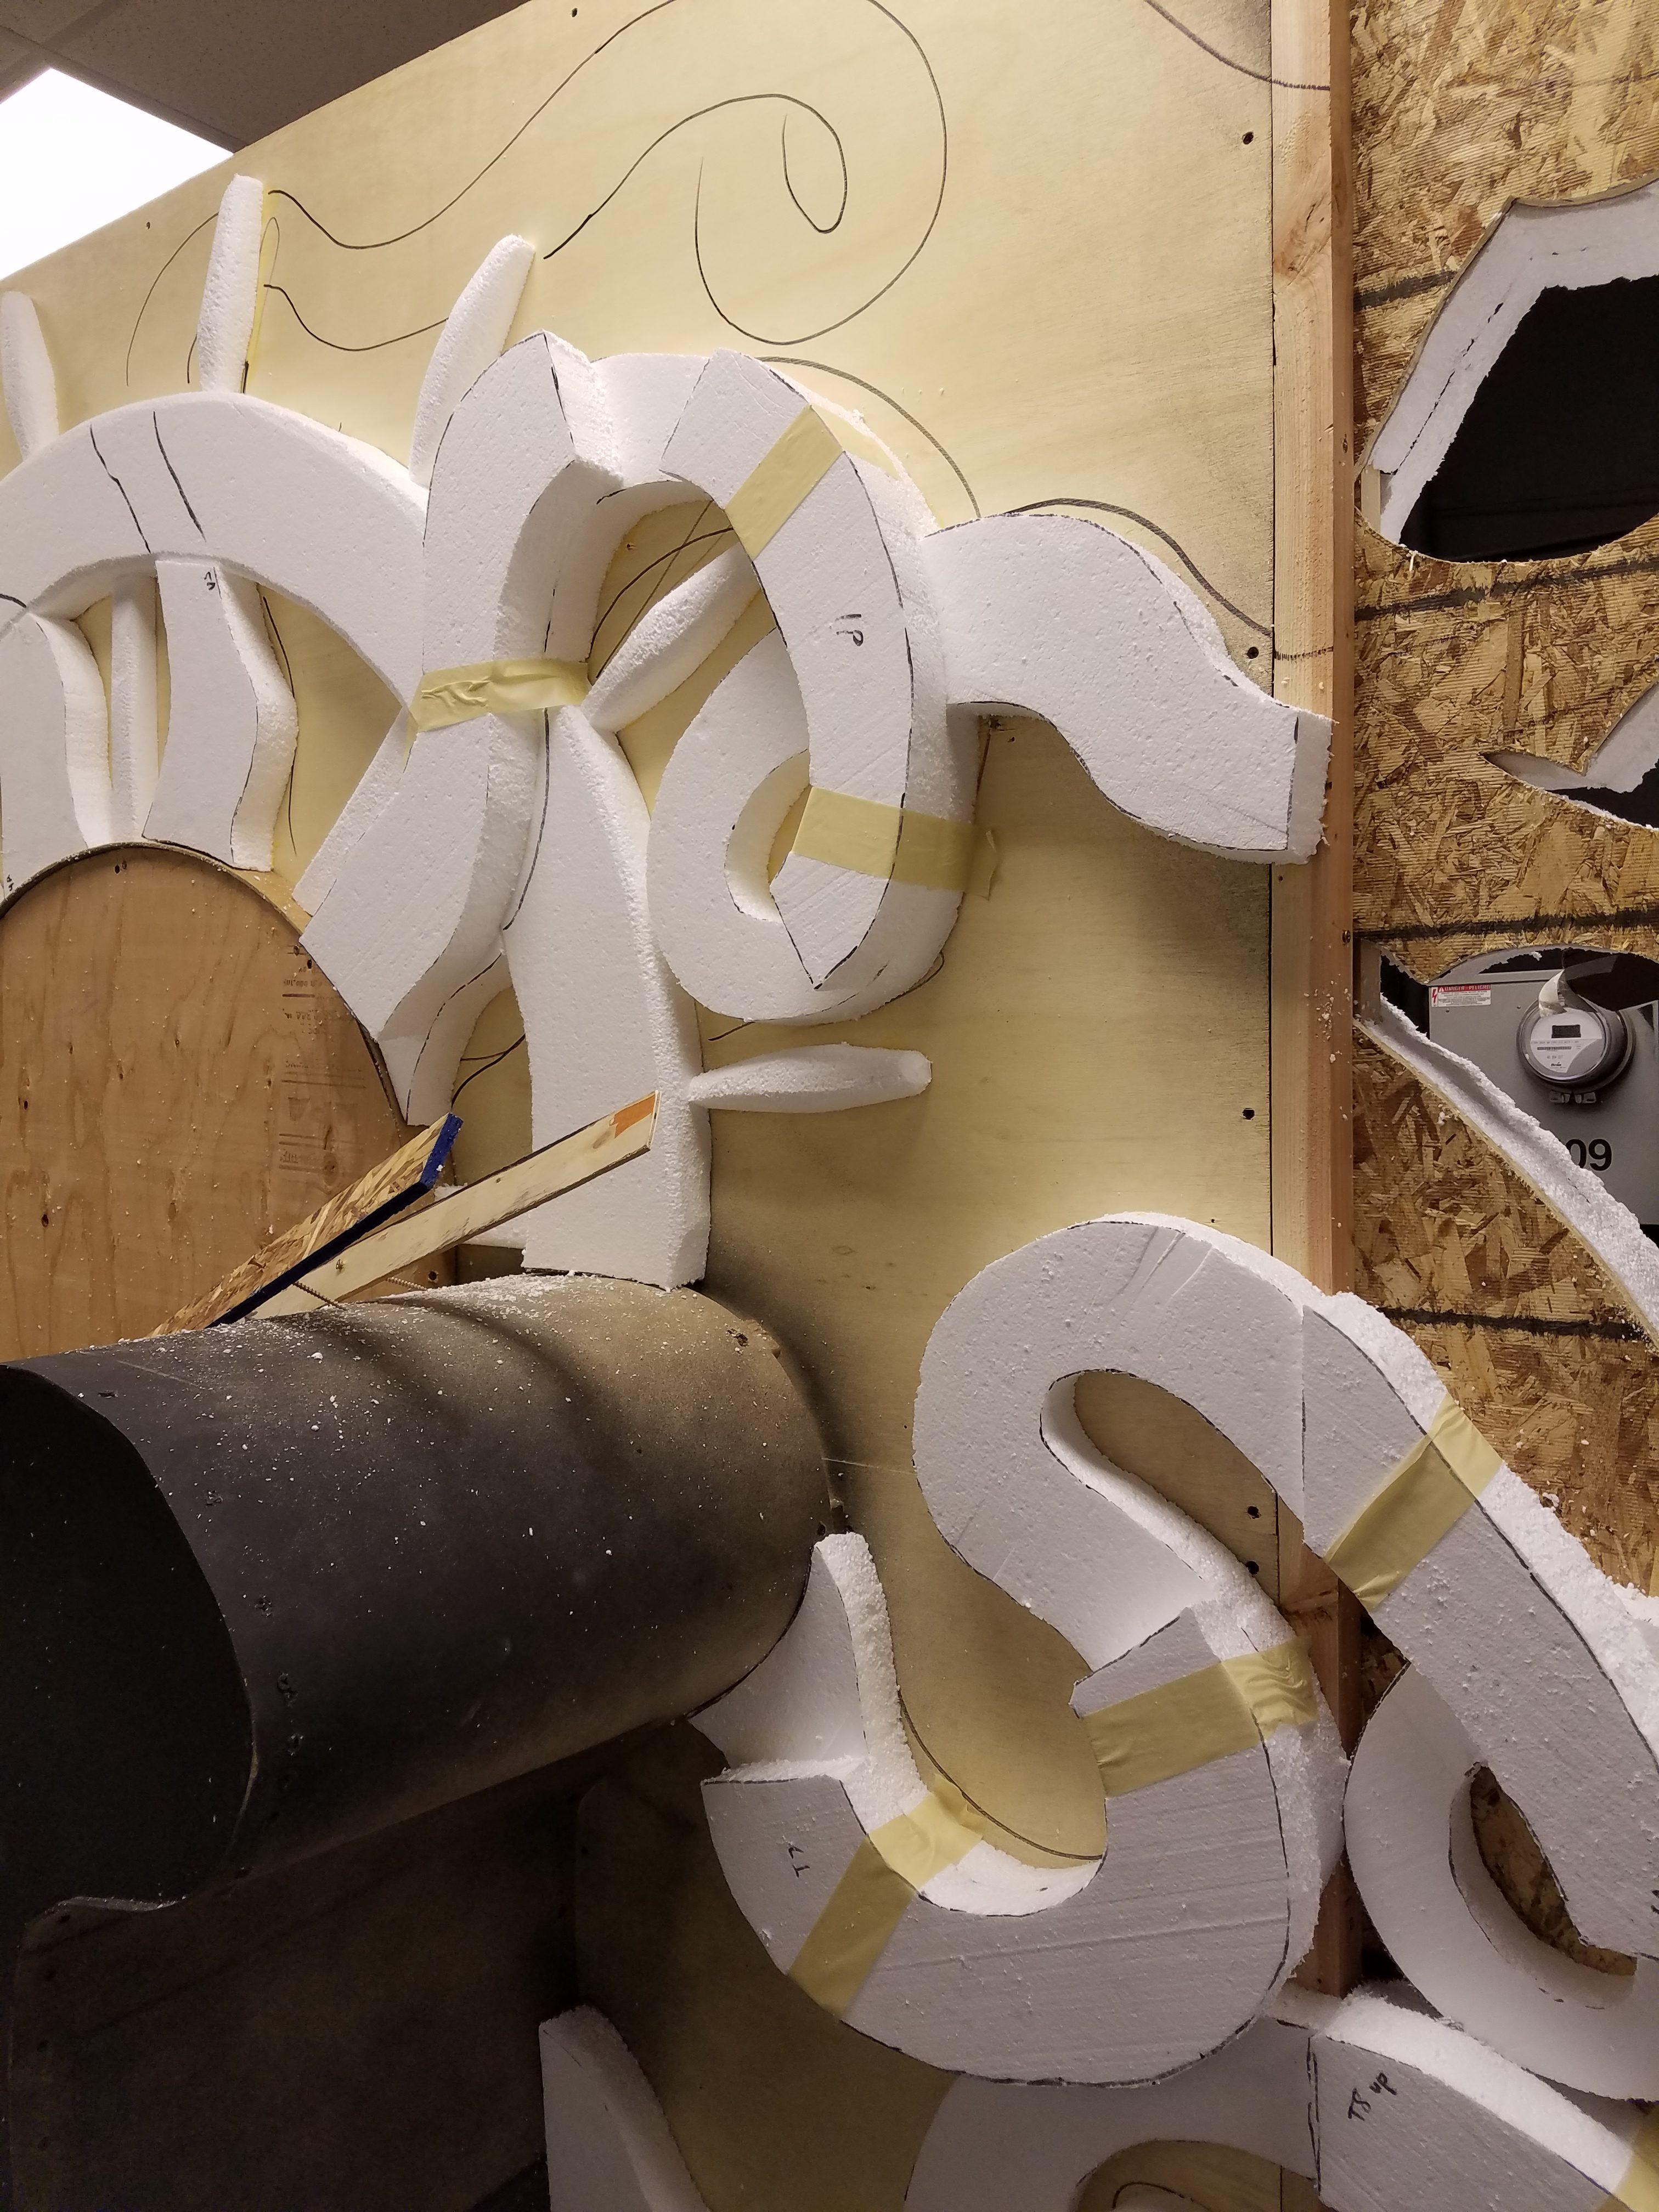
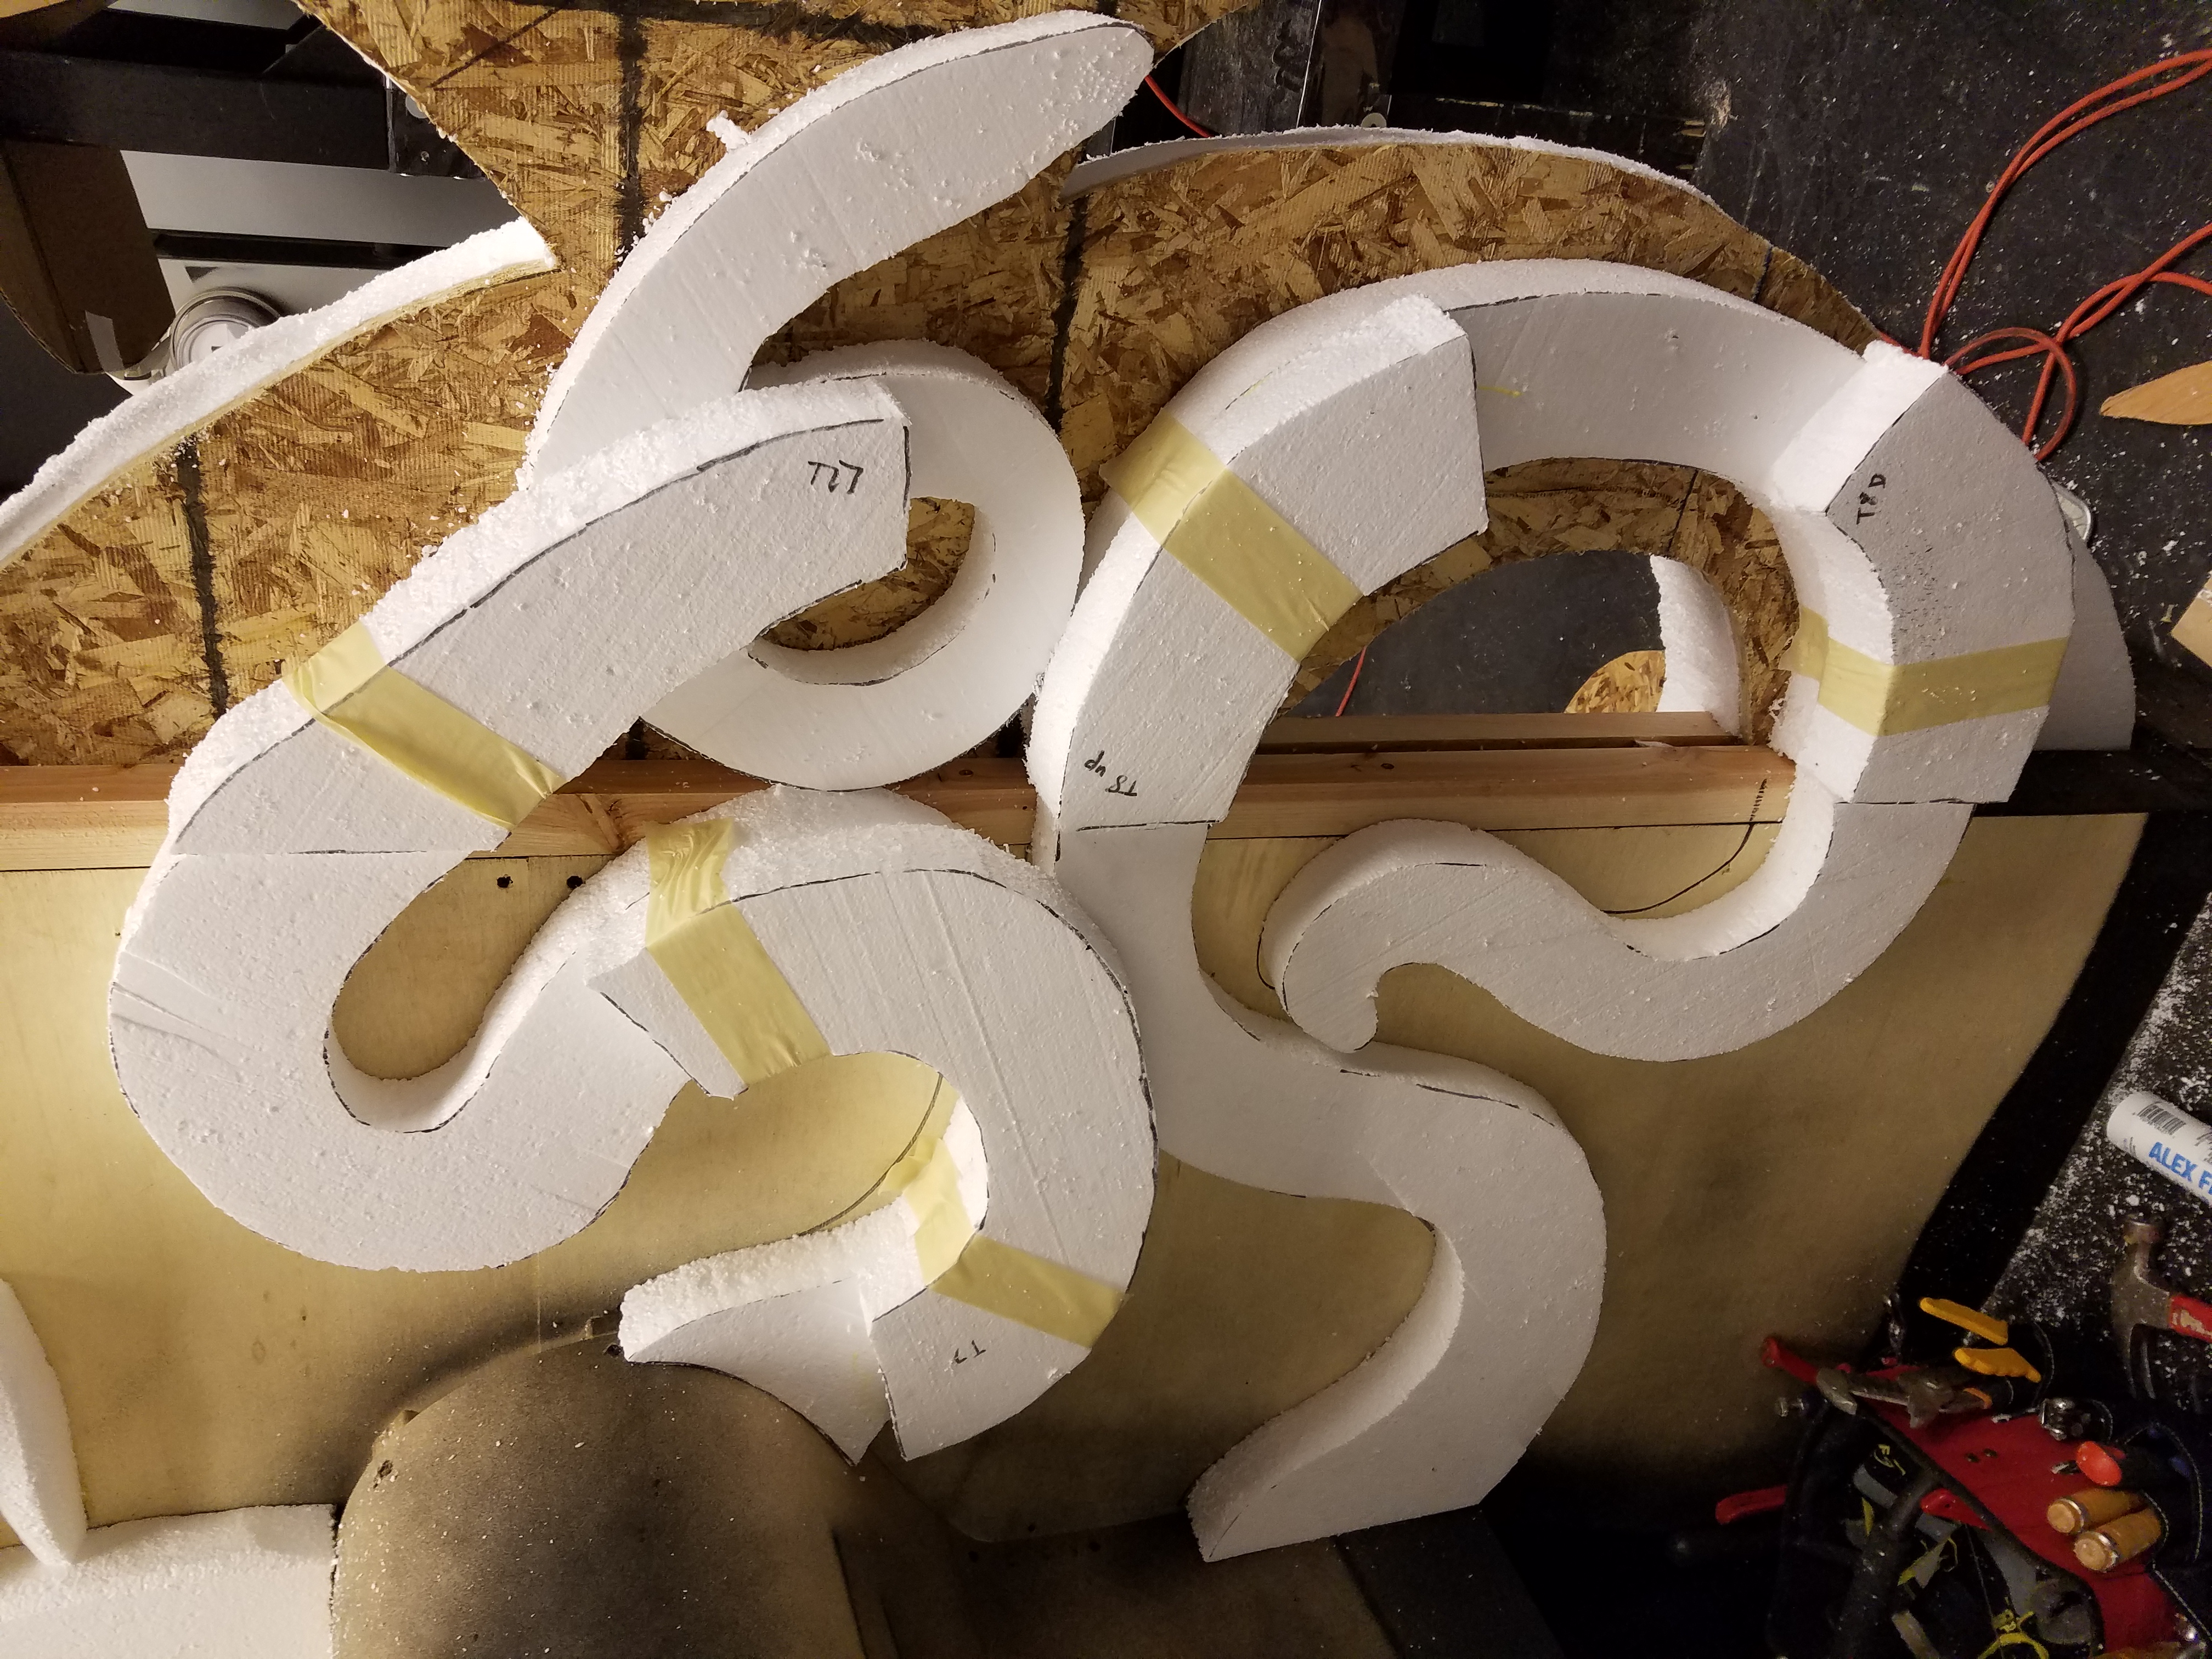
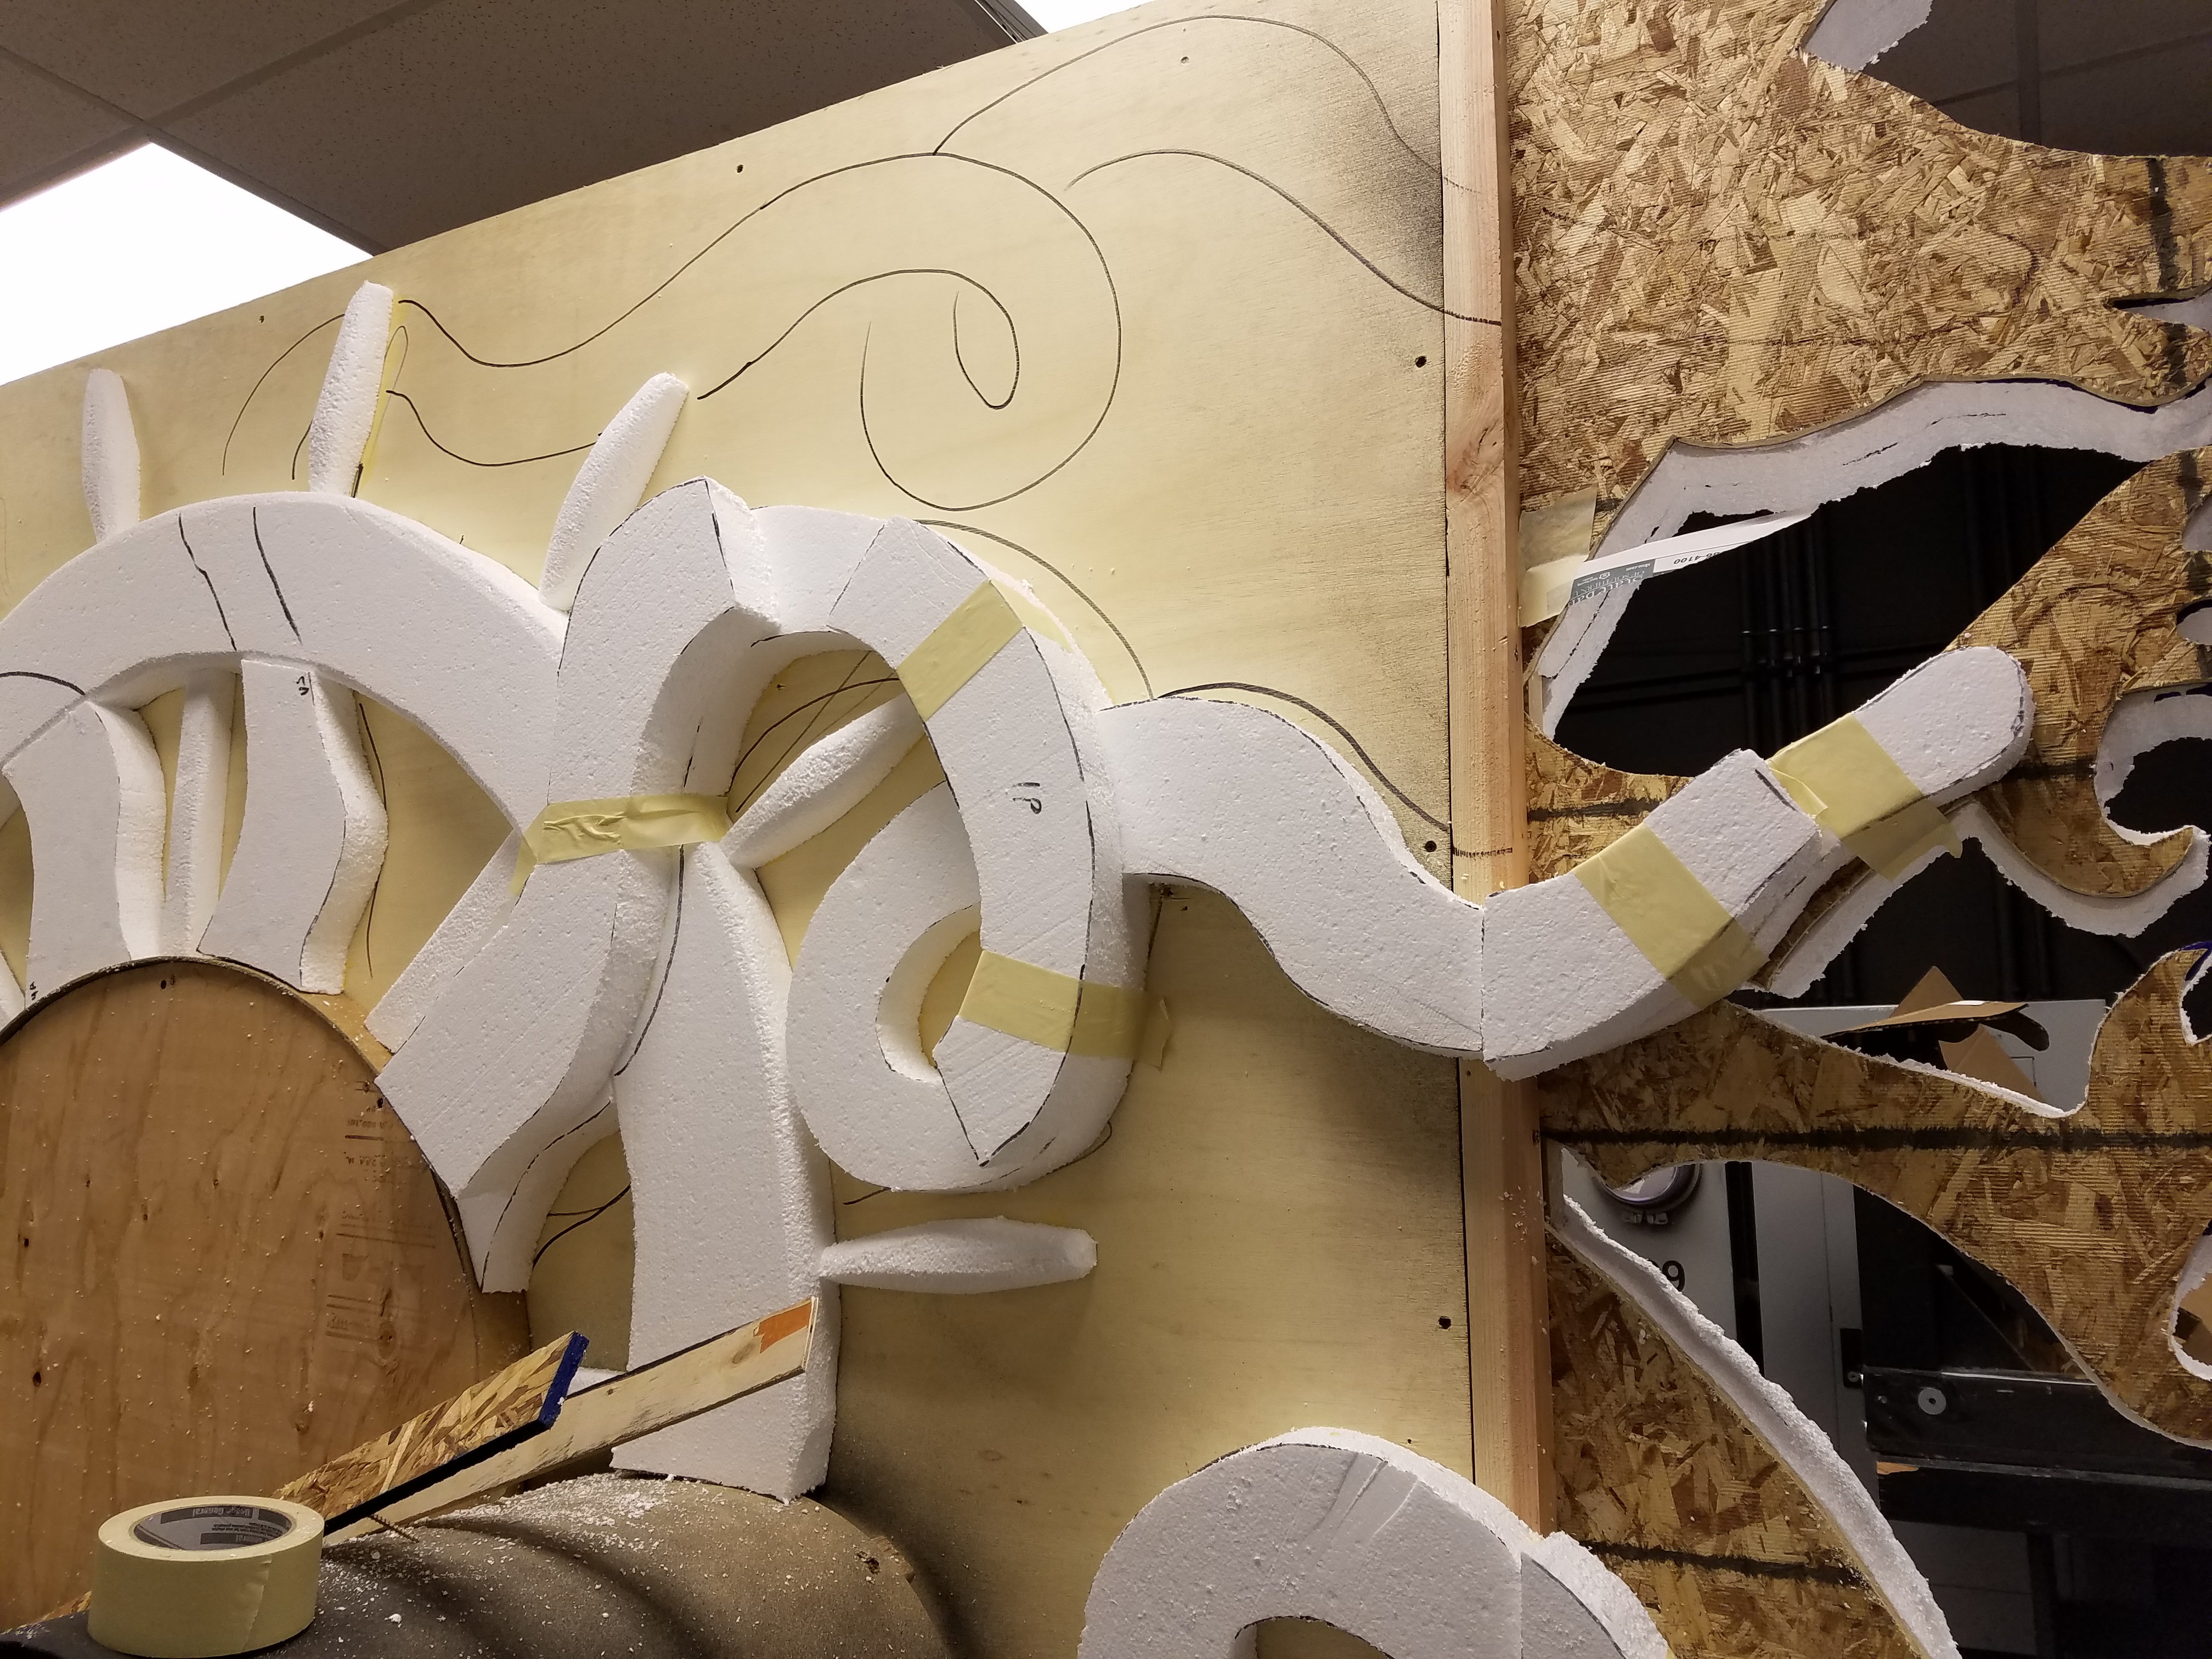
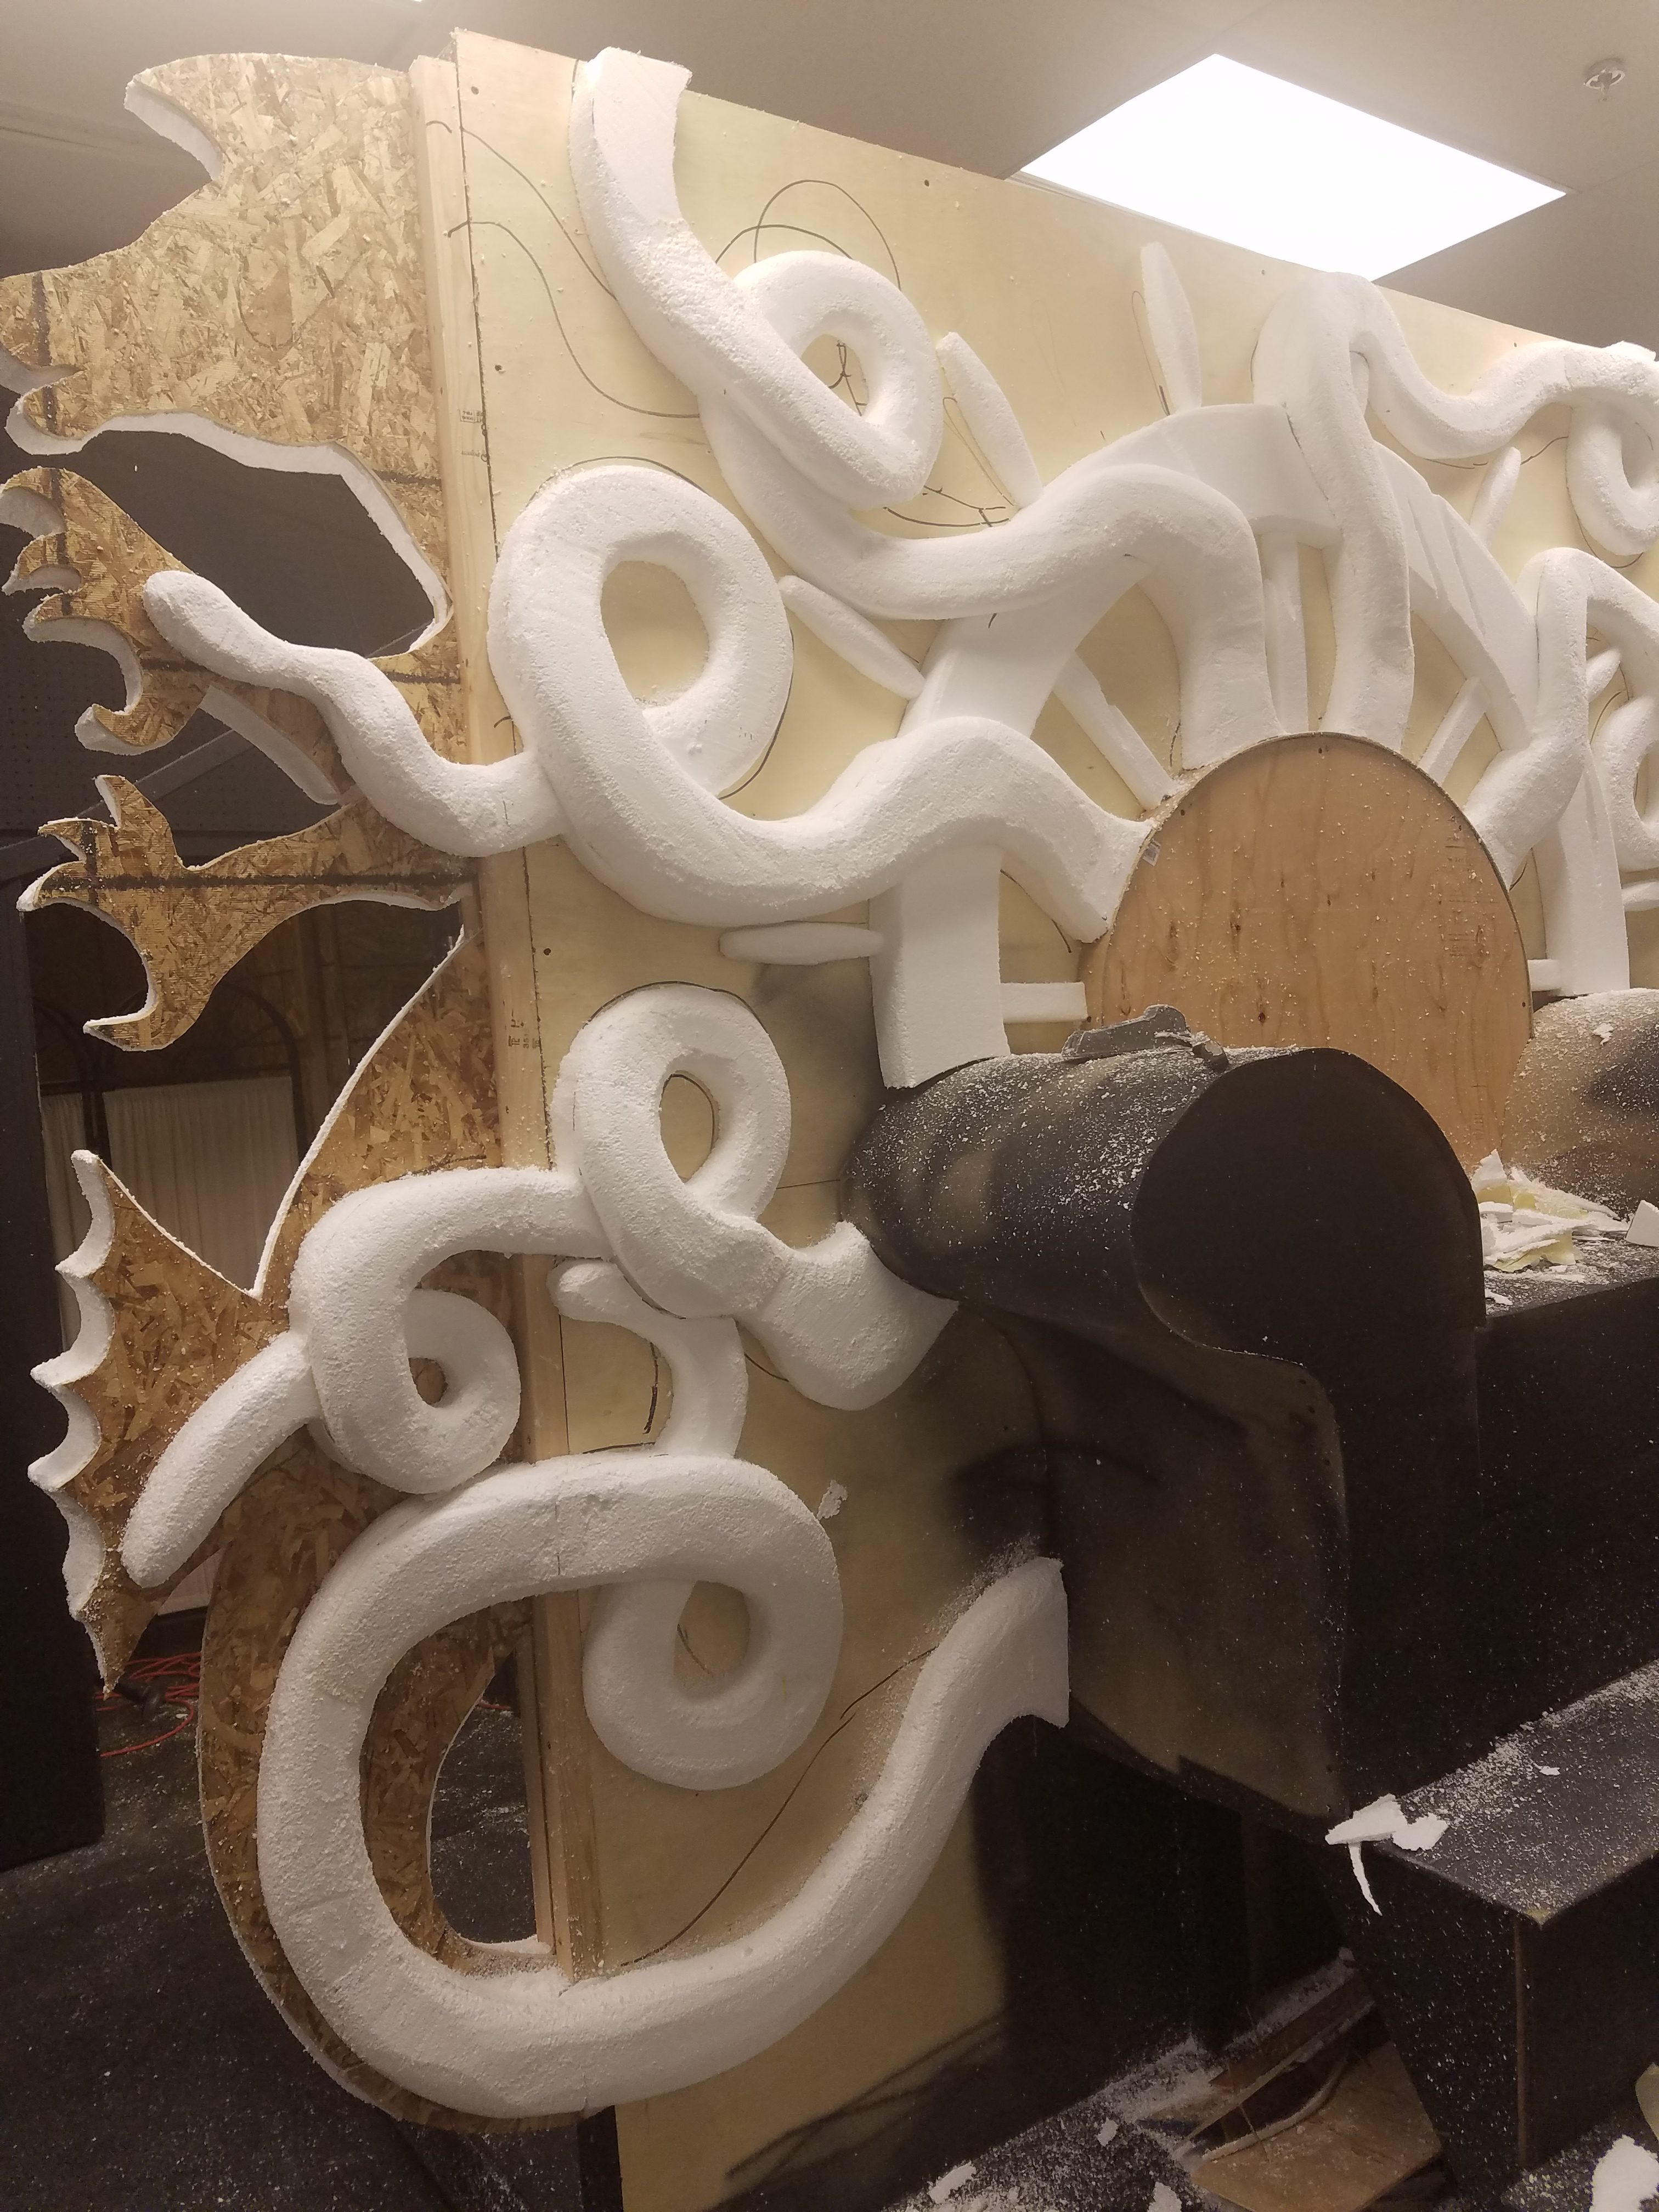
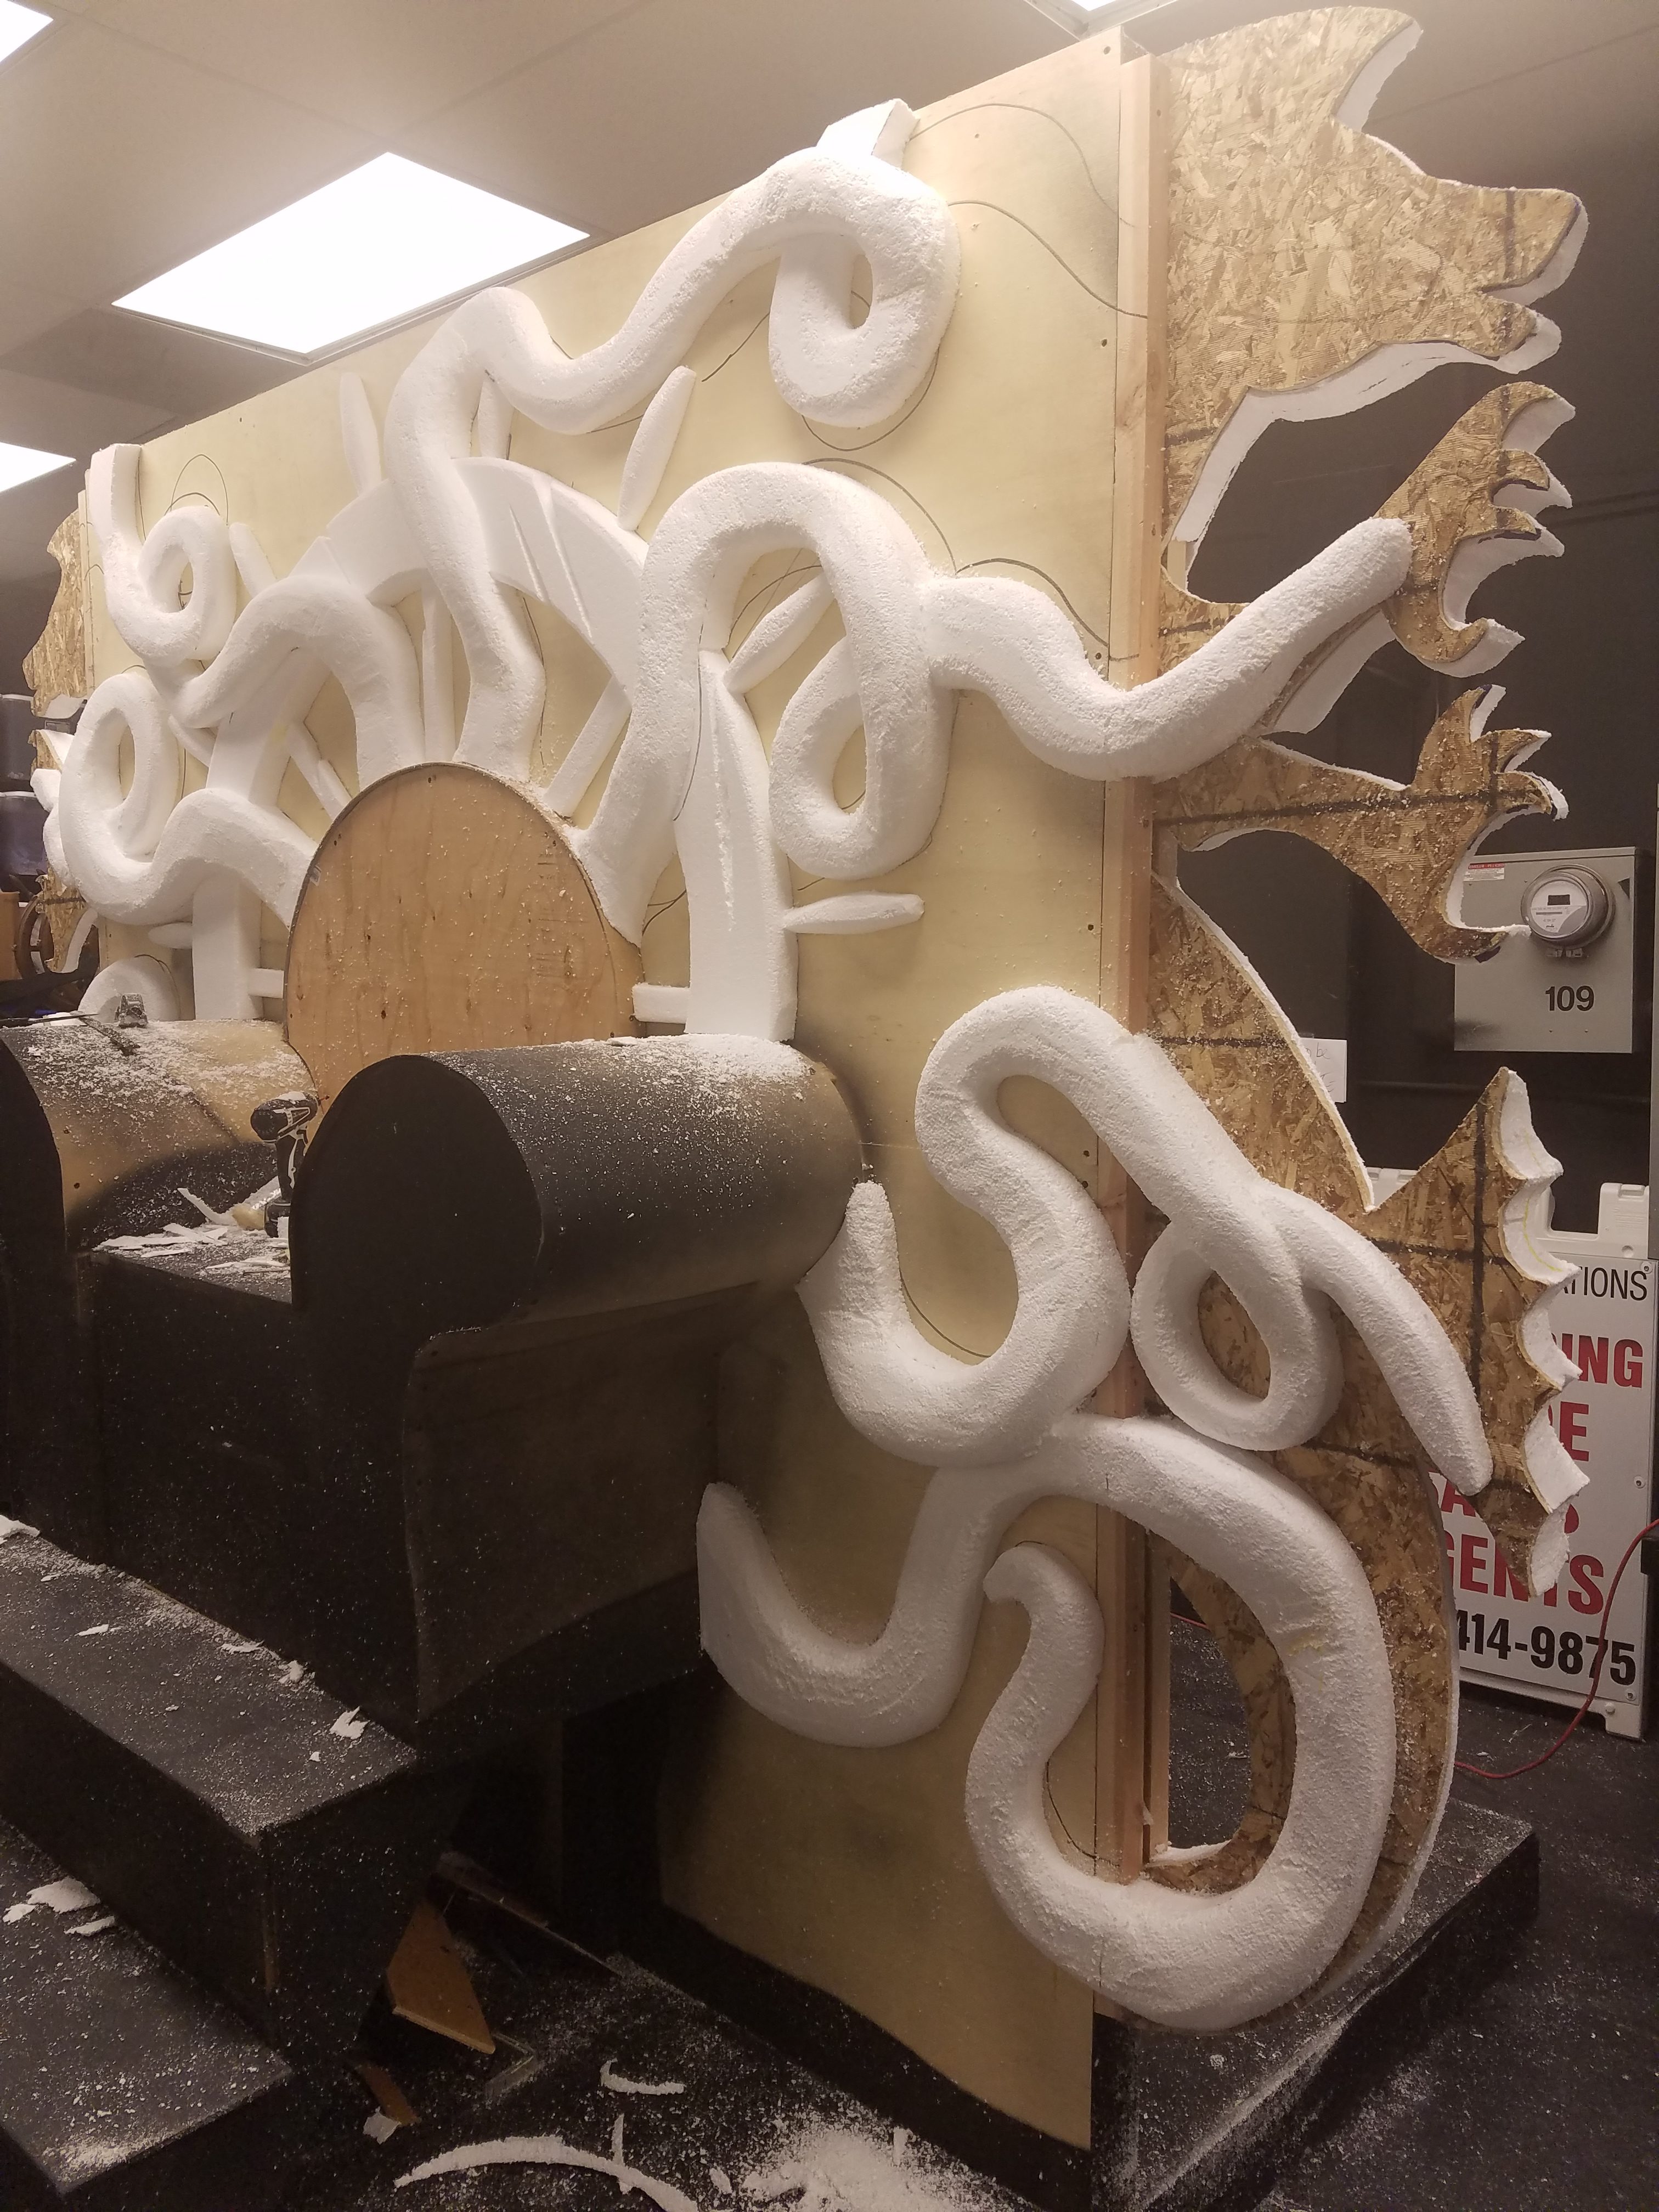
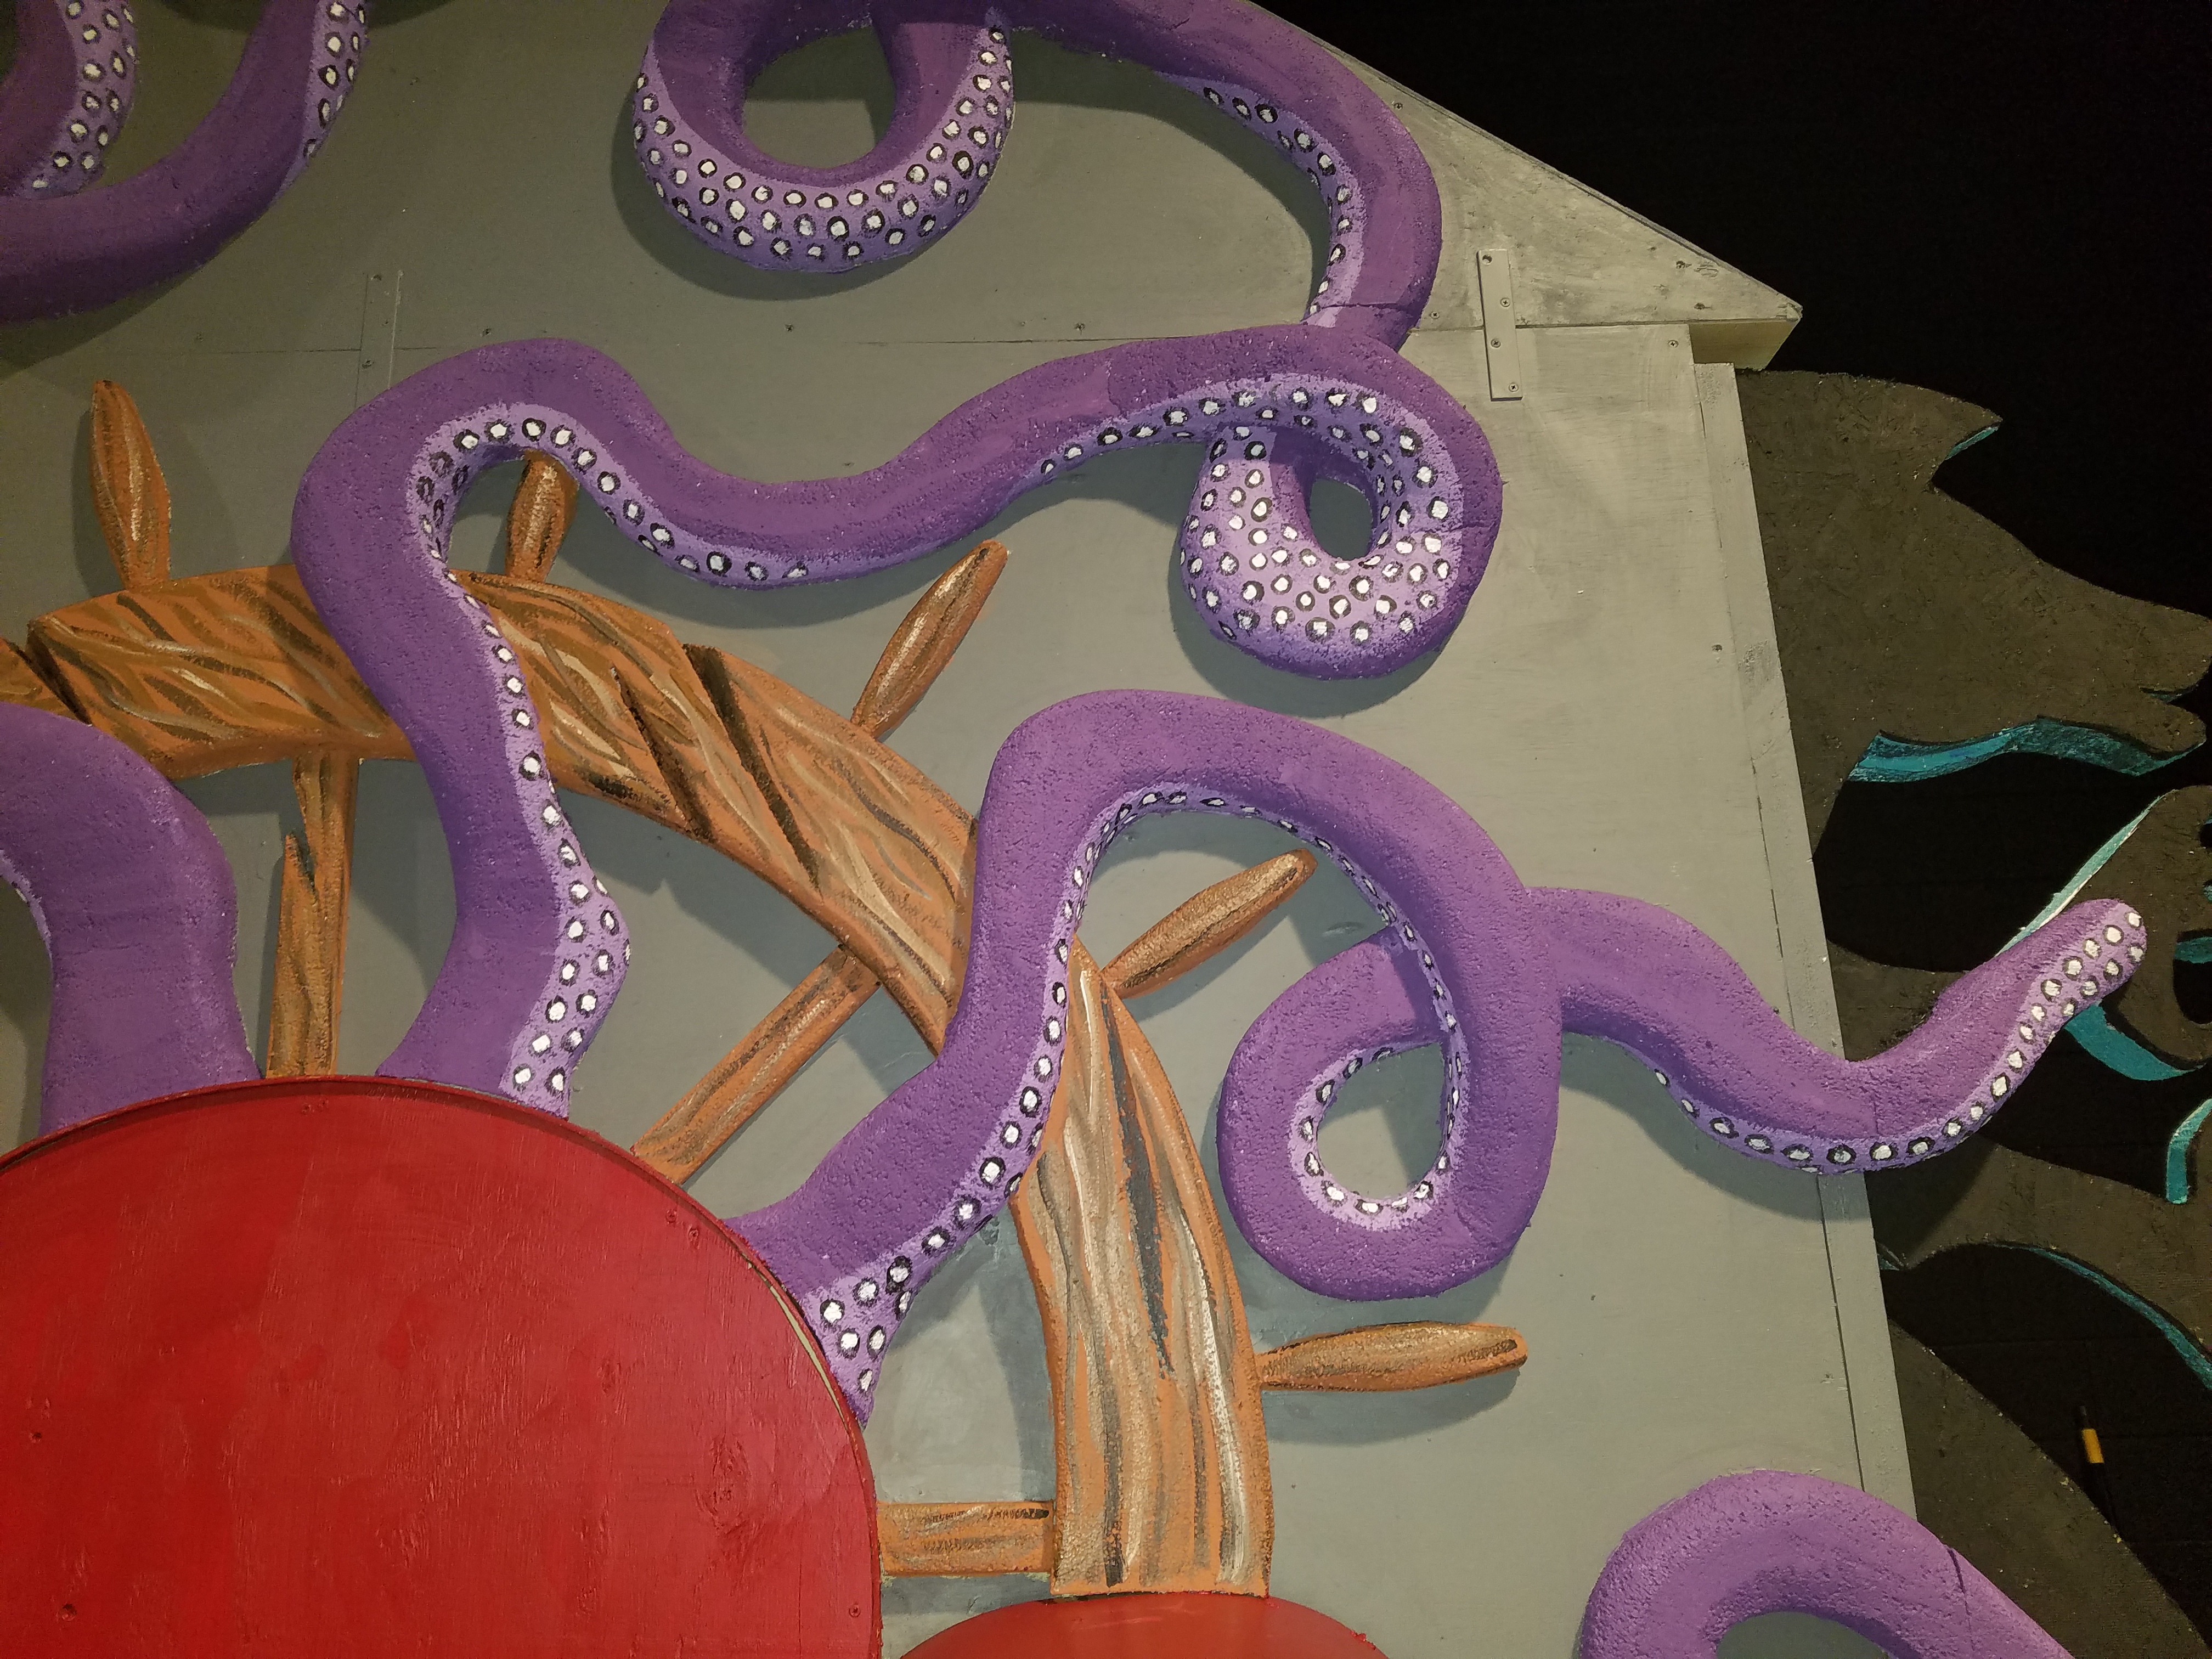
Ursula’s throne uses the back of the hippocampi cutouts, but I didn’t want that to be obvious from the audience. I started with the massive ship’s wheel, which makes almost a halo over the rounded top of the throne. Next, I plotted out a mass of tangled, overlapping tentacles that stretch out from the throne. I used newspaper cutouts to fit all of the pieces together.
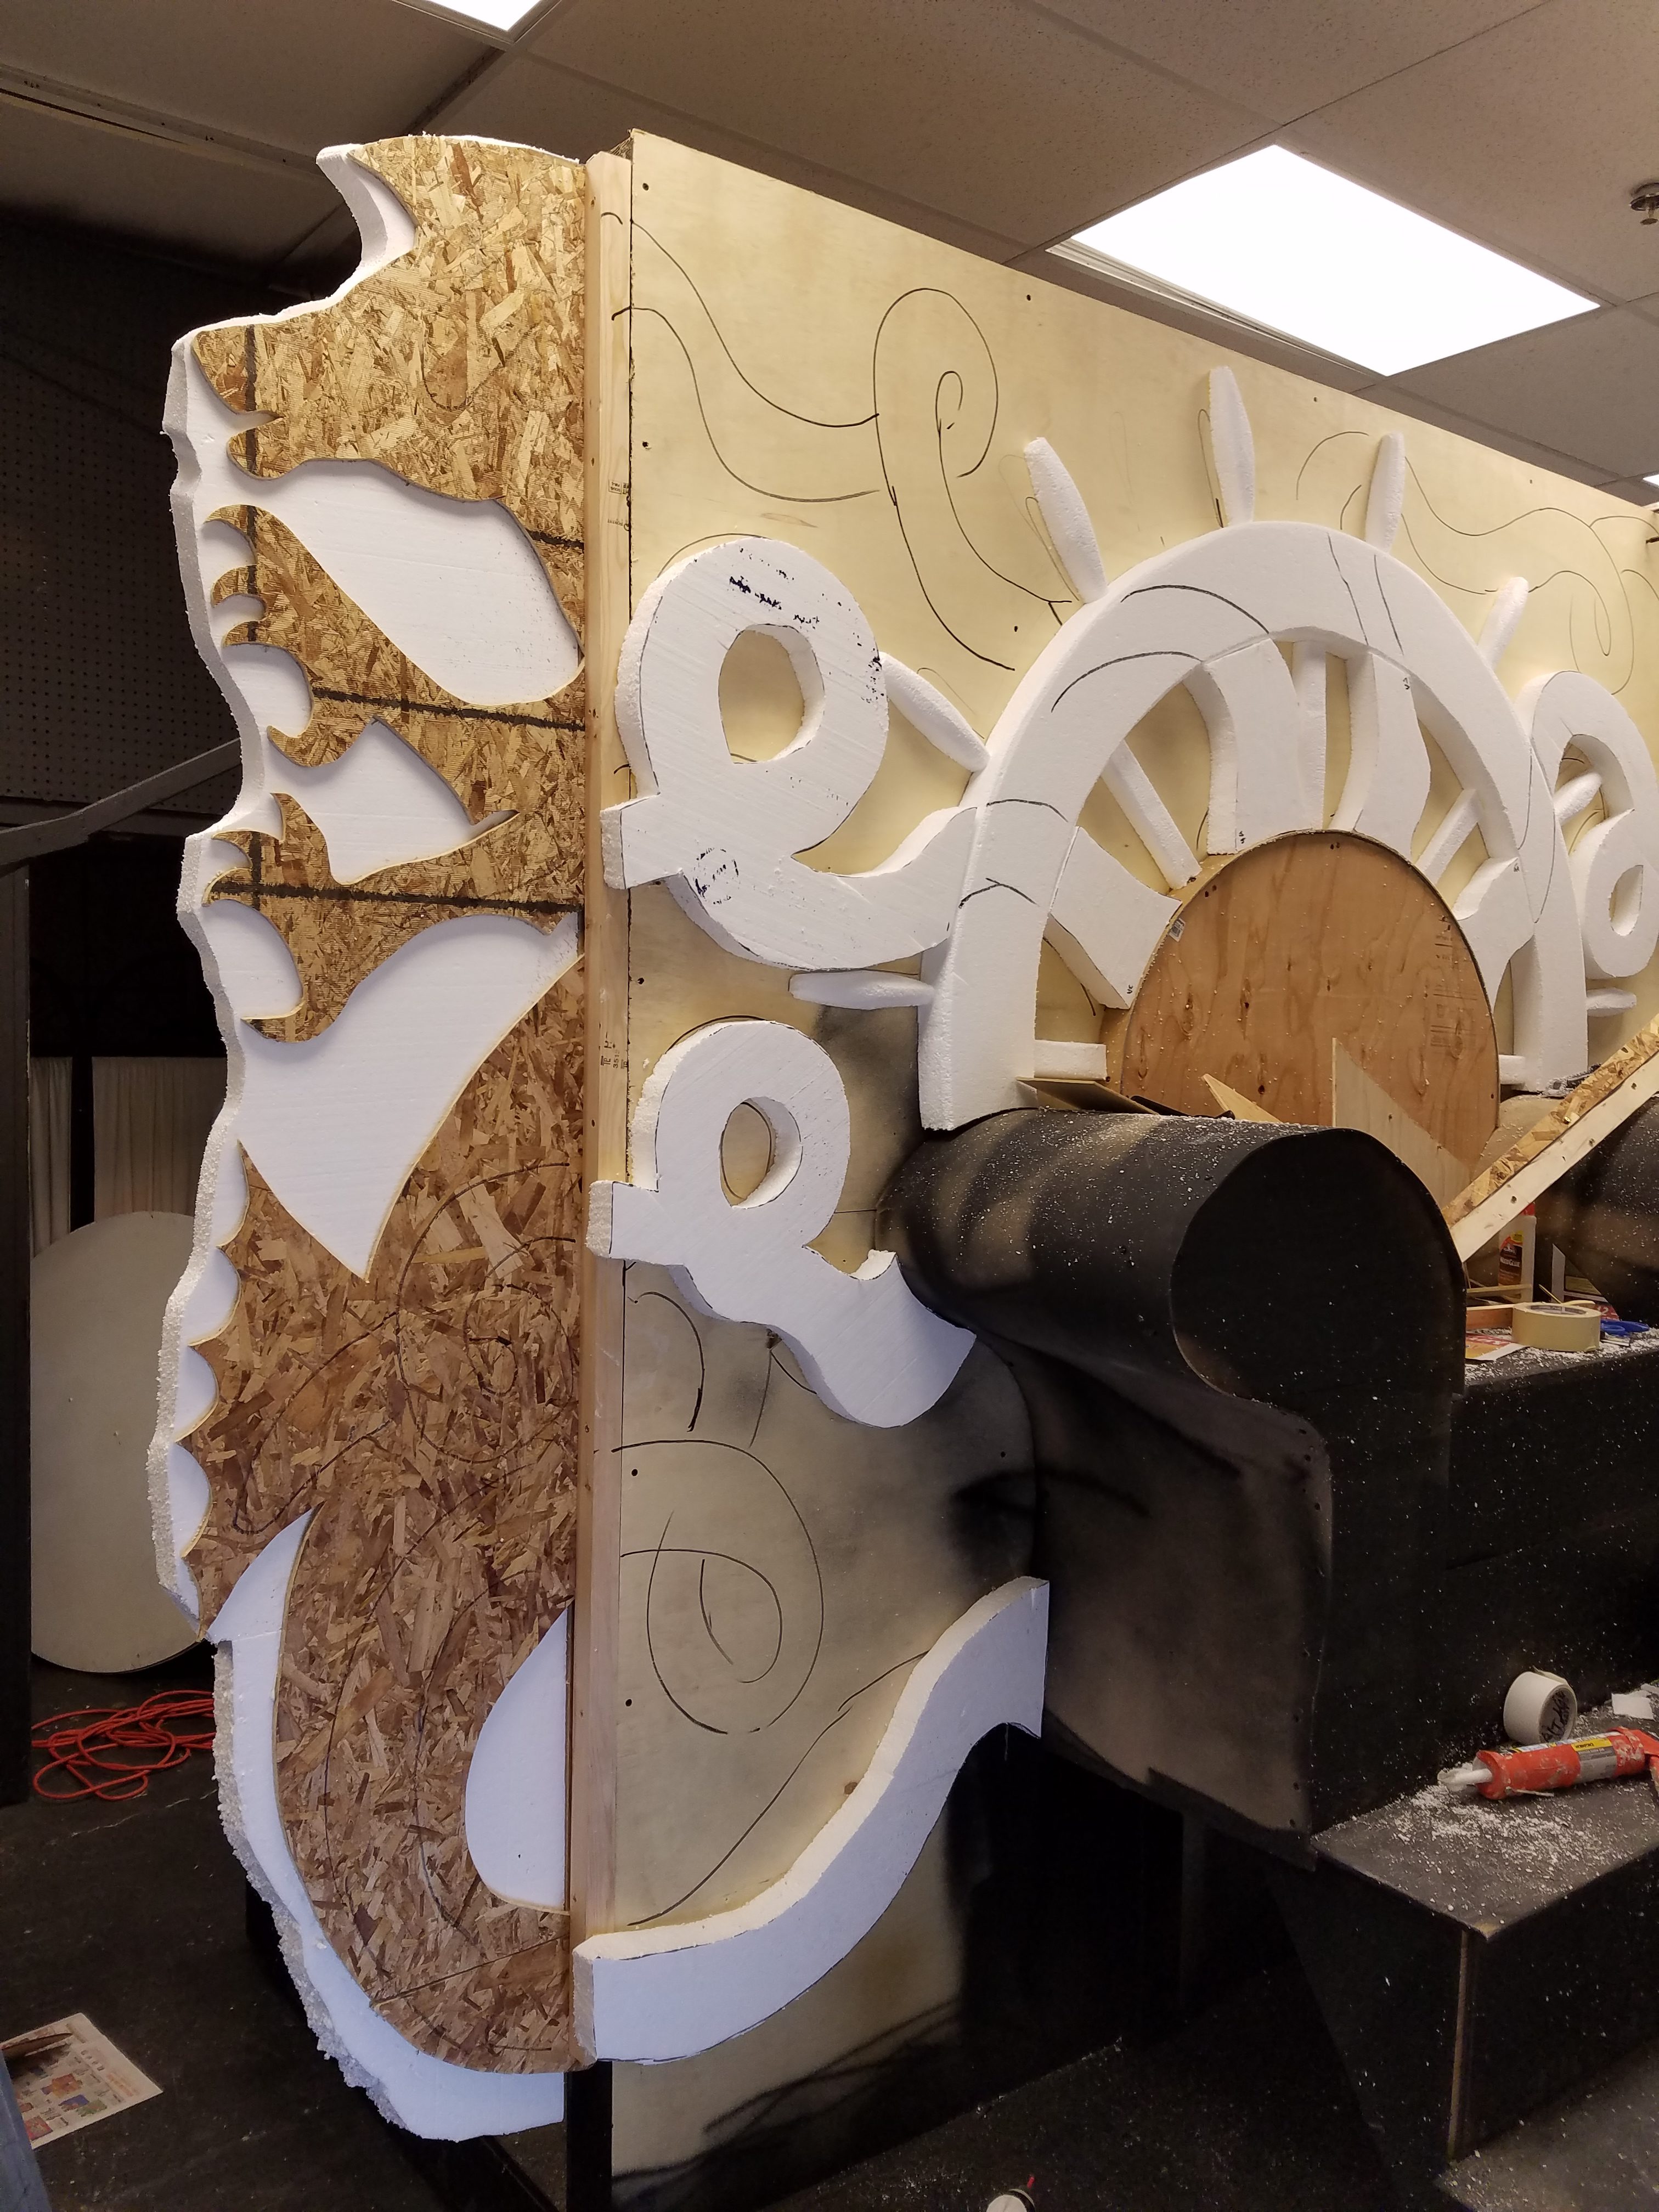
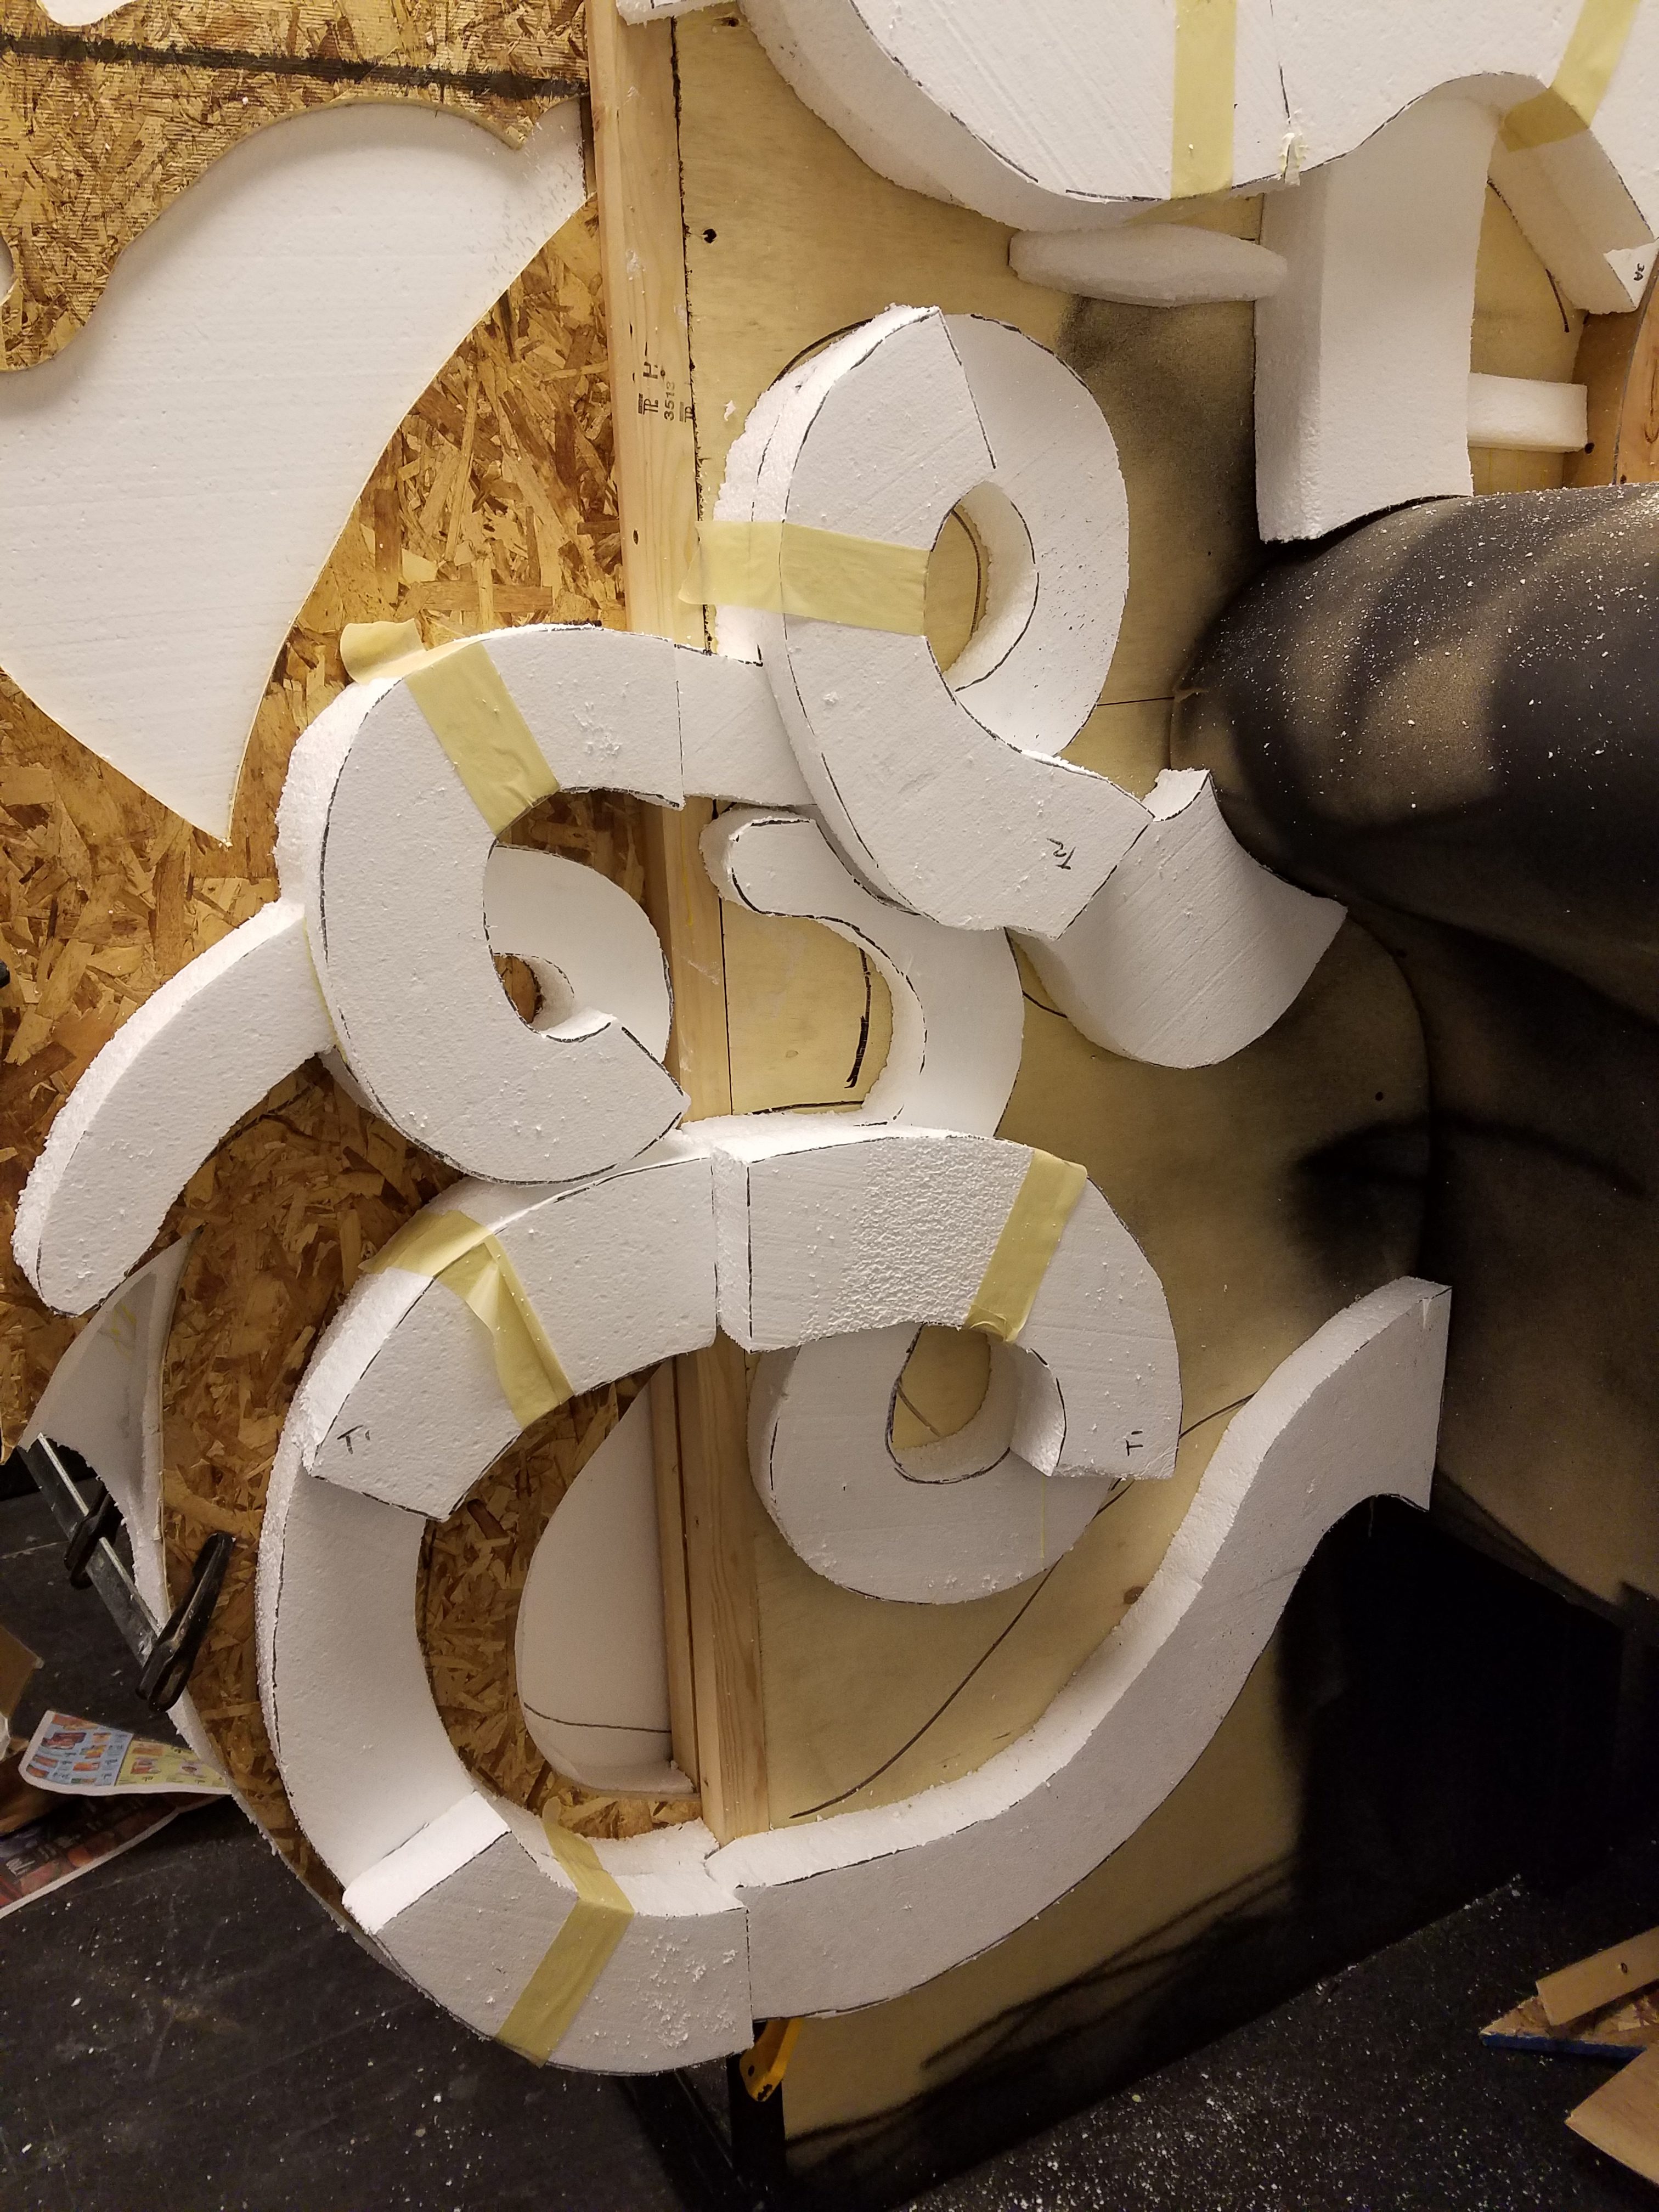
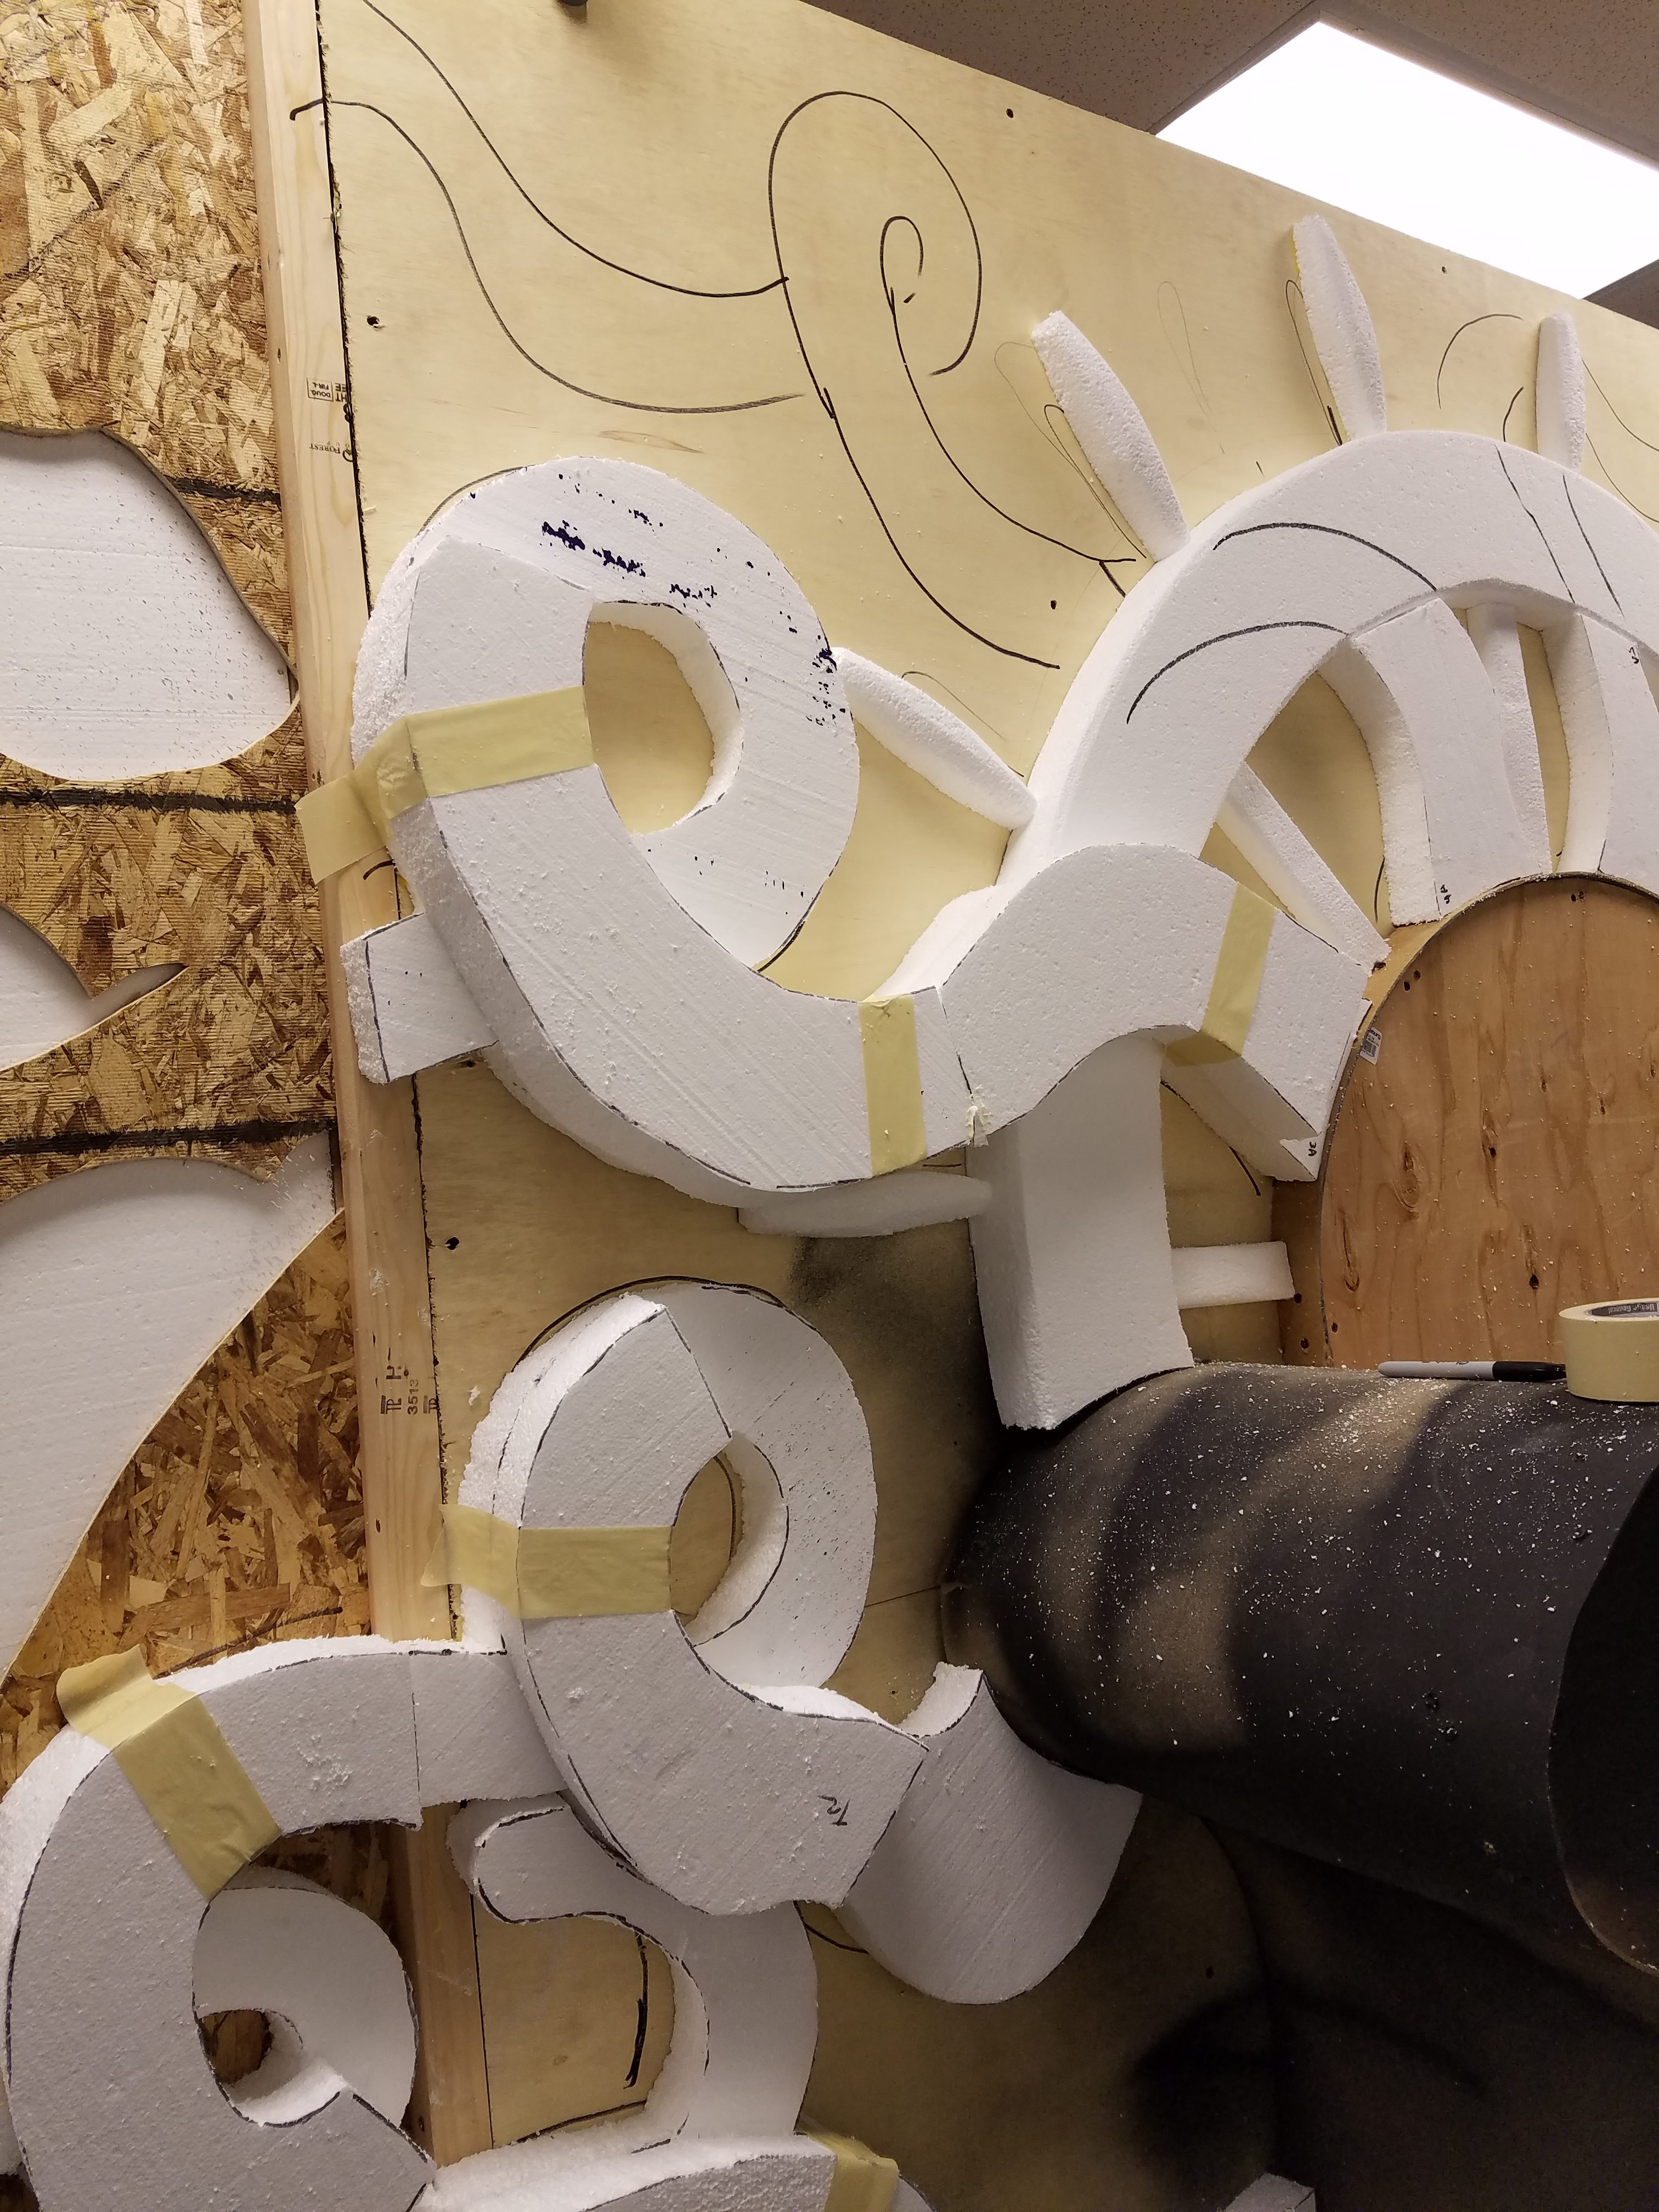
To overlap the tangling tentacles, I needed to add multiple layers. This was a jigsaw puzzle and required lots more tracing and cutting. Luckily, I was able to use my many scrap pieces to maximize the use of materials. The pieces were glued and taped in place, then left to dry overnight.

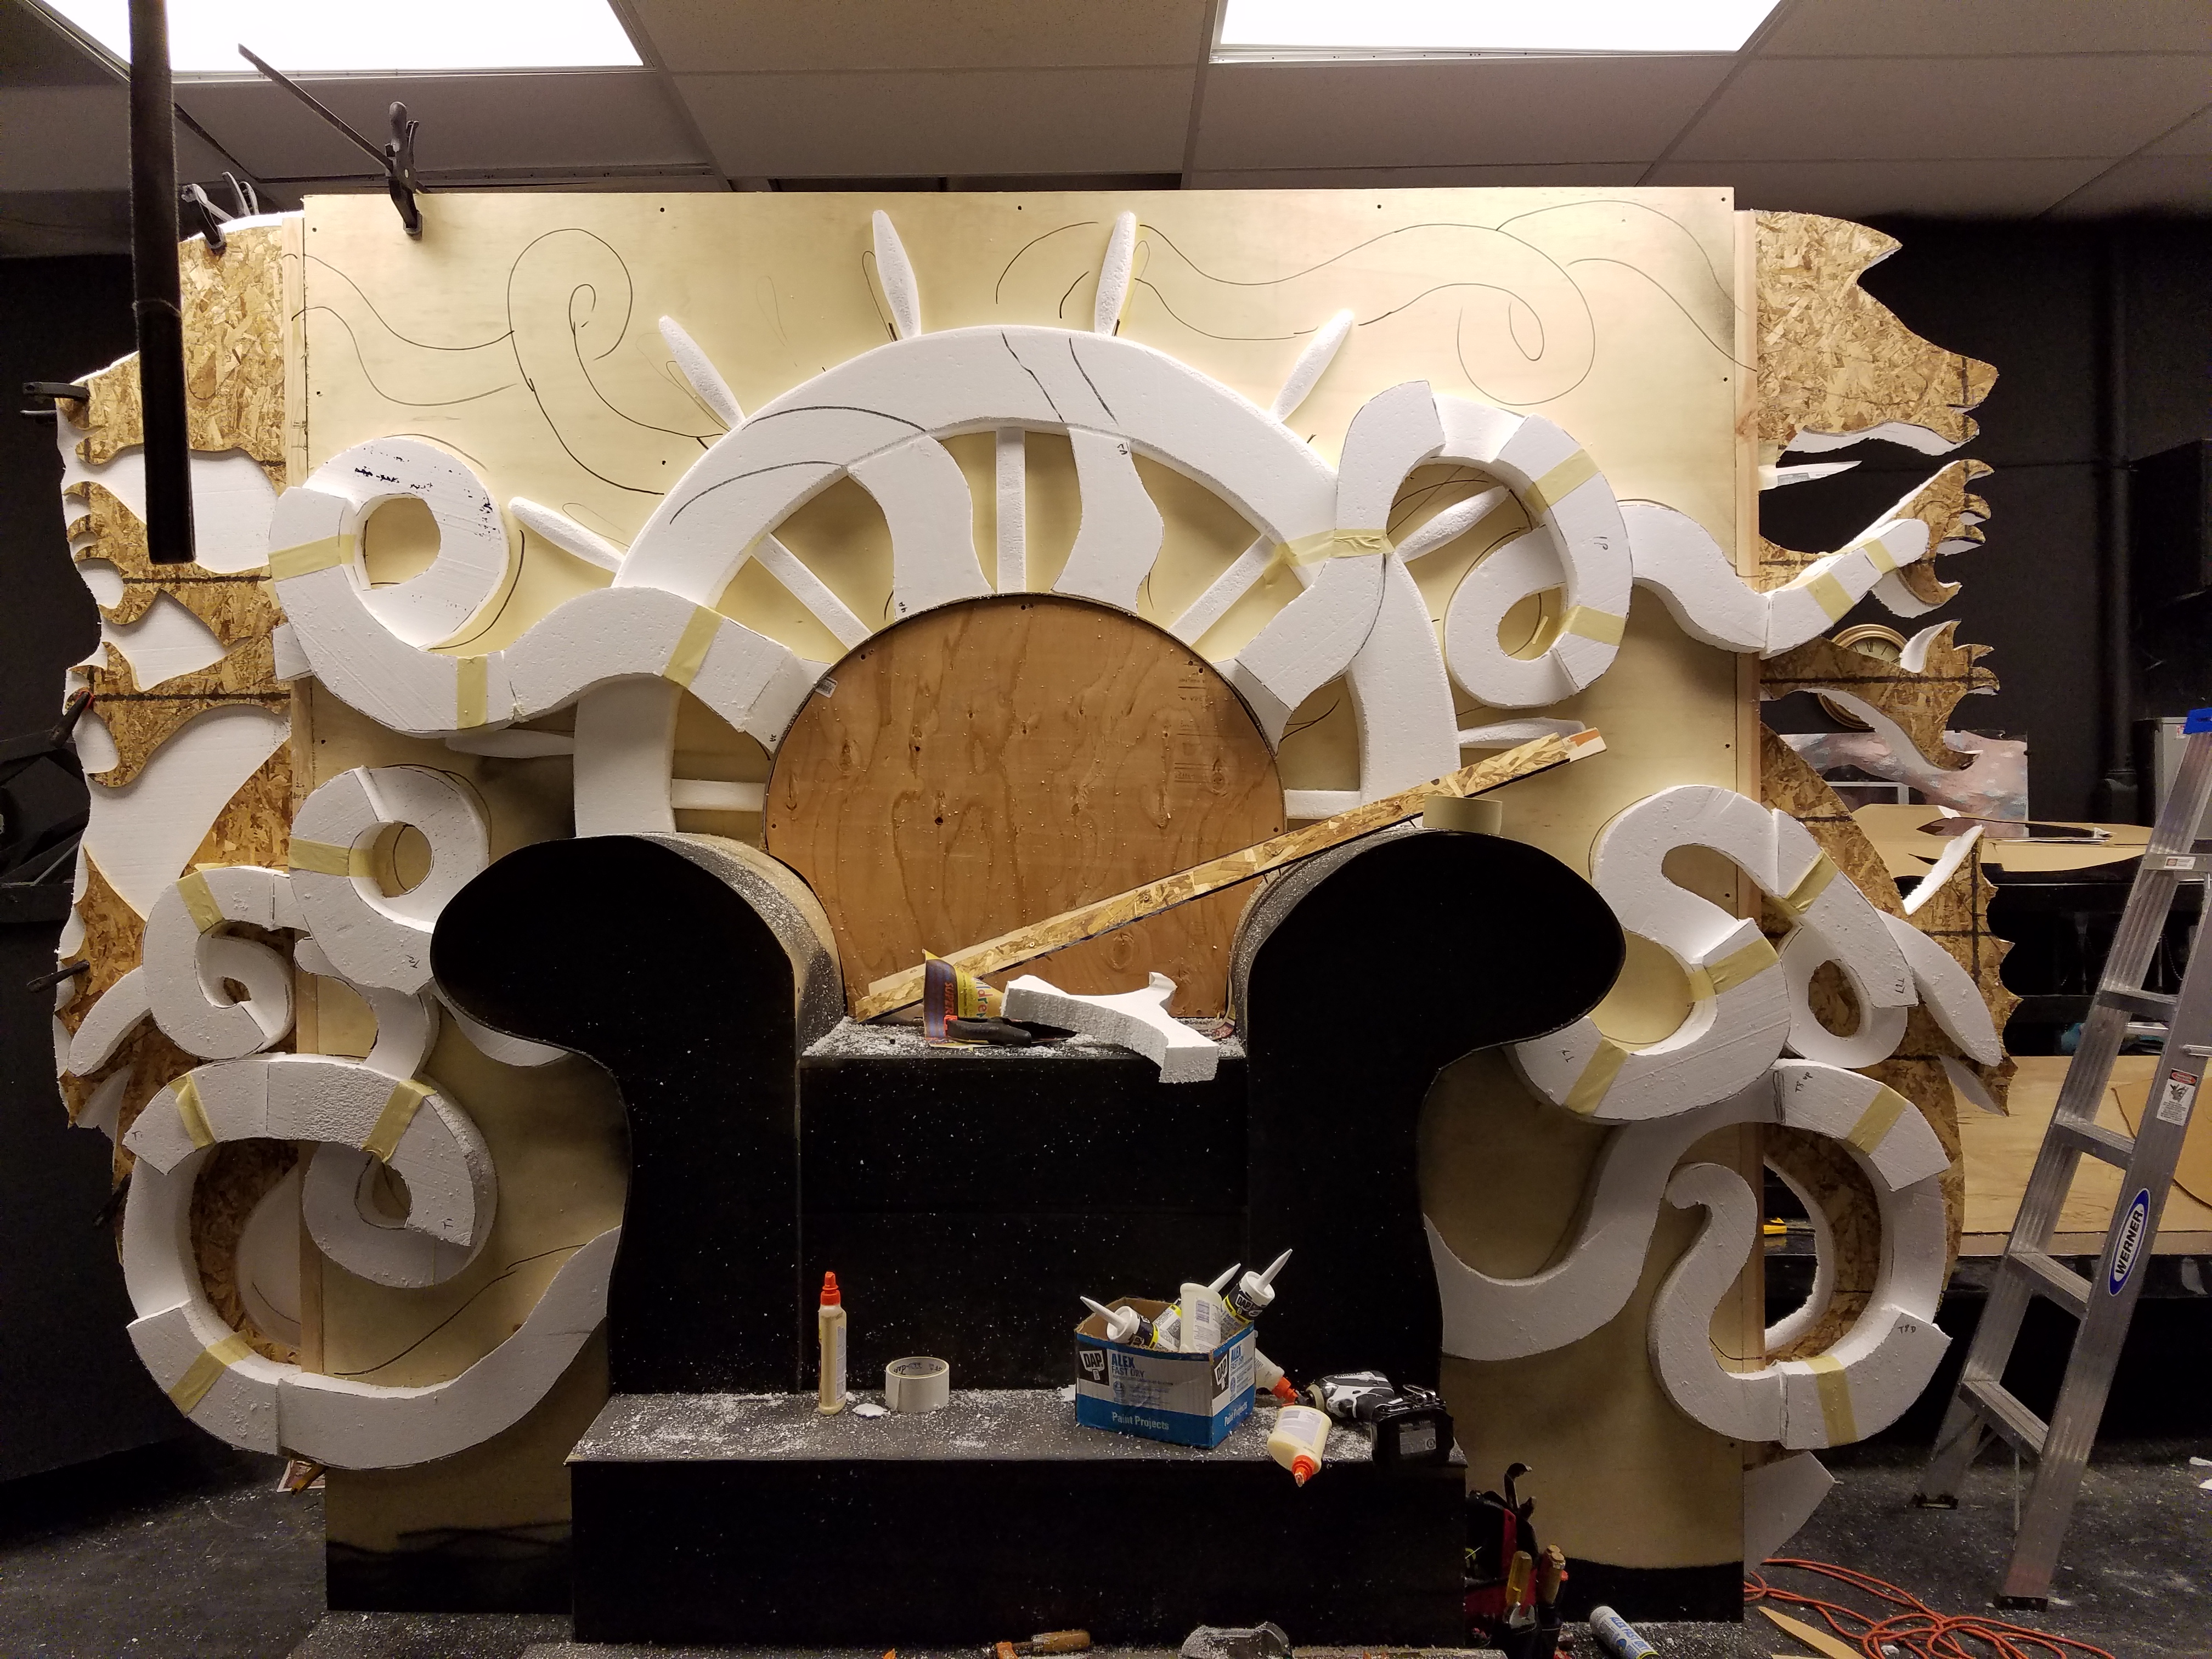
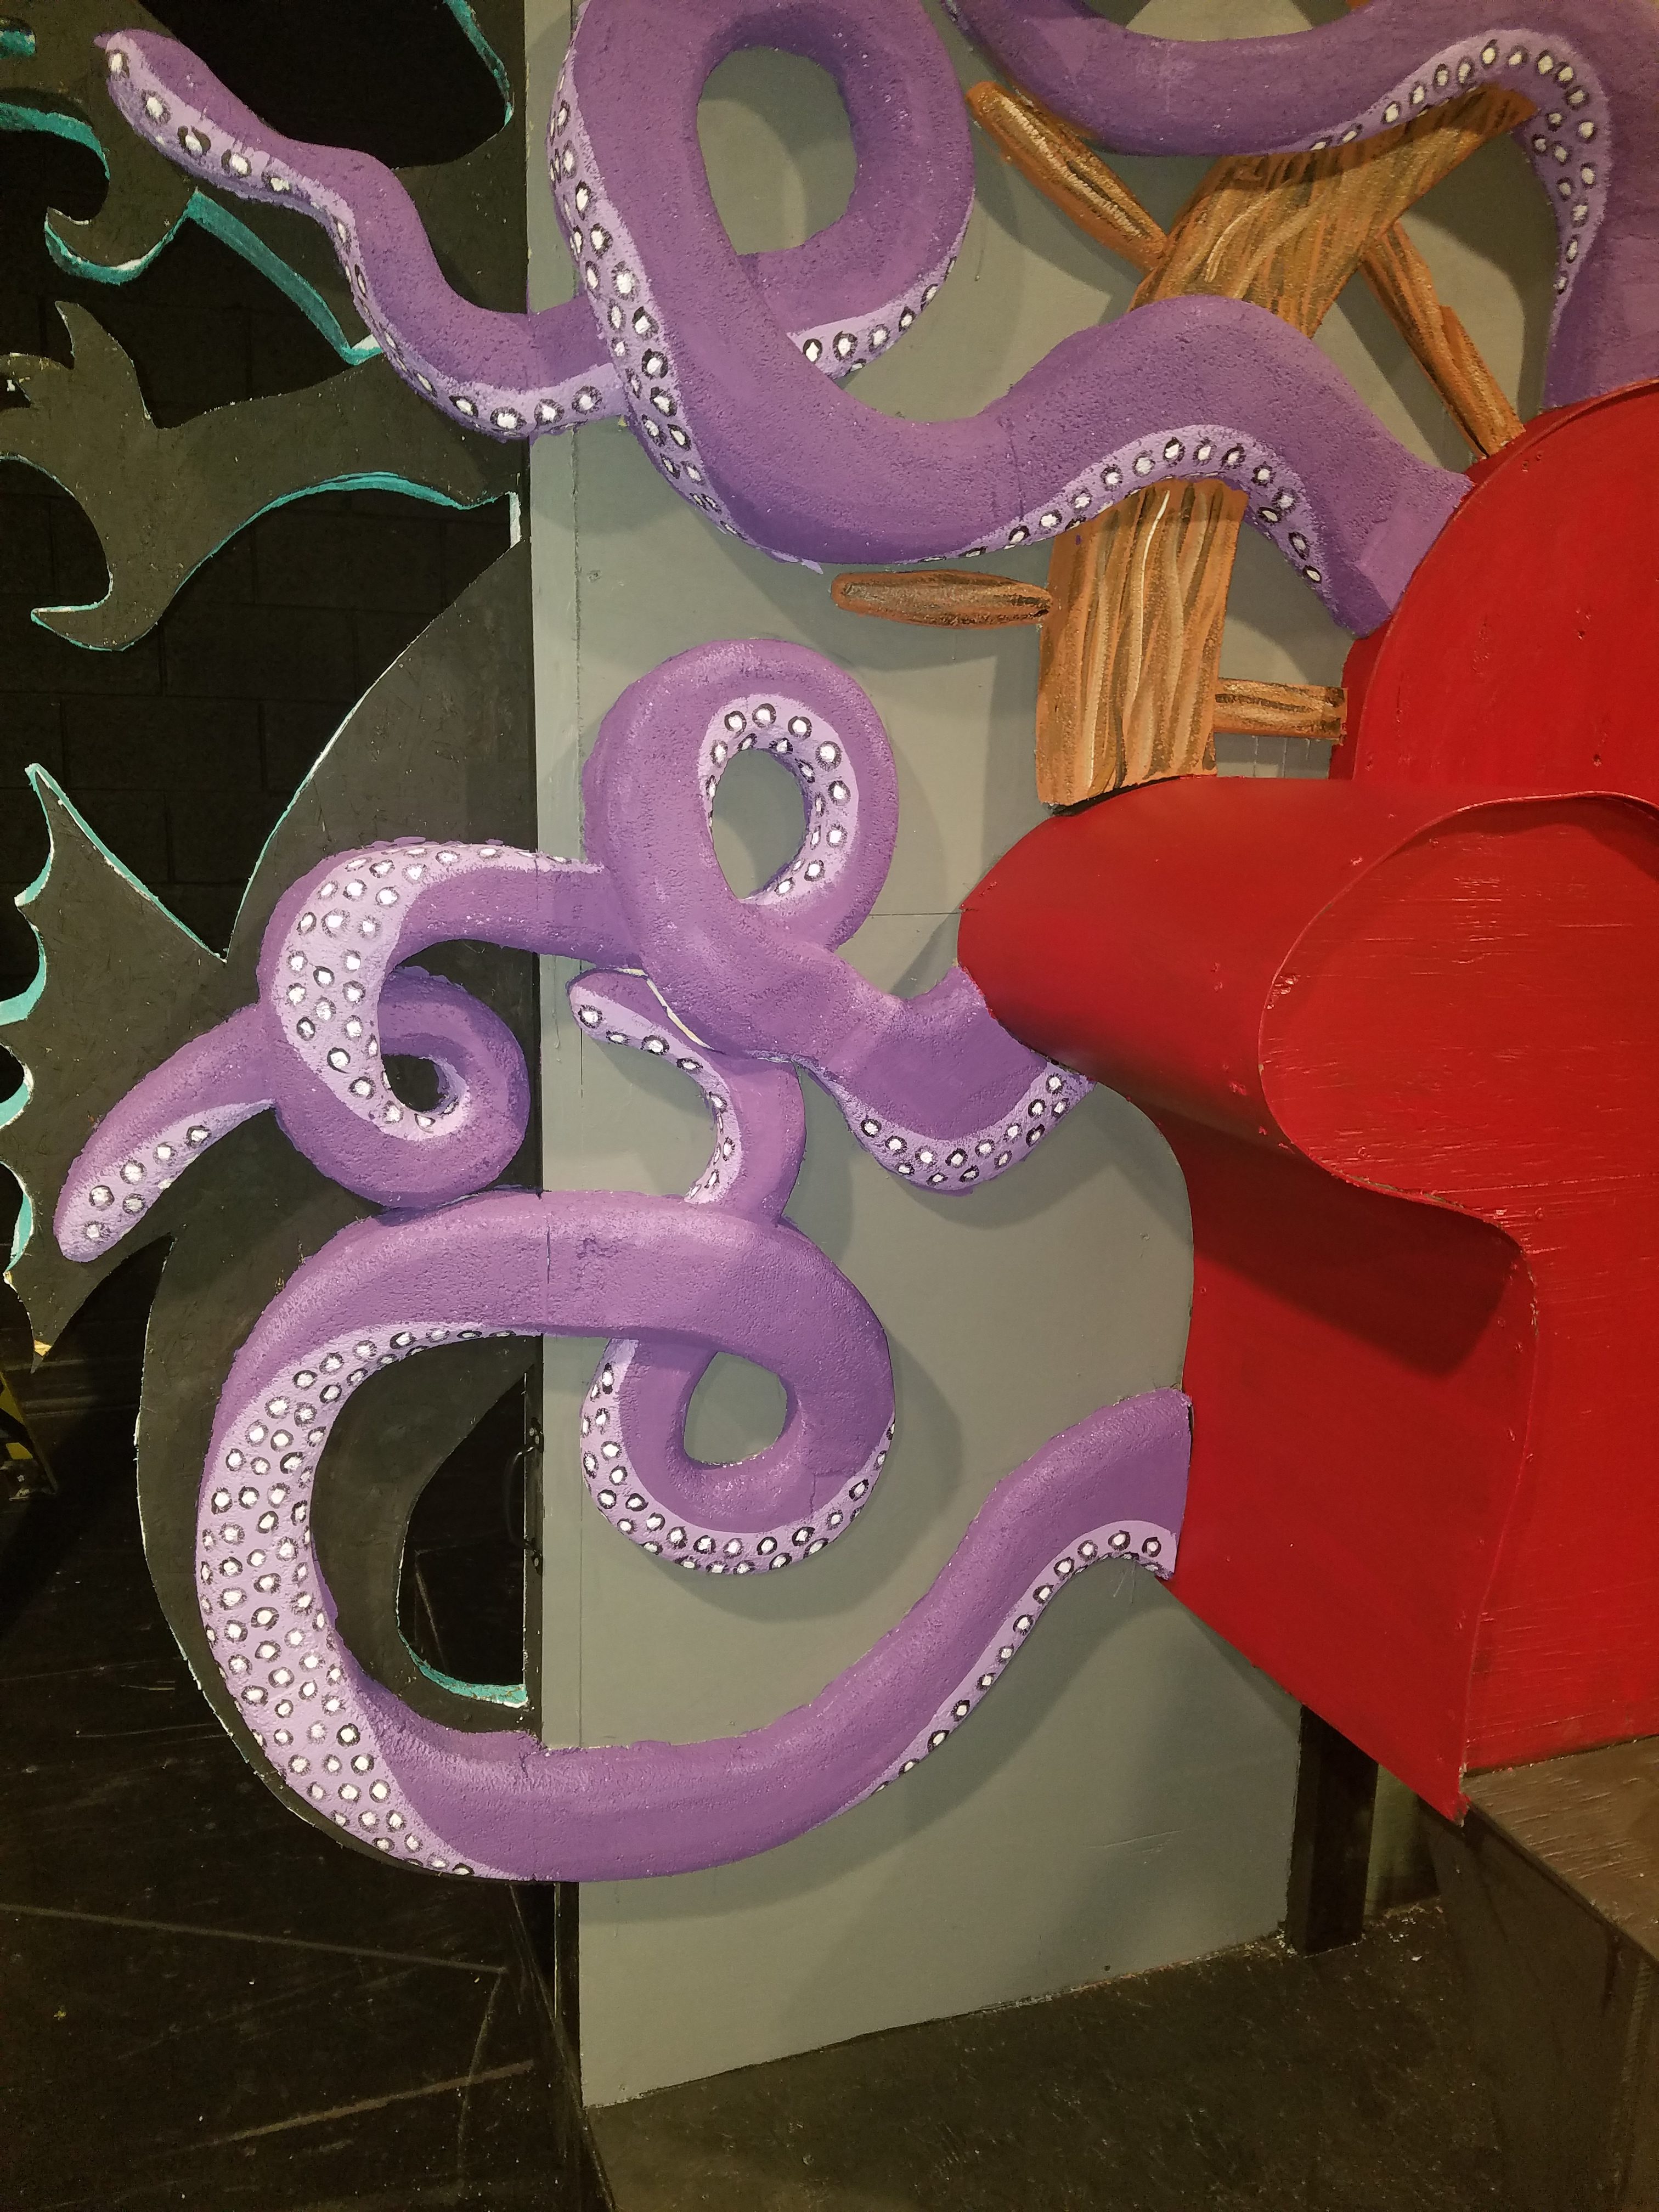
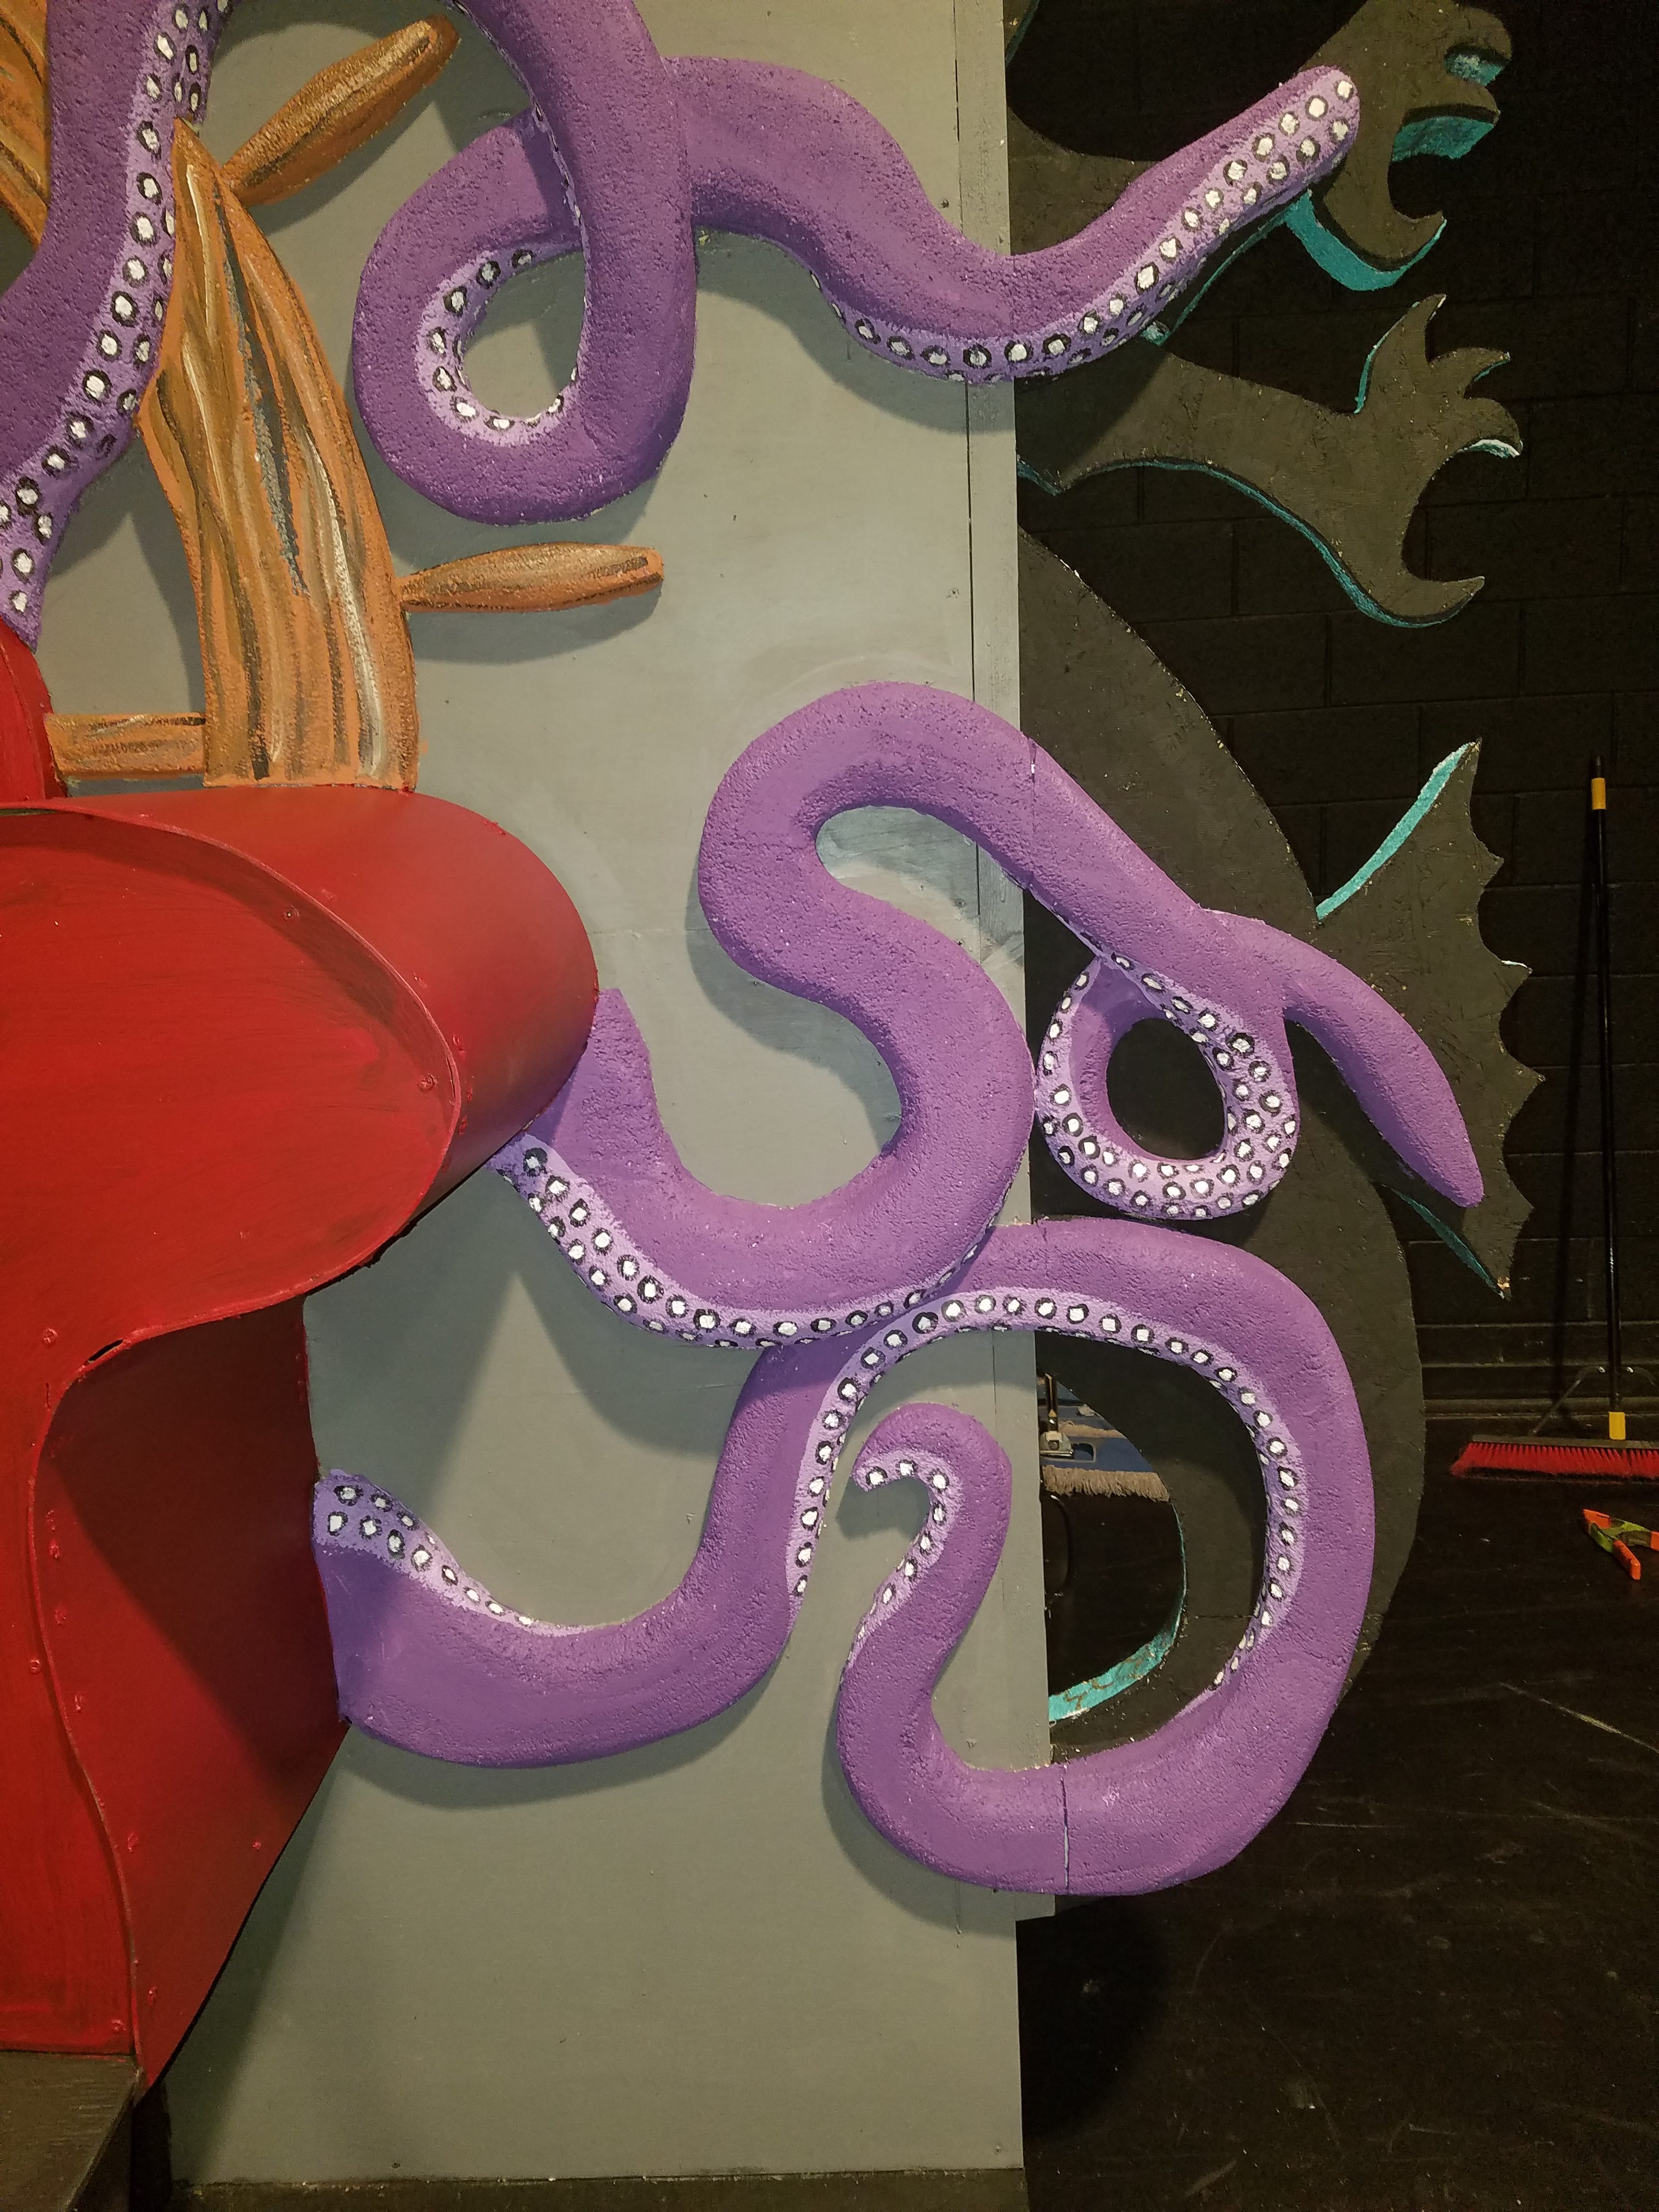
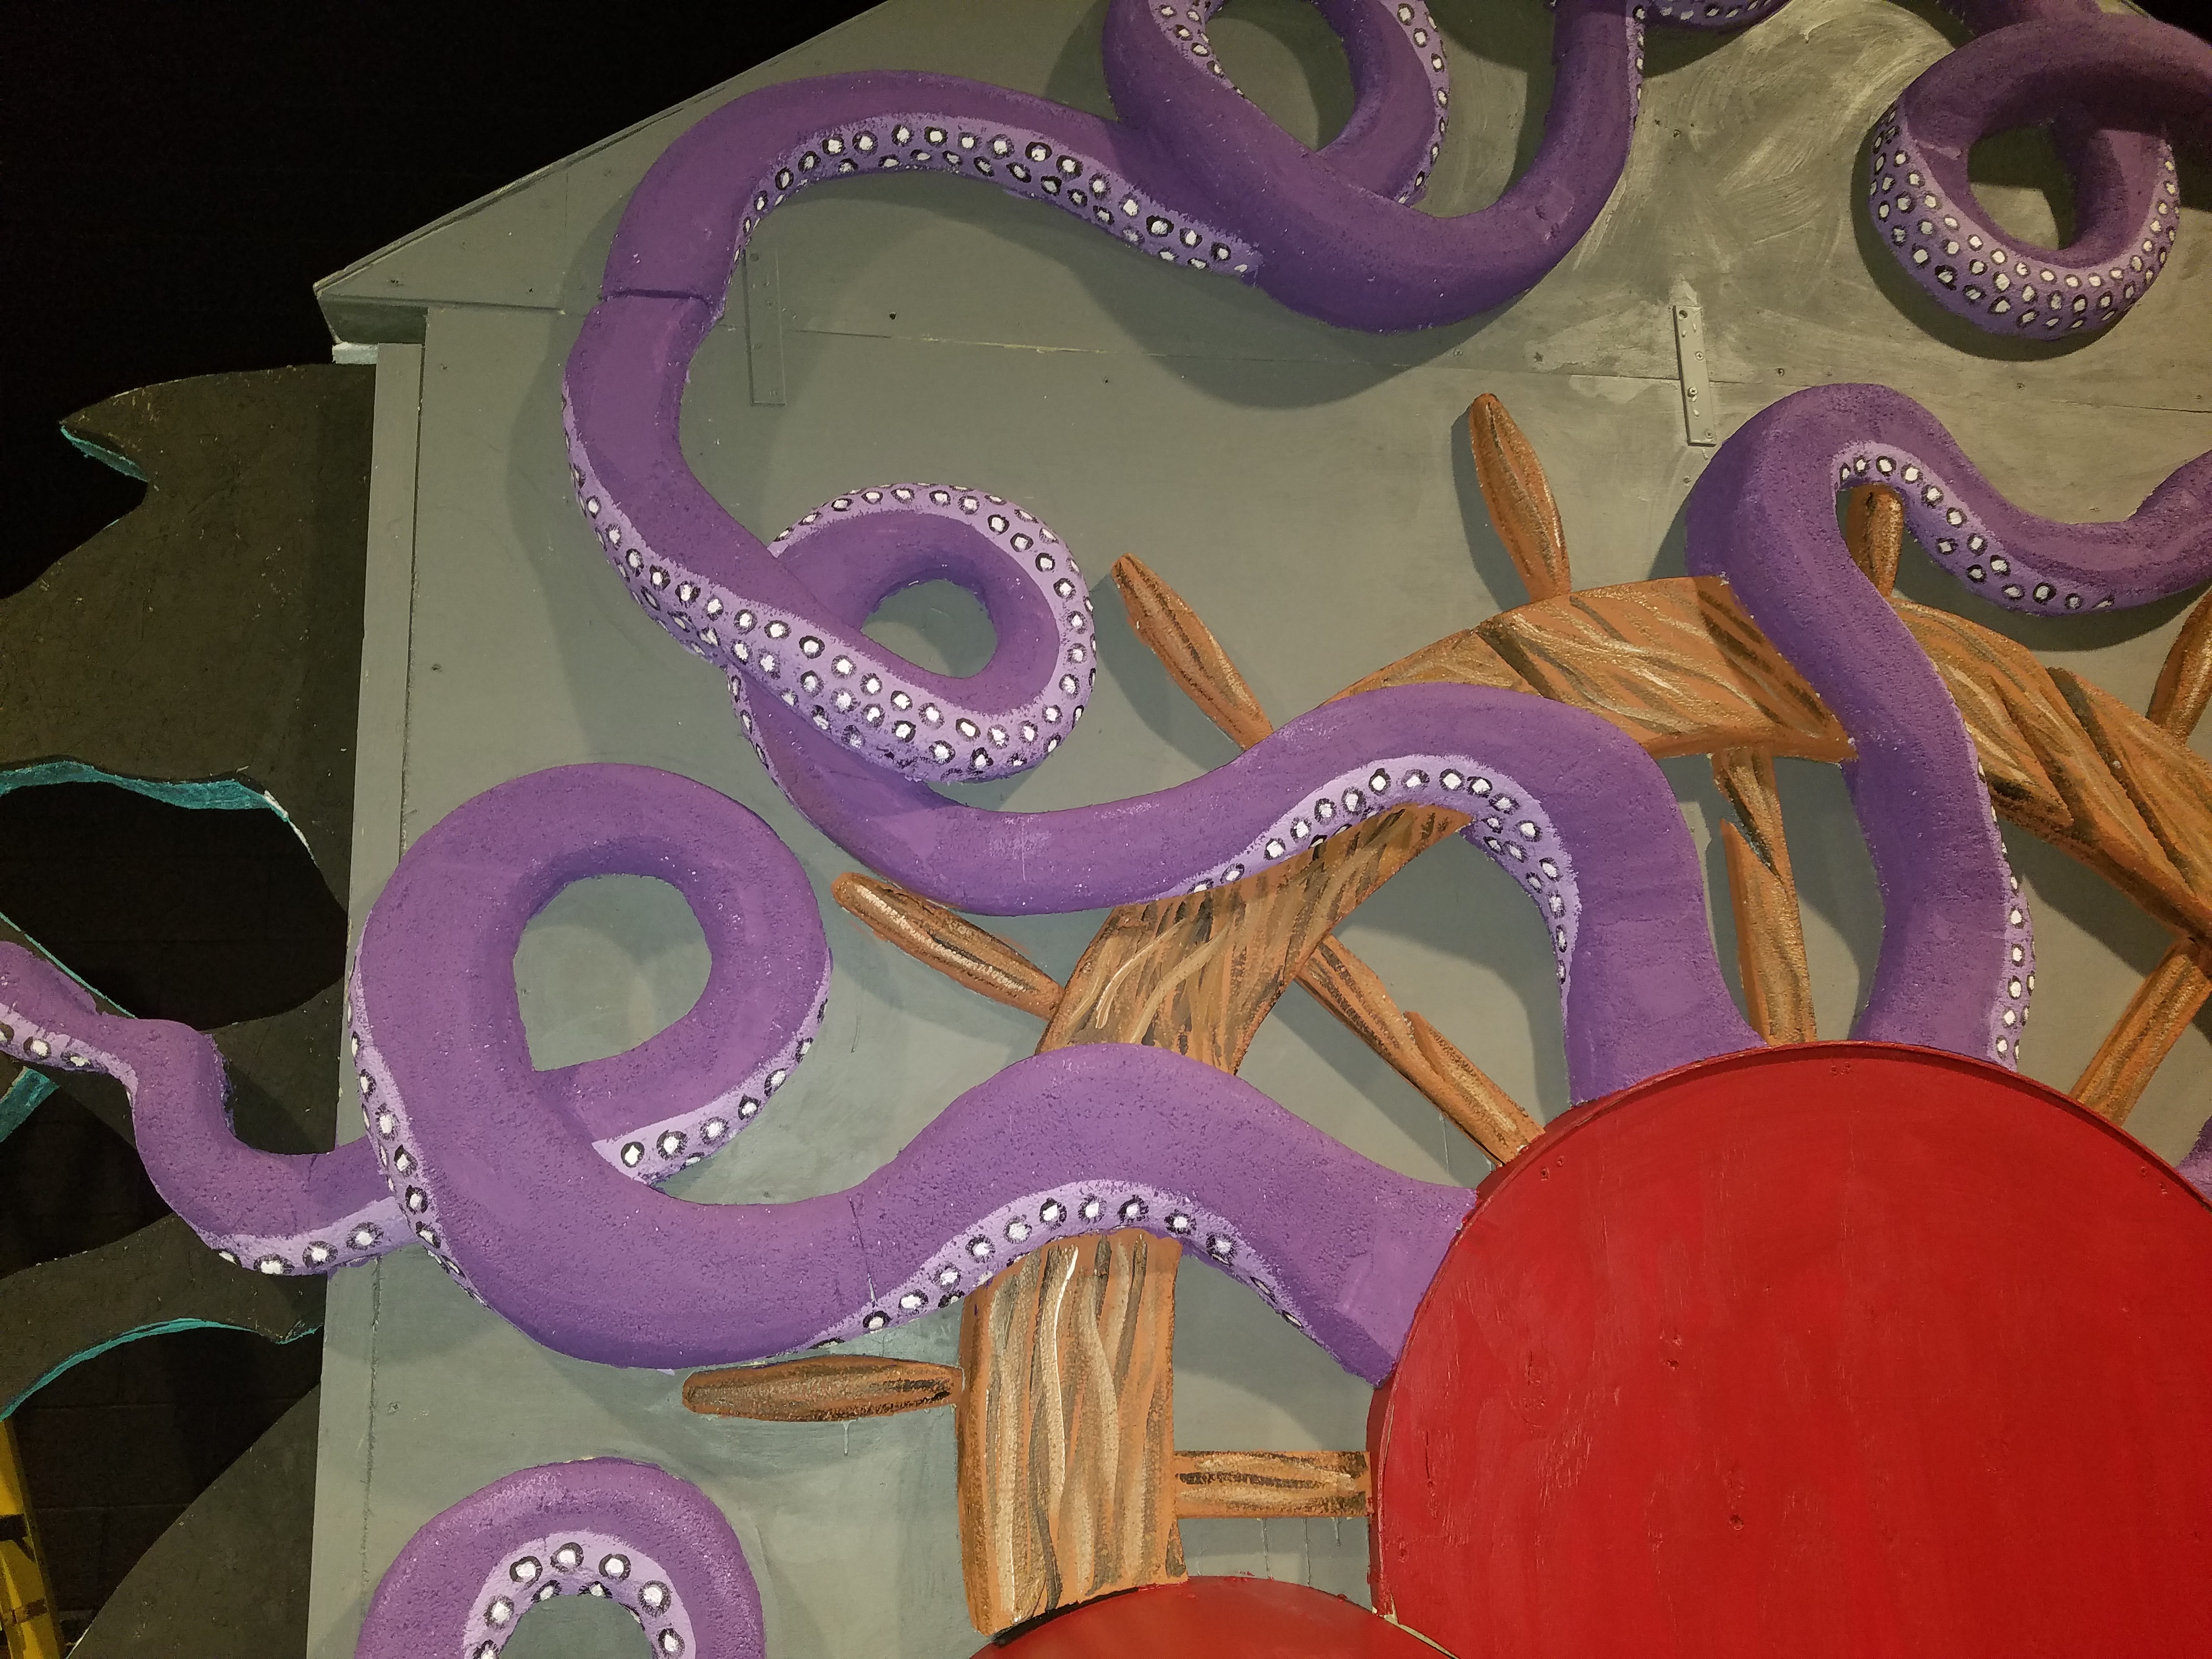
Now, it was time to carve and shape. I didn’t dare use power tools on this piece, so it was all done with a serrated steak knife, hand planer and shoe rasp. (I wore the ventilator during the long hours of shaping.) You’ll notice that I didn’t add the top tentacles yet. There just wasn’t enough space in the shop. Those last parts had to wait until the cap went on the piece—once we were in the theater space.

And finally, the painting. I got the tentacles painted and shaded, and just wasn’t happy. Something was missing. I finally realized that we needed some additional details to make them pop. So I spend a few hours painting hundreds of little suckers on the underside of the tentacles. It was a lot of work, but I think it was worth it.
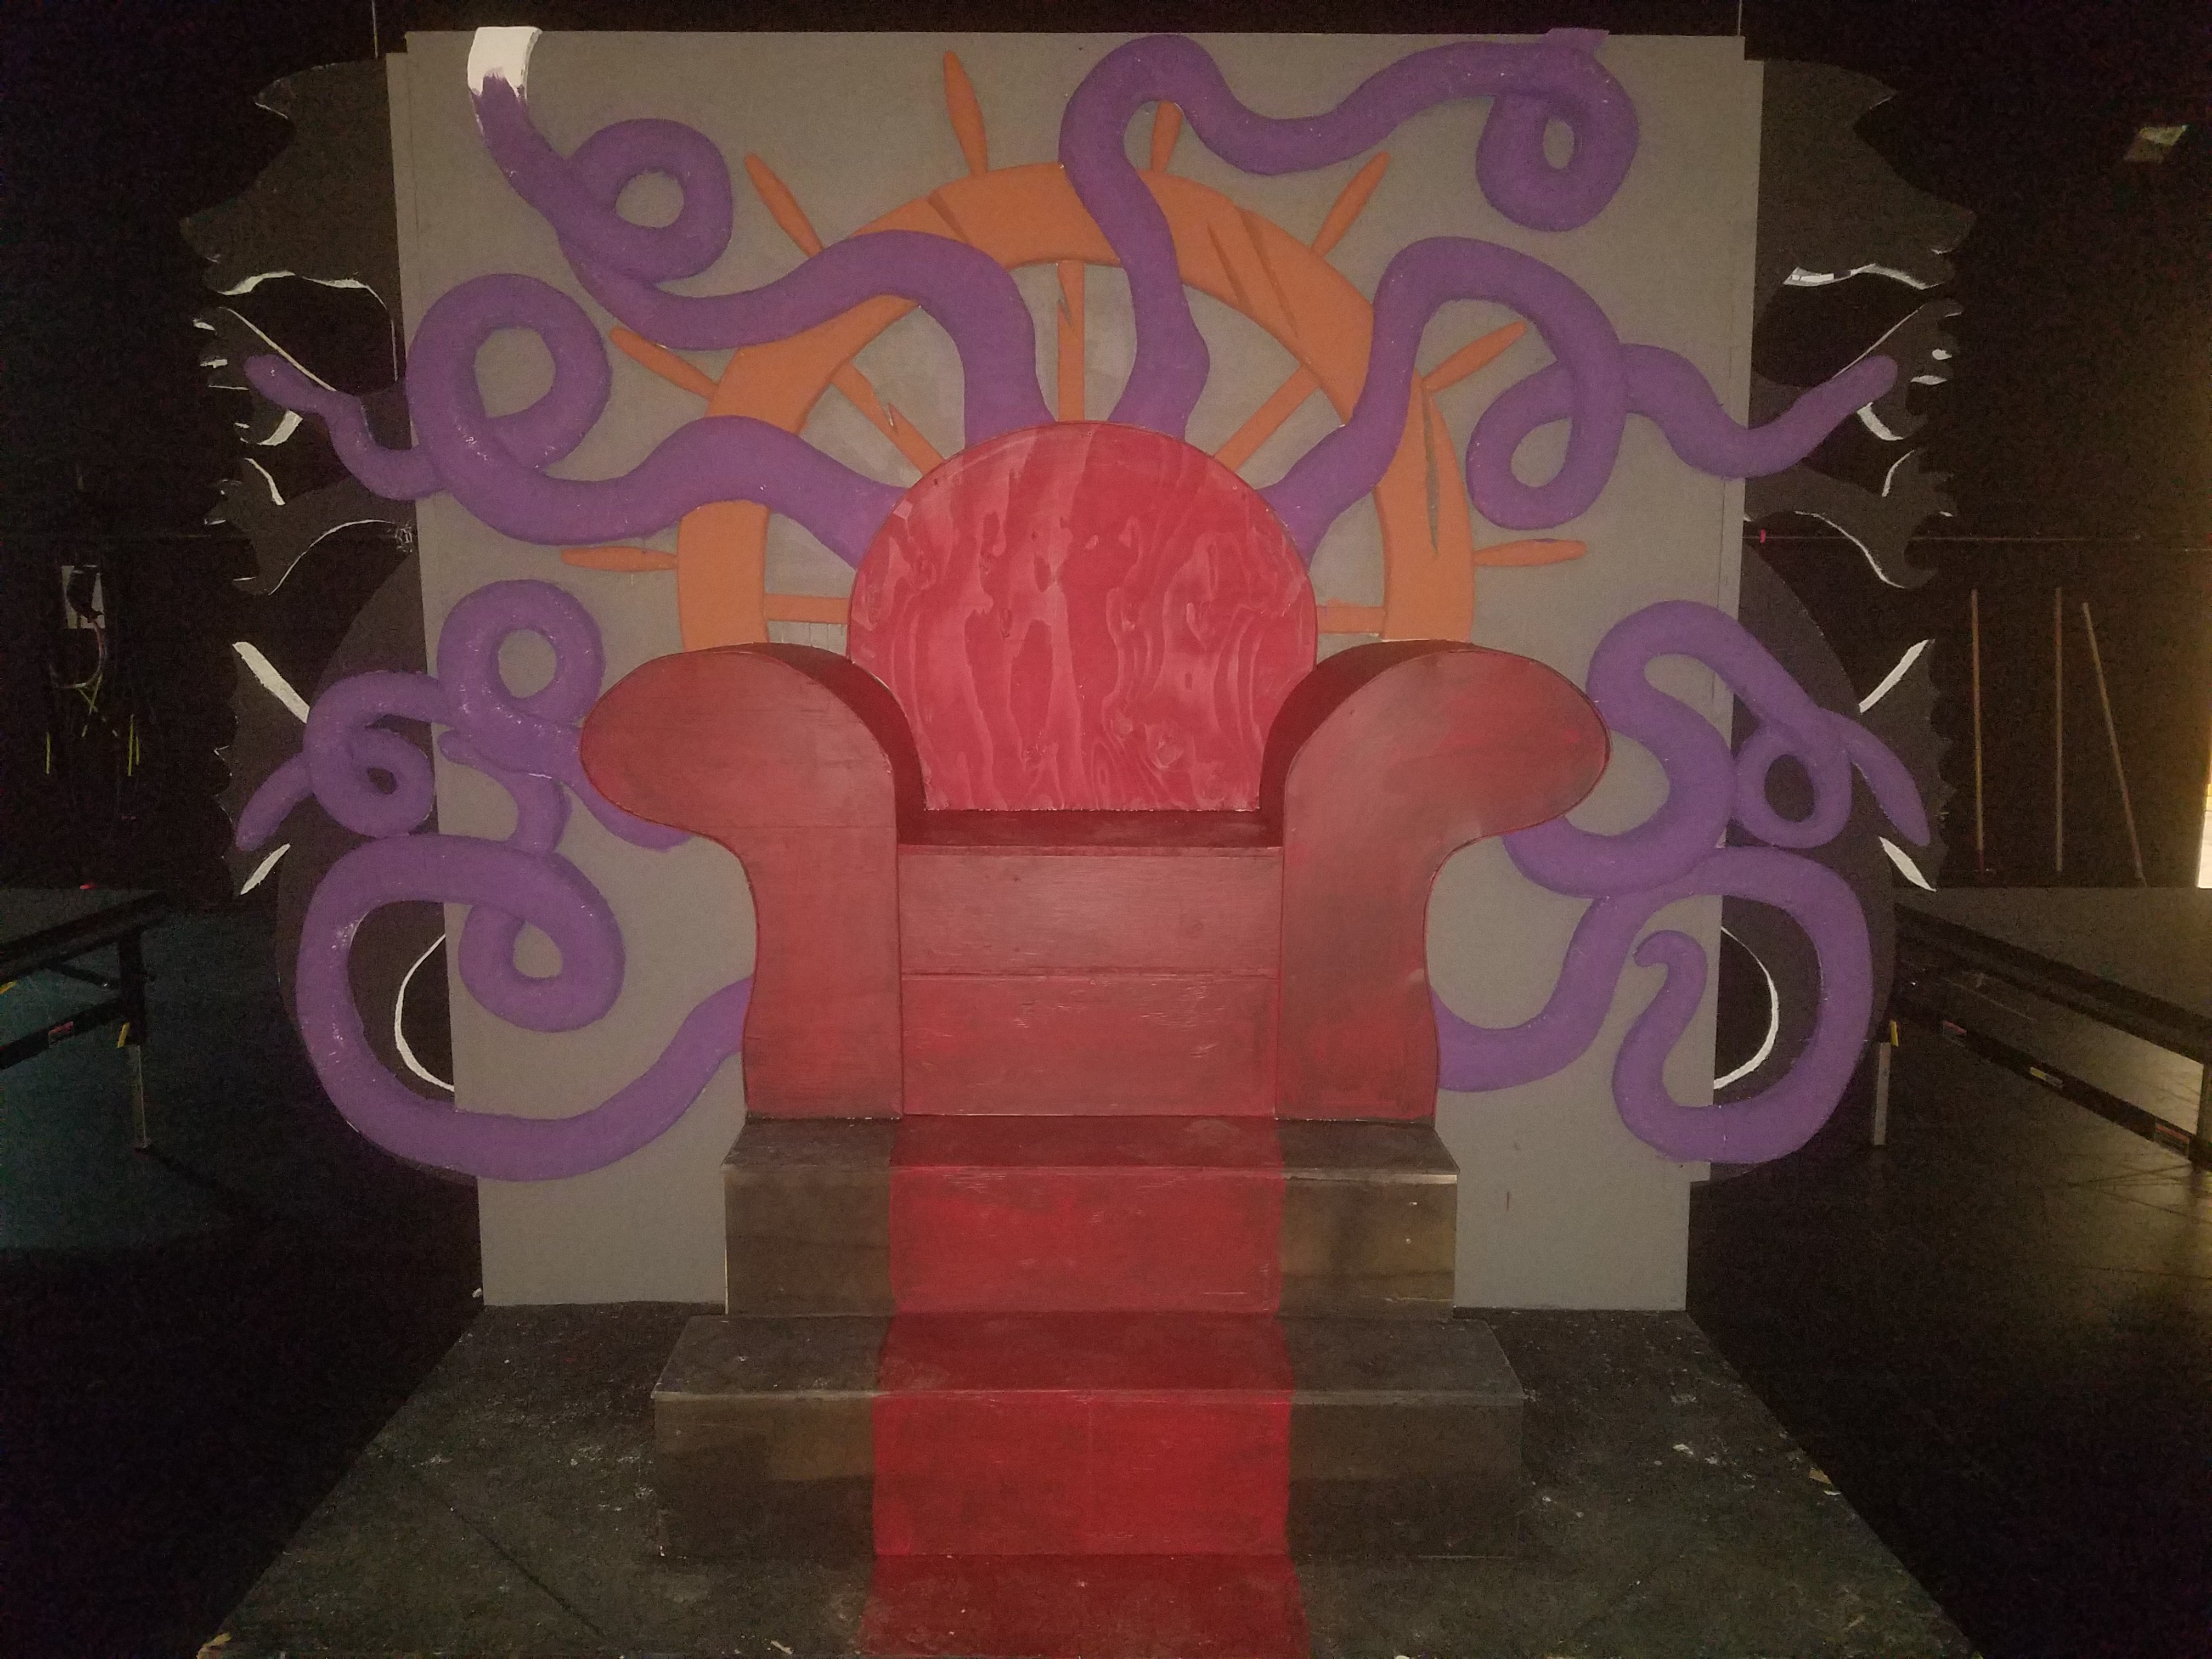

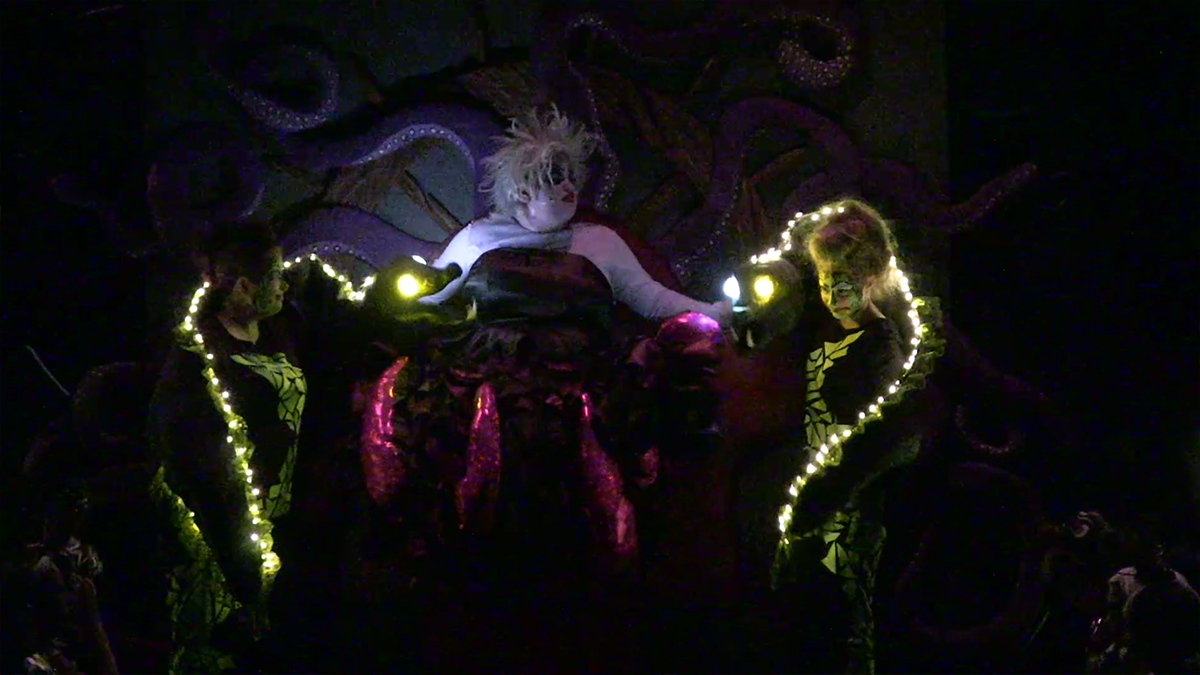
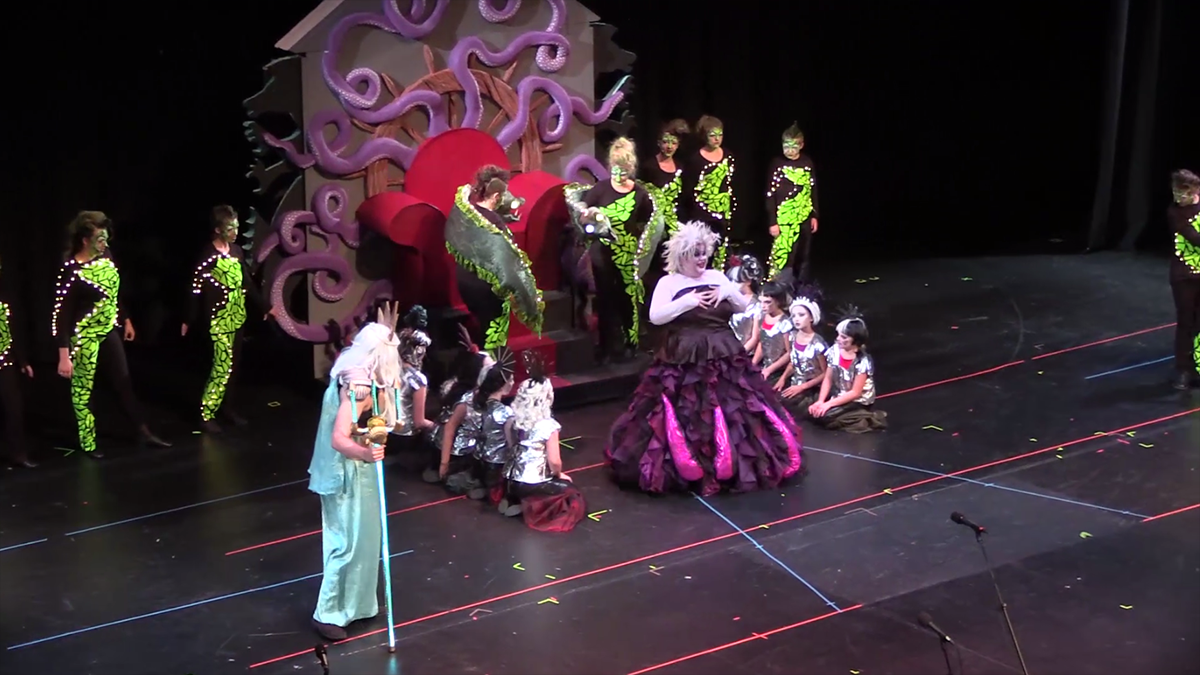
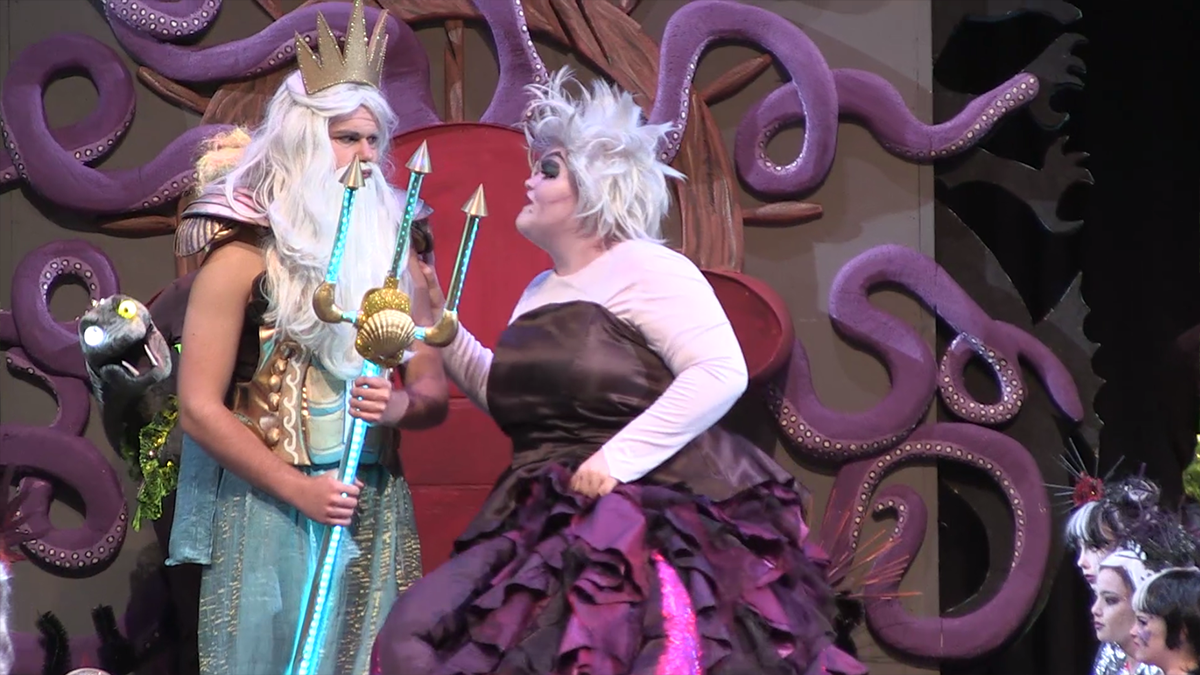
The Little Mermaid: Thrones Onstage
After working all summer, The Little Mermaid finally took the stage in August of 2017. Here are some images of the thrones on stage. The kids really did a great job with the show.